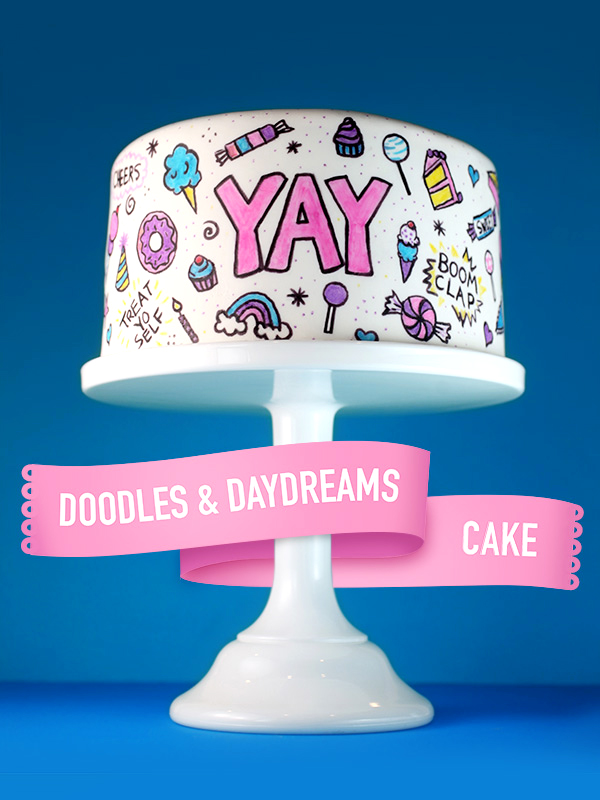
Doodles and Daydreams Cake
 [1]
[1]
I had the most fun making this layer cake inspired by my blogging friend Sweetapolita’s [2] new book.
Have you seen it yet? It’s full of all kinds of fun and yum. Page after page of recipes for luscious layer cakes and other gorgeous and adorable creations that make me want to get in the kitchen and play.
 [3]
[3]
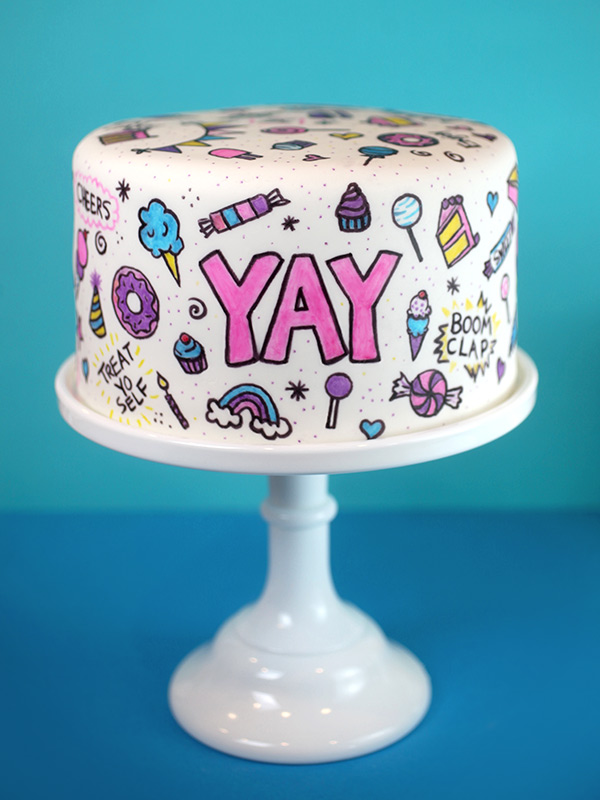
Here it is. The Sweetapolita Bakebook [4]. When I saw the cover for the first time, I fell instantly in love. This cake spoke to me right away with it’s whimsical, playful design and I knew it would have to be one of the first things I tried.
 [5]
[5]
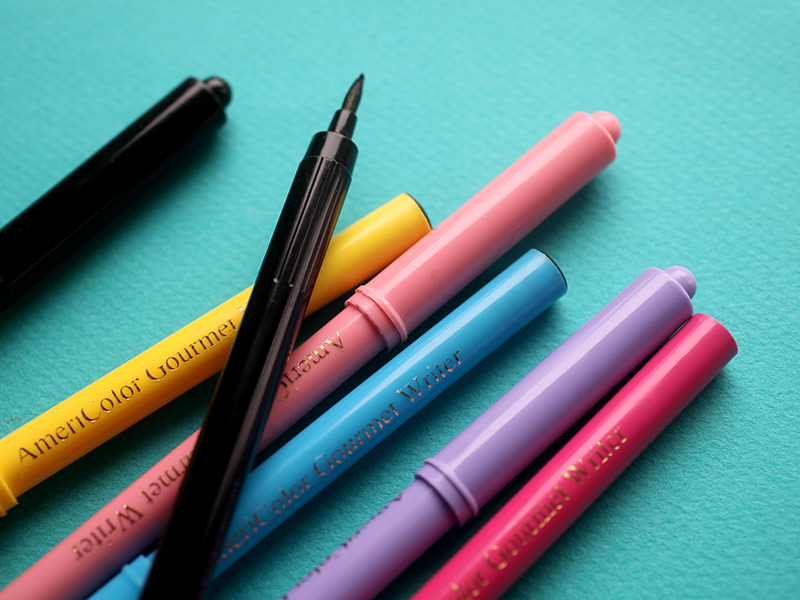
It also didn’t hurt that I already had more than my share of edible ink writing pens [6] on hand so I basically had to make it.
 [7]
[7]
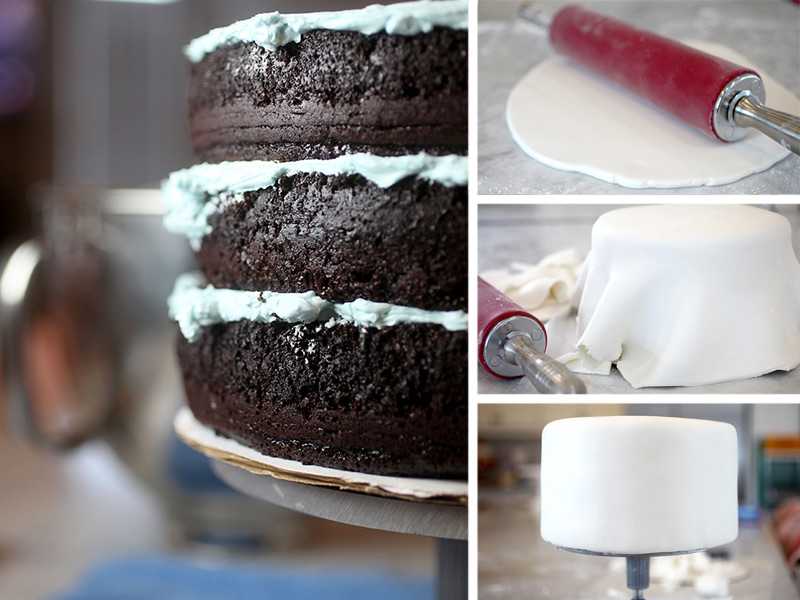
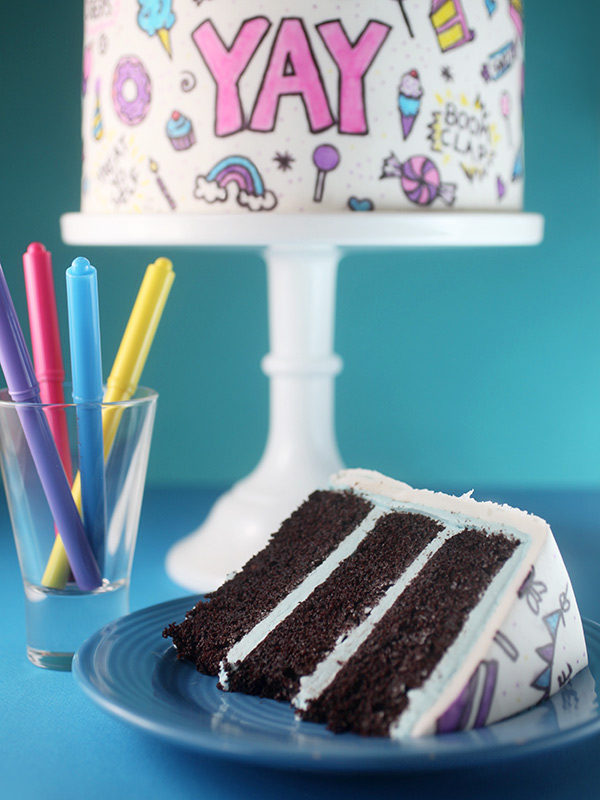
This is a big 8-inch triple layer chocolate cake filled with swiss meringue buttercream and covered in a layer of white fondant.
Basically, a big blank canvas for your creativity.
 [8]
[8]
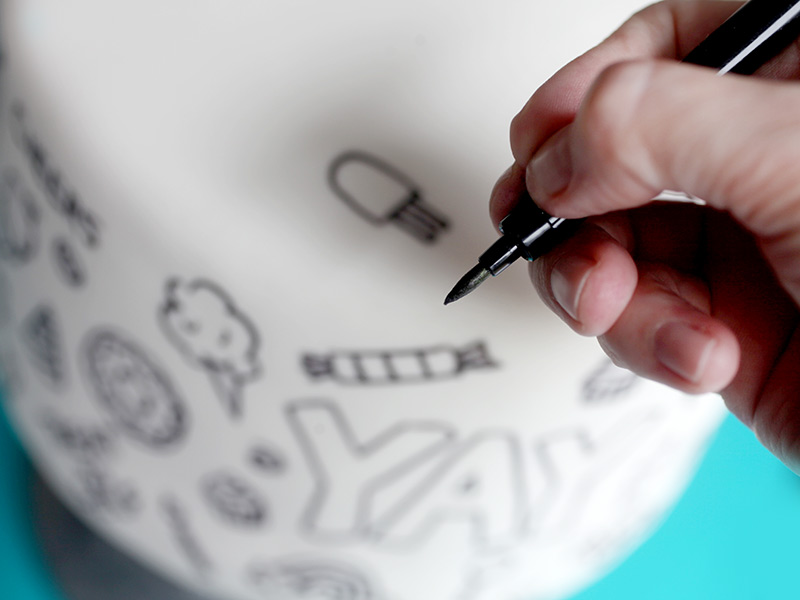
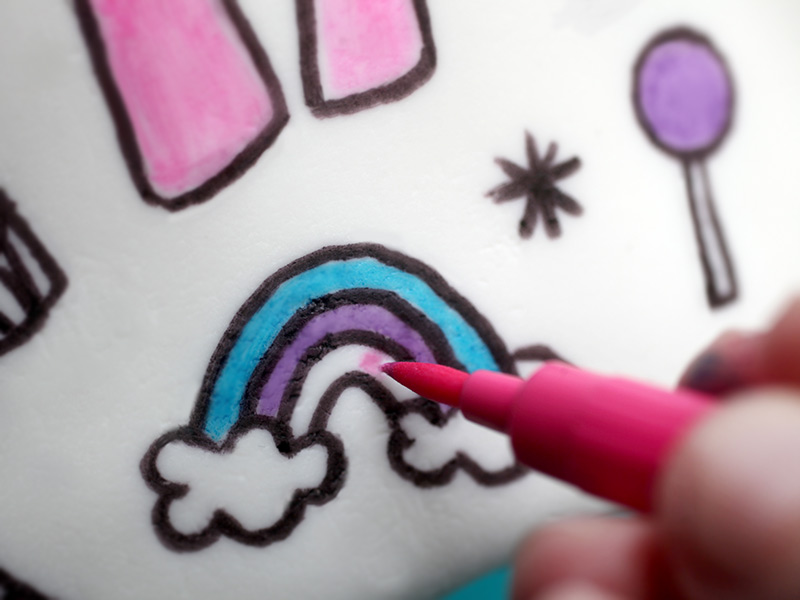
Once the cake is covered in fondant and the exterior has dried out a bit, you can start doodling. Outline or draw illustrations using the black edible ink pen first and let the ink completely dry before coloring in the shapes to help prevent the colors from mixing together.
It also helps to work in one area at a time instead of all over the place to help avoid smearing the black ink. For instance, if you accidentally rest your hand on the surface of the cake. Whoops. Yeah. That’s me. I’m a hand rester when I draw and I quickly realized that drawing at a 90-degree angle and trying not to rest my hand on the surface of the cake was a little harder than I had imagined. That’s ok though because I think some of my slightly wonky drawings add to the wonder and whimsy of this cake.
 [9]
[9]
I drew simple sweets and things using pastel colors, but I could also easily see this transformed into a comic strip cake with words like POW and KABOOM and WHAM, etc. … all drawn in primary colors. It would be too much fun!
 [10]
[10]
Once the black ink has dried, you can start coloring in the drawings. This was the fun part … to see it all come alive from black and white to bold and bright.
 [11]
[11]
YAY. YAY. YAY. The super cutest cake. I love it. Thanks Rosie. And now, all I can think about is making another one. A fake styrofoam cake that I can cover in fondant to keep on display and look at every single day.
 [12]
[12]
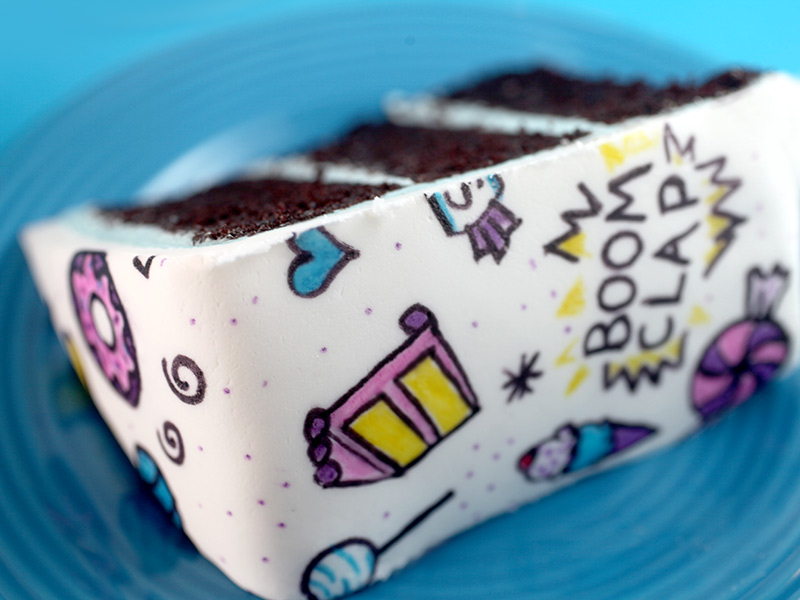
P.S. This cake is totally delicious. The project in the book calls for a black velvet cake recipe, but I switched it up a bit so I could try out Rosie’s Simple & Splendid Chocolate Cake and OMG………
 [13]
[13]
Boom Clap! So. Soooooooo goooood!
Recipes and project adapted from The Sweetapolita Bakebook by Rosie Alyea, © 2015.
Doodles and Daydreams Cake
Ingredients
Simple and Splendid Chocolate Cake
Swiss Meringue Buttercream
Instructions
Notes
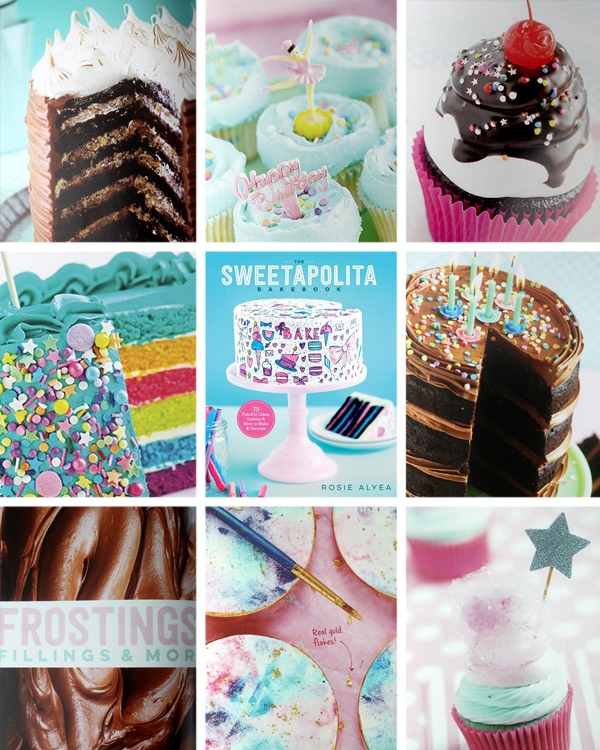
Here’s a peek at some of the other amazingness inside The Sweetapolita Bakebook [14].
I think you’ll love it.
 [15]
[15]
This delicious recipe brought to you by Bakerella
https://www.bakerella.com/doodles-and-daydreams-cake/
URLs in this post:
[1] Image: https://www.flickr.com/photos/bakerella/16942610438
[2] Sweetapolita’s: http://sweetapolita.com/blog/
[3] Image: https://www.flickr.com/photos/bakerella/17104425576
[4] The Sweetapolita Bakebook: https://www.amazon.com/gp/product/0770435319
[5] Image: https://www.flickr.com/photos/bakerella/16922996147
[6] edible ink writing pens: https://www.amazon.com/gp/product/B0012DMI1S
[7] Image: https://www.flickr.com/photos/bakerella/17129746101
[8] Image: https://www.flickr.com/photos/bakerella/16922996337
[9] Image: https://www.flickr.com/photos/bakerella/16942850580
[10] Image: https://www.flickr.com/photos/bakerella/17130377405
[11] Image: https://www.flickr.com/photos/bakerella/17129745751
[12] Image: https://www.flickr.com/photos/bakerella/16922996207
[13] Image: https://www.flickr.com/photos/bakerella/17104425076
[14] The Sweetapolita Bakebook: https://www.amazon.com/gp/product/0770435319/
[15] Image: https://www.flickr.com/photos/bakerella/16507954704