I’ve been wanting to make eyeball cake pops every Halloween since I made these cake pops back in 2008.

But, when I made these, I was completely focused on making more character-style cake pops instead of objects and challenging myself to do something different. These were really the first ones I made that involved carrying out a theme and making varying shapes without the use of a cutter. I can remember when I made them and how excited I was that they turned out so cute. I couldn’t wait to show them to you. Once I went beyond the basic ball, there was no turning back. I couldn’t stop making them… and still haven’t.
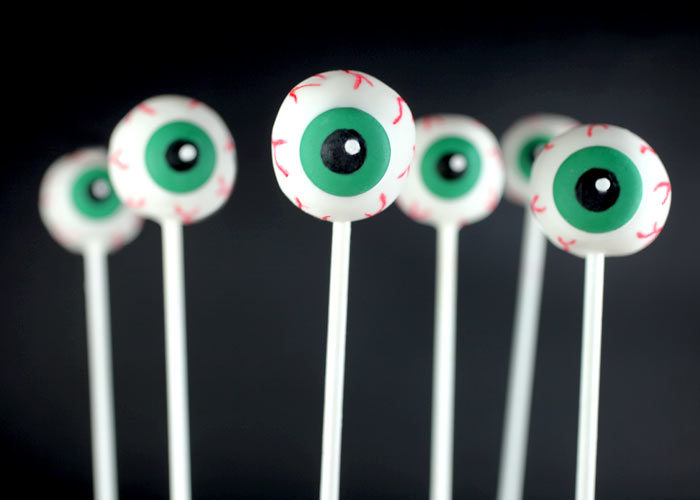
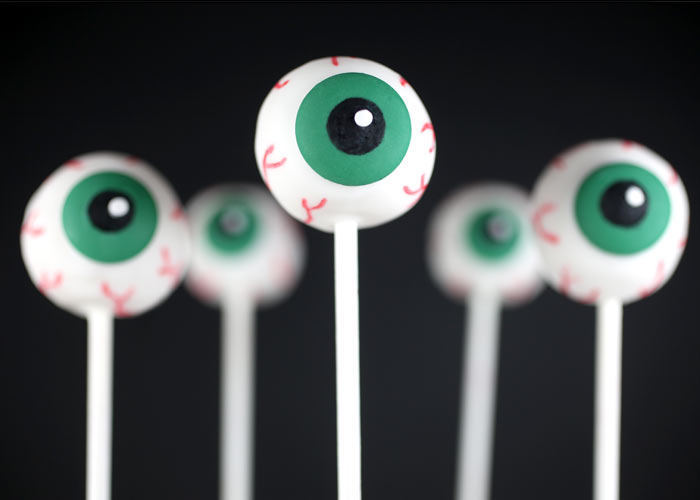
So this year, I decided to finally make eyeballs. They are an obvious choice for the medium wouldn’t you say.
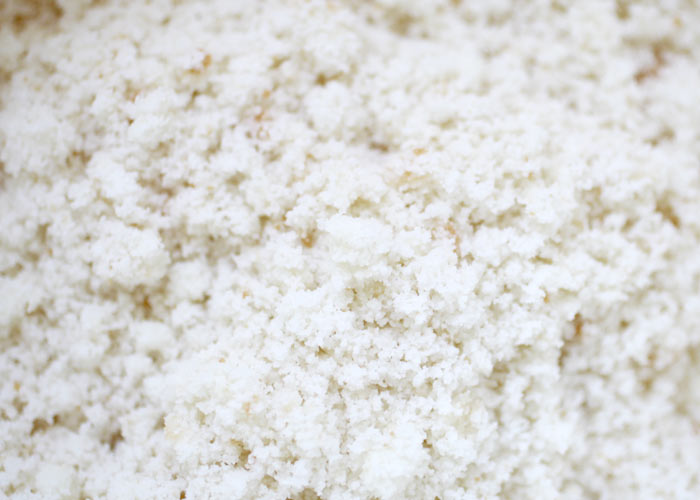
Crumbled cake. I know. I know. Red velvet would have been so much more effective here. But, with dark cakes and light colored candy coating, sometimes the shade of the cake can show through the coating slightly.
And I wanted to make sure I could see the whites of my eyes.
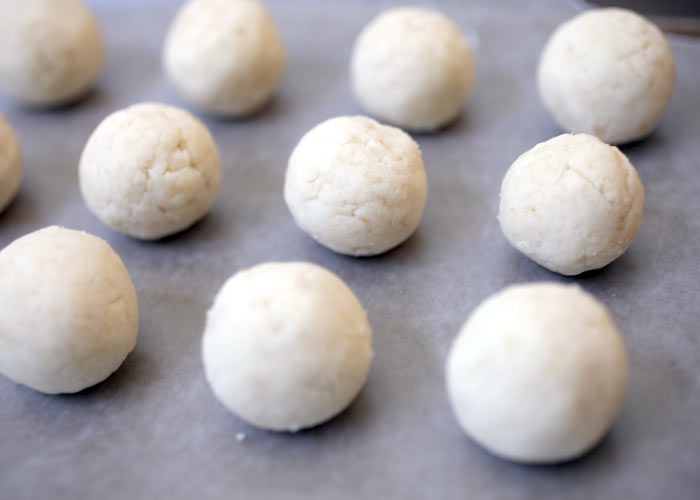
Chilled cake balls.
By the way, here’s the Basic Cake Pop How-to if you don’t know what I mean. It’s not as thorough as the directions in my book, but it will get the job done.
And below is a quick illustration of how I dip.
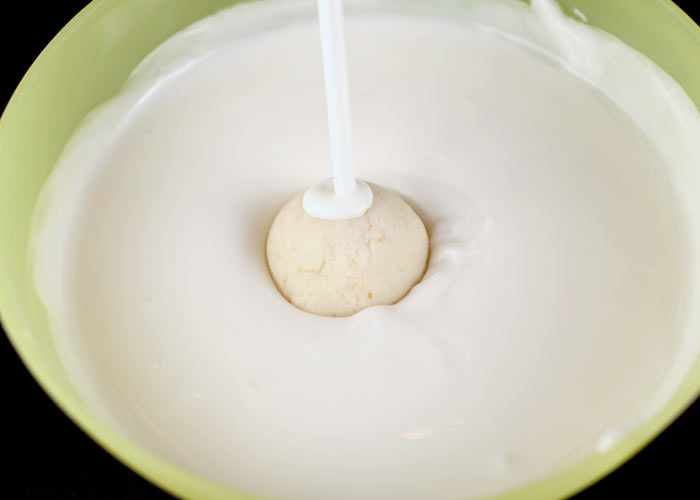
First dip the end of your lollipop stick in some of the melted candy coating and insert into a chilled ball. Then insert cake pop into a bowl of melted coating so that the coating is about 3-4 inches deep.
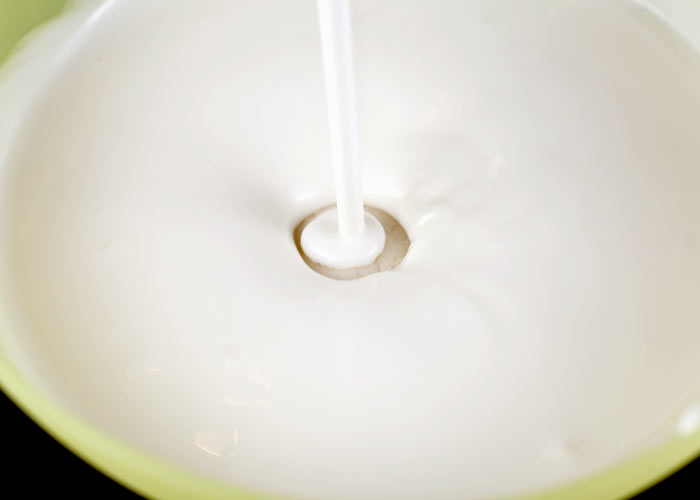
You want the coating to be deep enough to dip and remove in one motion and without stirring.
If the coating does not completely cover the ball, don’t stir. Just gently rock the stick left and right until the coating completely covers the ball.
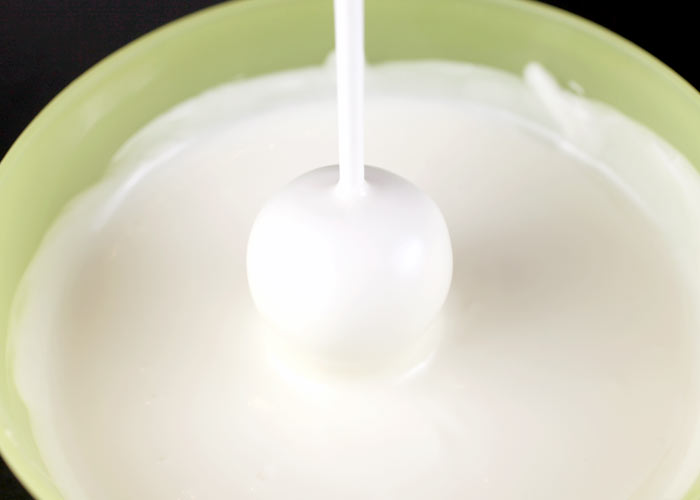
And remove.
The more fluid your coating, the easier this will be. This is perfect.
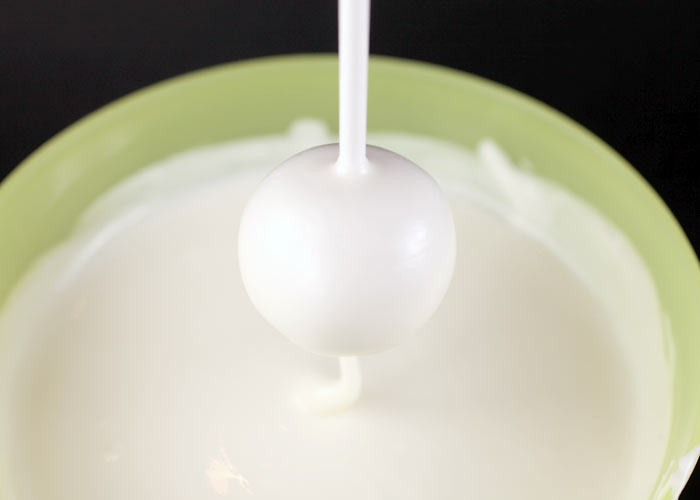
You can tap off any excess if necessary.
If your coating is too thick to do this, simply add a little vegetable oil to help thin it out.
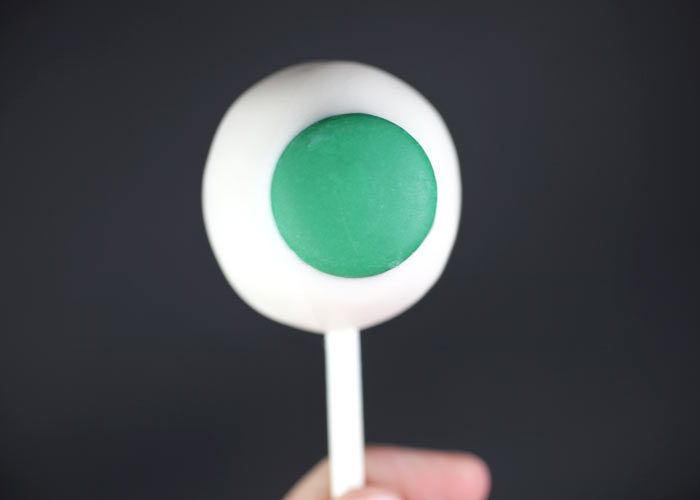
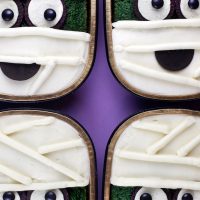
Before the coating sets, place a green candy coating wafer right on the front. It’s the perfect size.
This is my work around since I try to avoid piping whenever possible.
Shaky hands.
Actually, I’m just not that good at it. I definitely could use more practice.
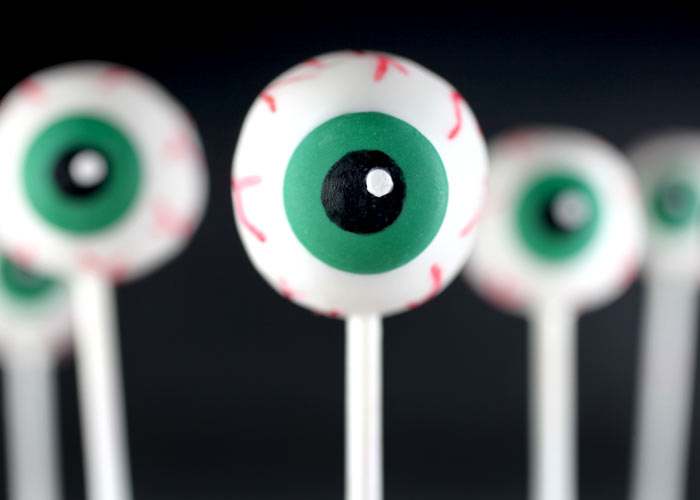
So deciding to use the wafers really helped make these eyes look spot on.
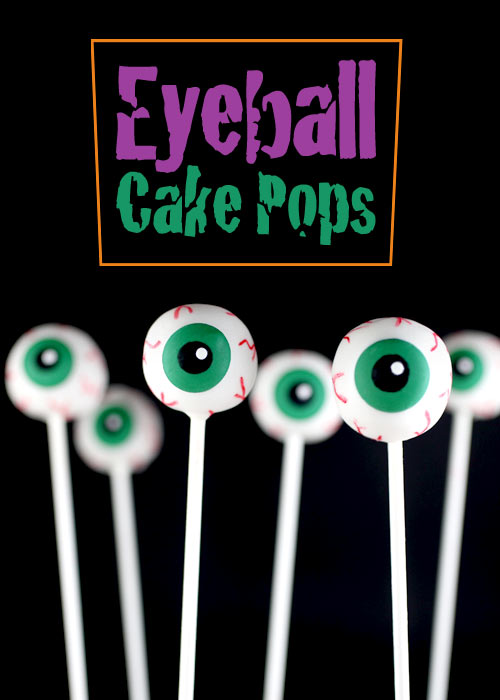
To decorate these is really easy. You just need a few things.
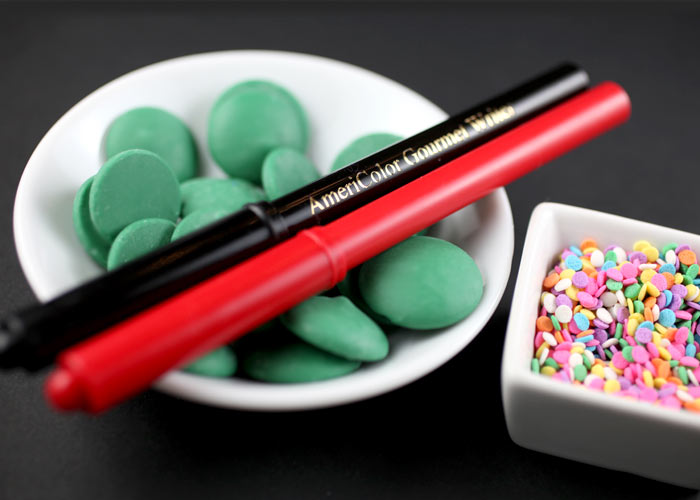
Green candy coating *
Red and black edible ink pens (I use Americolor Pens)*
Miniature confetti sprinkles (the white ones, of course)*
And if those are hard to get your hands on, you could always go the piping route.
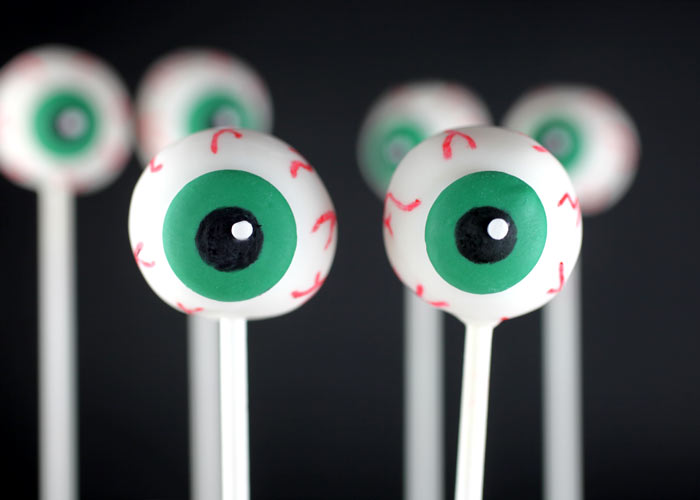
Such a cute pair.
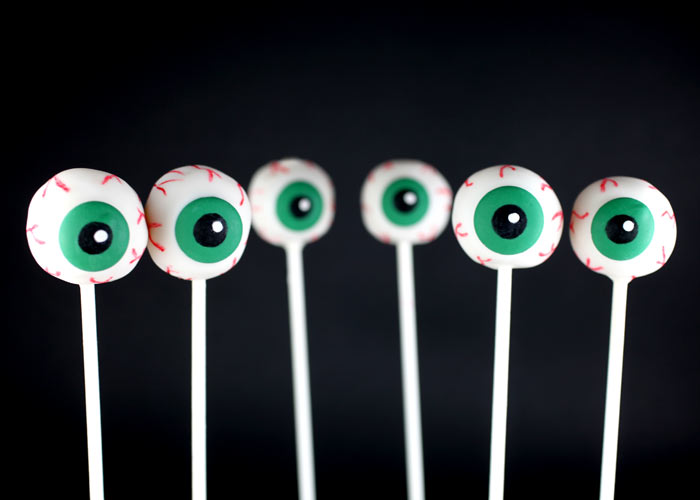
Does anyone feel like they’re being watched?
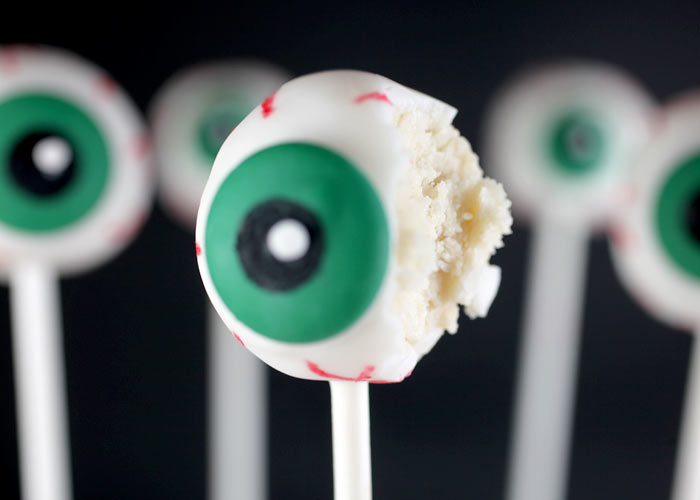
See, this would have been much more effective with red cake. If I were making these for a party and not for pictures, red velvet would be the way to go.
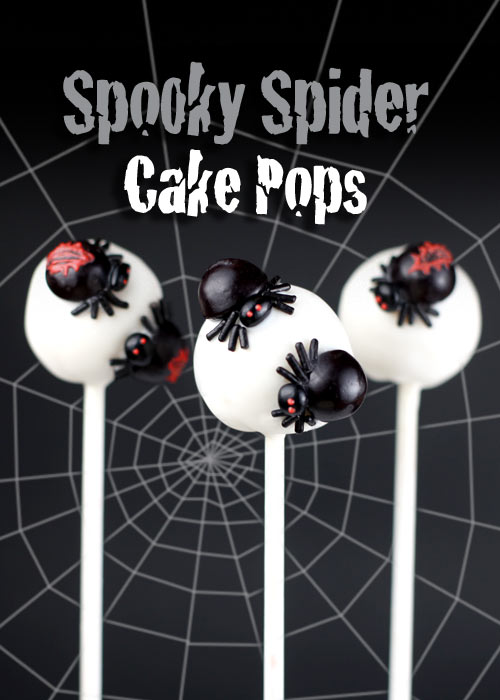
So when I made these eyeball cake pops, I decided to do a little more playing around.

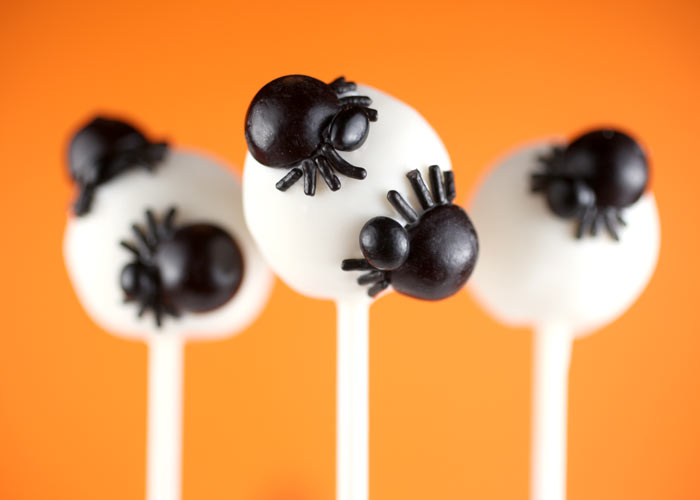
And I made little spiders crawling all over the cake pops. Well, they look kinda like spiders. Or m&m’s with eyelashes. But given on Halloween, people would get it.
I used black m&m’s for the bodies and attached to the pop while the coating was still wet.
And after the coating set, I used black jimmies for the…
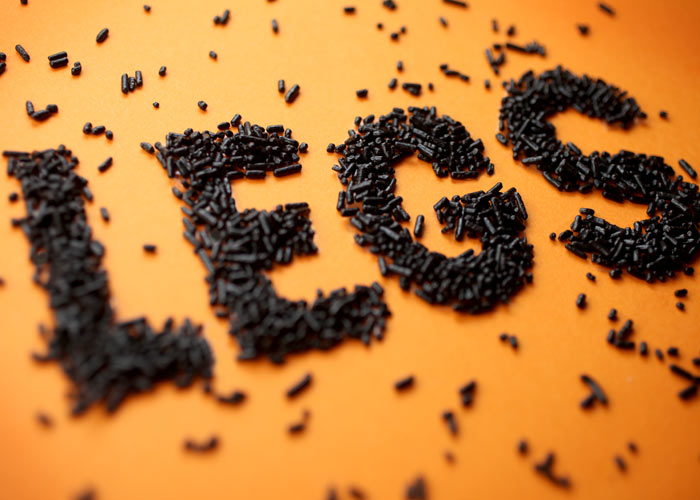
Creepy!
You can just use your black edible ink pen to draw the legs on the stick and melted white candy coating to attach the m&m’s.
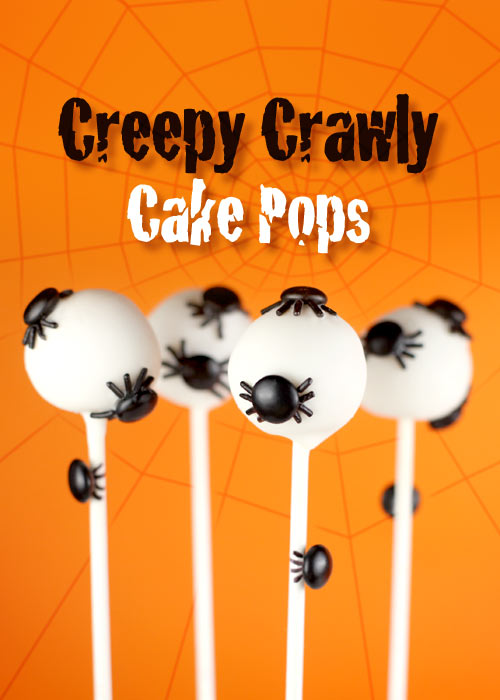
Creepy. Crawly. Cute.
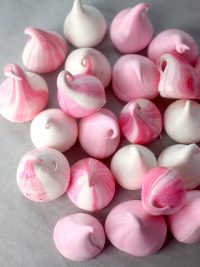
Then I made another version – going for spiders that are a little more spooky than sweet.
Hmmm. Still kinda cute.
They need to be spookified.
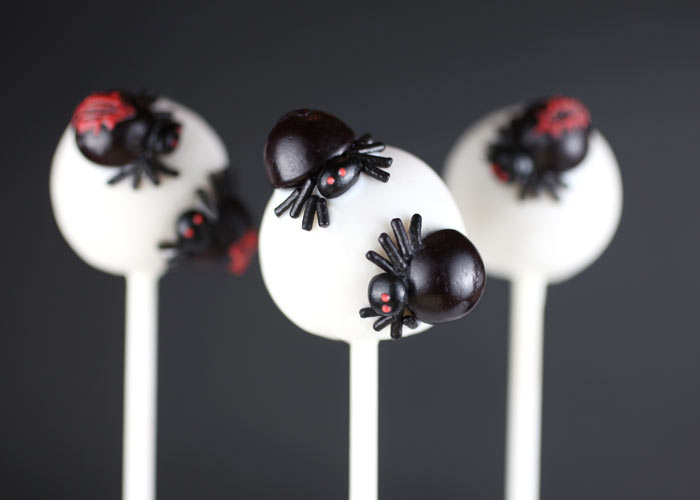
That’s better. A toothpick and a little melted red candy coating did the trick for these treats.
Look at those beady little eyes.
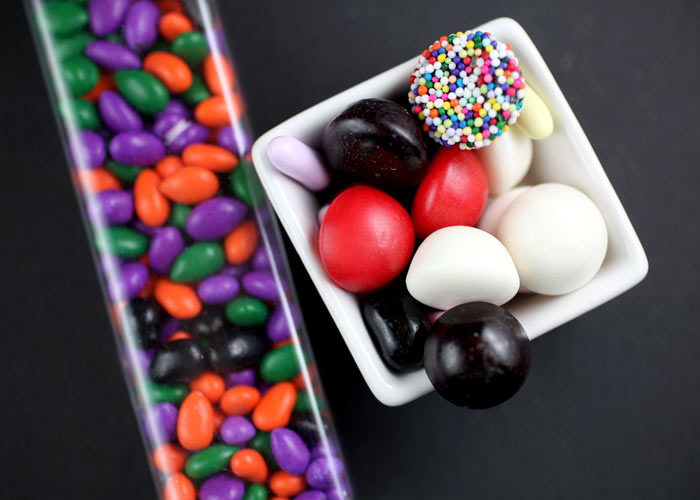
These are pretty easy, too. The spider bodies are black licorice buttons.
I get licorice mix* like this at the Fresh Market, but they are available at most places that sell candy by the scoop.
For the spider heads, I used black coated sunflower seeds. (keep your eyes open in stores… you’ll stumble on seasonal sunflower seeds like these)
And jimmies for the legs.
Attach the bodies while the coating is still wet and the legs after it sets.
Hope you have fun making these.
See ya later.
I know … dorky, but I couldn’t resist.
* Please note that these are Amazon Associate links.