Homemade Marshmallows
 [1]
[1]
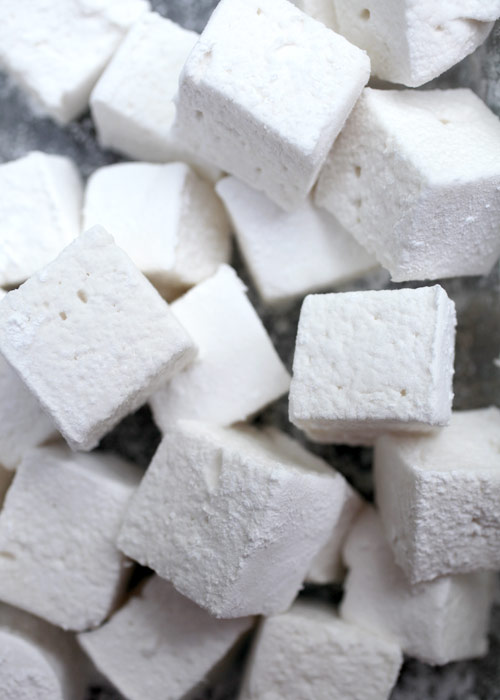
I’m giddy right now. I totally made a marshmallow.
Well, a bunch of marshmallows. I feel like a magician or maybe a scientist.
But definitely not a chicken anymore. I’m so excited that my first go at these sugary squares worked out so well.
 [2]
[2]
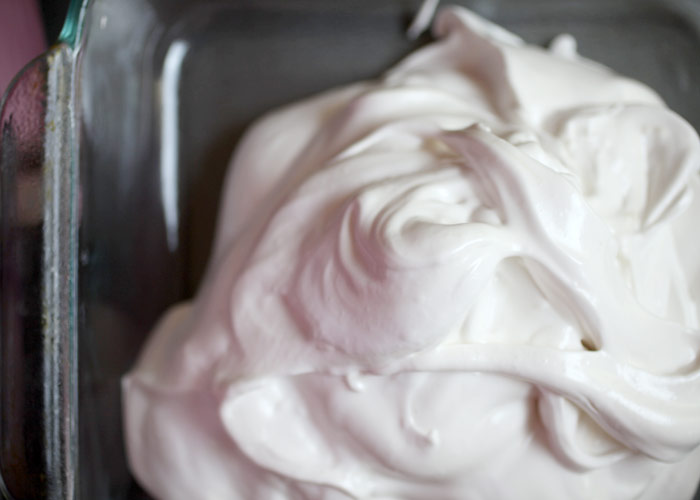
Off to a good start. Thank goodness.
 [3]
[3]
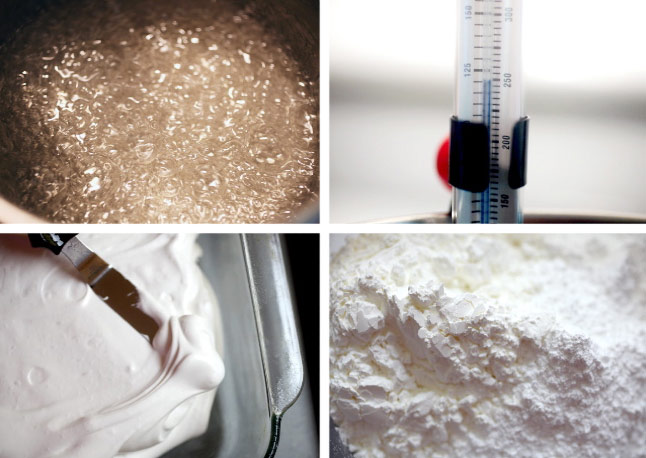
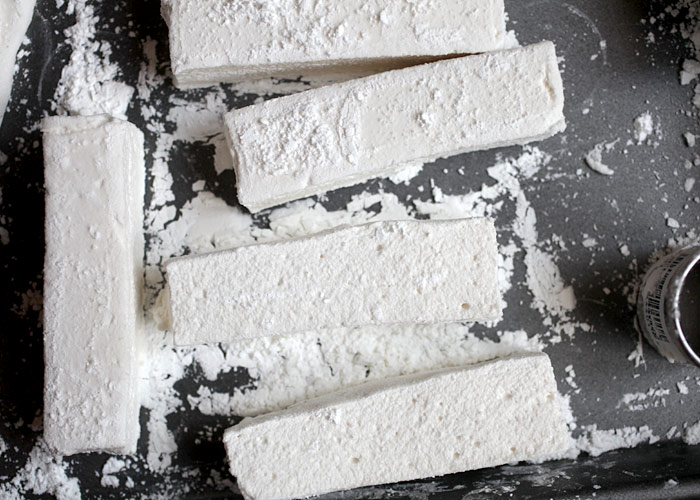
Anytime I deal with boiling syrup and a candy thermometer, I get nervous. Really nervous. I think it’s because I don’t feel like I’m in total control of what’s happening. Especially when there are several steps that depend on previous steps being done correctly. And then waiting several hours to find out if the finished product even worked. But I have to say, these were super easy to make.
And even more fun to cut.
 [4]
[4]
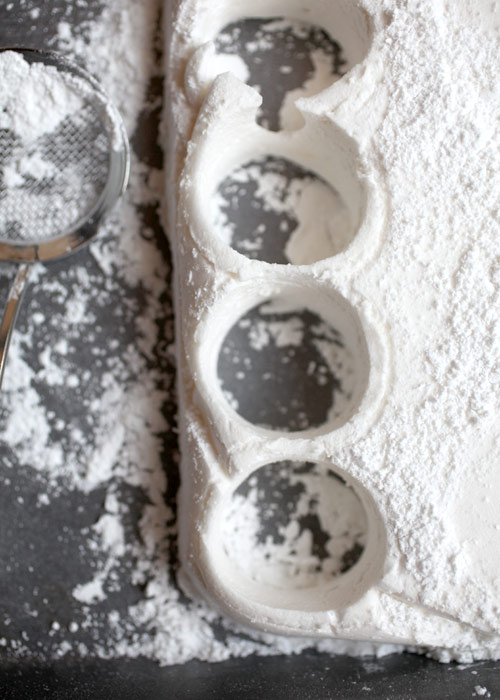
Into circles…
 [5]
[5]
Rectangles… like buttah
 [6]
[6]
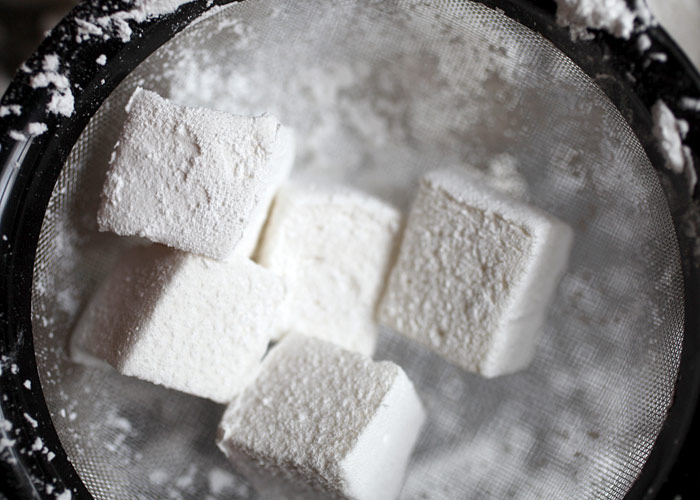
And squares…
 [7]
[7]
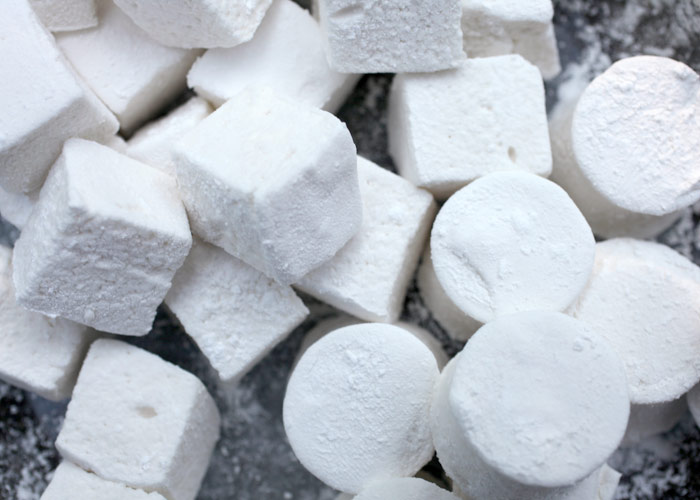
I’ve never been much of a marshmallow fan. I could have a bag of marshmallows in the house forever and never think twice about eating any of them.
Until now. Now that I’ve made homemade ones… I am smitten.
Plus, I love the way they feel. So puffy and soft. Definitely a food that’s fun to play with.
 [8]
[8]
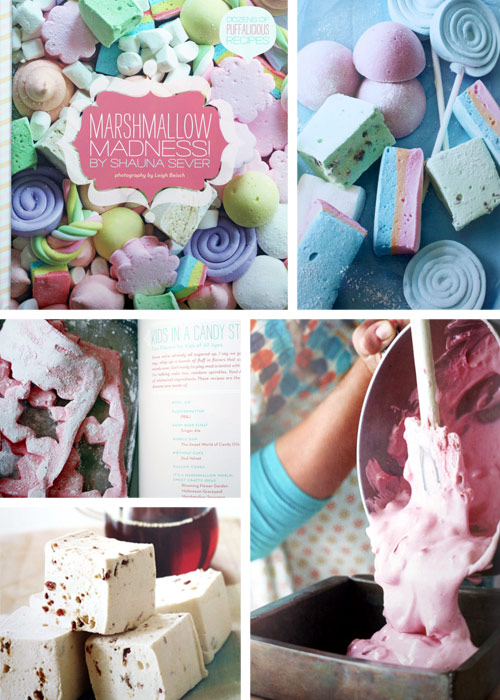
These classic vanilla marshmallows are fantastic. The recipe is from the Puffalicious book, Marshmallow Madness [9].
 [10]
[10]
Cute, huh!
I know, because I couldn’t help myself. After super success with the basic marshmallow recipe, I couldn’t wait to try another version from the book.
Buttered Rum? No.
Sea Salt Caramel? Nope.
Bubble Gum Marshmallows. I wish.
Maple Bacon? No. I didn’t have any bacon or those babies would be stuffed in my cheeks right now.
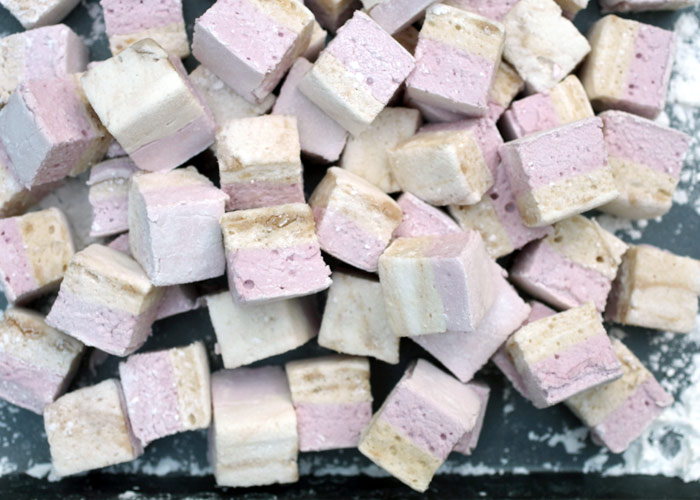
Instead I went for a layered marshmallow. Two tone. Two tastes. Too much awesome.
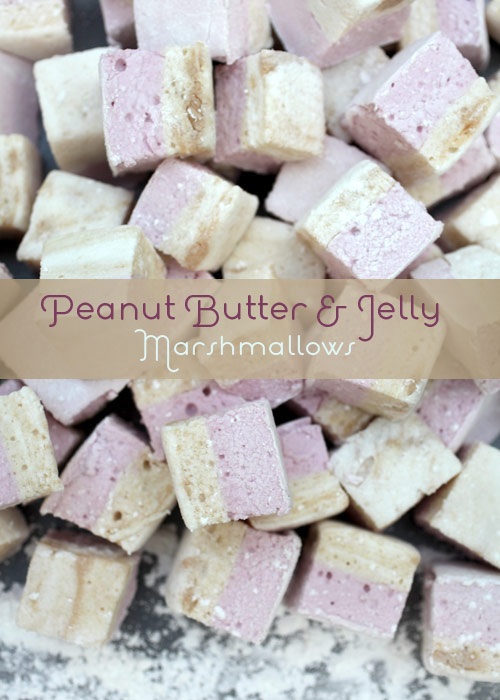
Can you say Peanut Butter and Jelly Marshmallows?
 [11]
[11]
Well, you should. Because they rock.
 [12]
[12]
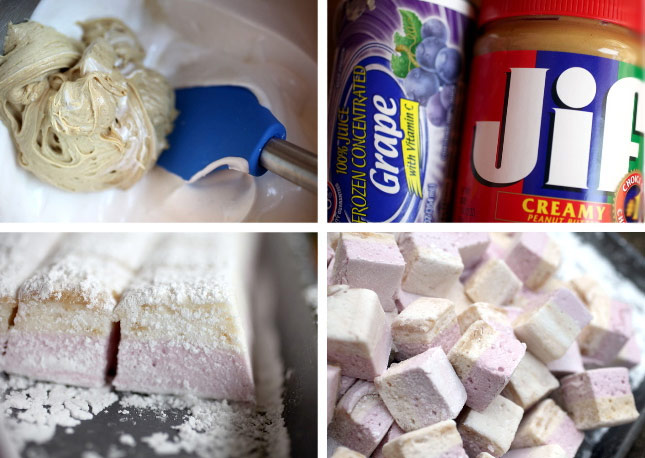
I was a little skeptical that I could taste the full PB&J effect. But, I was happily satisfied.
They totally taste like peanut butter and jelly. Crazy.
 [13]
[13]
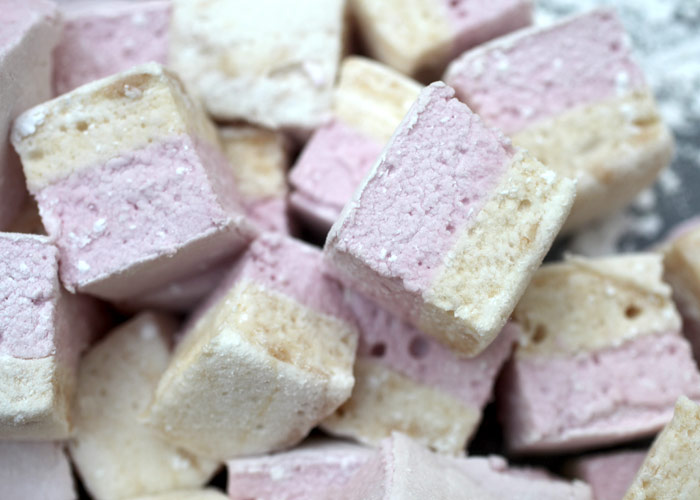
Puffy PB&J. And I loved them. La-la-loved them.
Here’s the recipe so you can love them too.
To make Classic Vanilla Marshmallows: follow the directions for the Peanut Butter layer and omit the peanut butter. Pour into the pan and dust with classic coating. Let set for 6 hours. Invert on a baking sheet, dust with more coating and cut into squares. Dust again to cover all sides.
Peanut Butter and Jelly Marshmallows
Ingredients
Peanut Butter Marshmallow
Grape Marshmallow Layer
Instructions
In a 1-1/2 quart saucepan, stir together the sugar, 1/4 of the corn syrup, water and salt over high heat.Notes
 [14]
[14]
Enjoy and I hope you make some mallows. It will make you feel smart. And if you’re a little nervous, check out Marshmallow Madness [9] for tons of tips.
This delicious recipe brought to you by Bakerella
https://www.bakerella.com/homemade-marshmallows/
URLs in this post:
[1] Image: http://www.flickr.com/photos/bakerella/7399182918/
[2] Image: http://www.flickr.com/photos/bakerella/7399181784/
[3] Image: http://www.flickr.com/photos/bakerella/7399181642/
[4] Image: http://www.flickr.com/photos/bakerella/7399182044/
[5] Image: http://www.flickr.com/photos/bakerella/7399182394/
[6] Image: http://www.flickr.com/photos/bakerella/7399182566/
[7] Image: http://www.flickr.com/photos/bakerella/7399182682/
[8] Image: http://www.flickr.com/photos/bakerella/7399182792/
[9] Marshmallow Madness: http://www.amazon.com/Marshmallow-Madness-Dozens-Puffalicious-Recipes/dp/1594745722/ref=sr_1_1?ie=UTF8&qid=1340080713&sr=8-1&keywords=Marshmallow+madness
[10] Image: http://www.flickr.com/photos/bakerella/7399183834/
[11] Image: http://www.flickr.com/photos/bakerella/7399183332/
[12] Image: http://www.flickr.com/photos/bakerella/7399184092/
[13] Image: http://www.flickr.com/photos/bakerella/7399184270/
[14] Image: http://www.flickr.com/photos/bakerella/7399183608/