Mini Monster Cakes
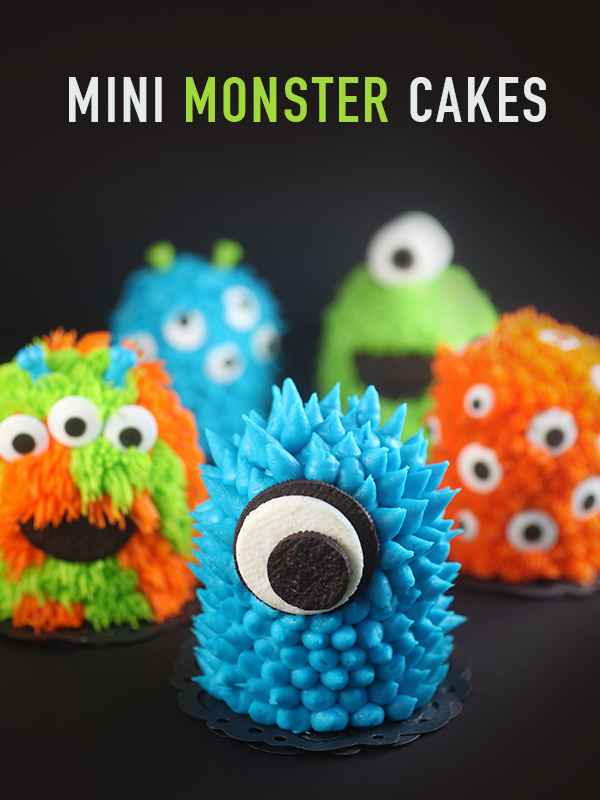
Mini monster cakes are on the menu today. That’s right, these are little bitty cupcake layer cakes all dressed up and ready for Halloween.

Making them is pretty easy. I used this chocolate cupcake recipe [1]. It yields 18 cupcakes or 9 mini monster cakes.
On half of the baked cupcakes, remove the mounded tops using a knife.
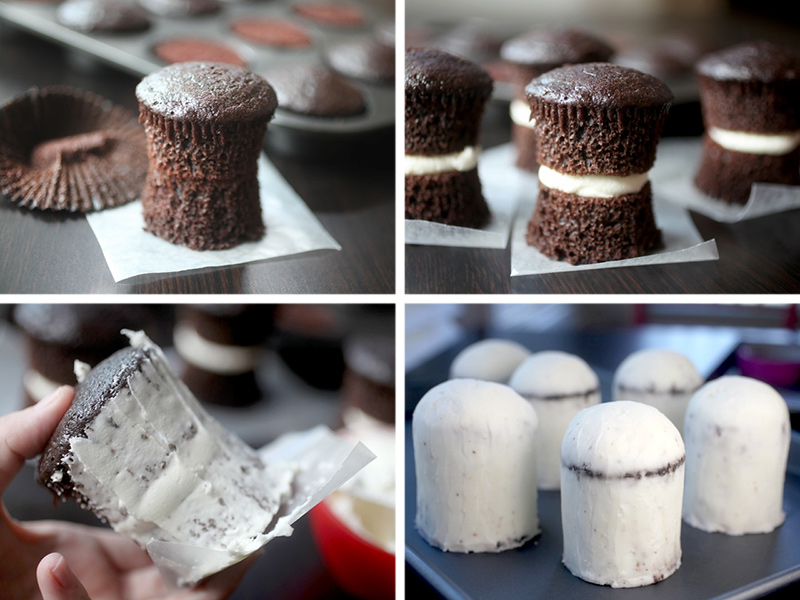
To assemble: Unwrap the cupcakes and place a cut cupcake, top side down on a 4X4 inch piece of wax paper. Then spread some frosting on its bottom and place another whole cupcake on top, right side up like shown in the pics above. Frost the sides and top with buttercream by holding the cupcakes together in between your fingers and the wax paper. Apply frosting up the side and rotate until covered … then frost the top. This will be your crumb coat, so don’t worry about specks of the cupcake getting mixed in your frosting because you’ll be covering it all up later.
Place in the freezer to firm up for much easier handling. You can also add a second layer of frosting to create more cylinder-like shapes like I’ve done in the fourth photo. Just make sure the cupcakes are chilled and firm to the touch before decorating or else you will have a mess on your hands.
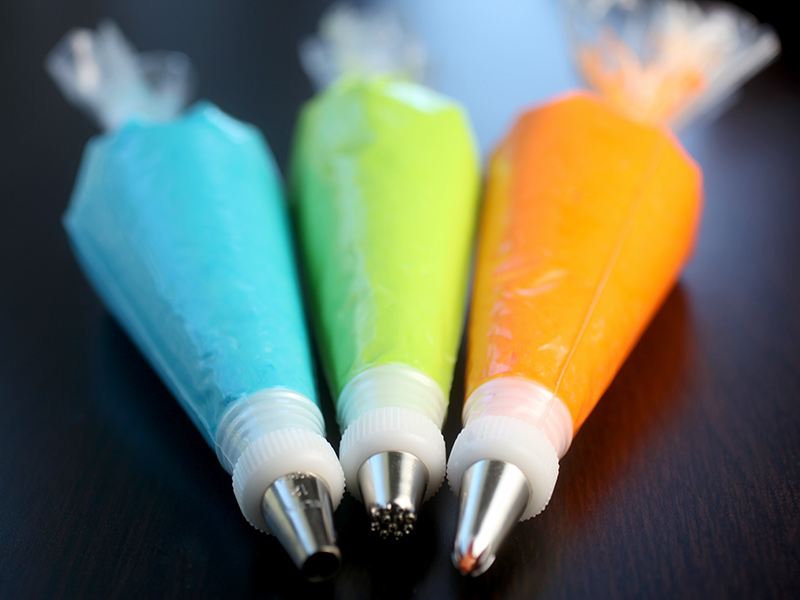
To decorate, whip up some tinted frosting in fun colors and use different tips for varying effects.
You can use this buttercream recipe [2]. You’ll need three batches… maybe four if you make all 9 mini cakes.
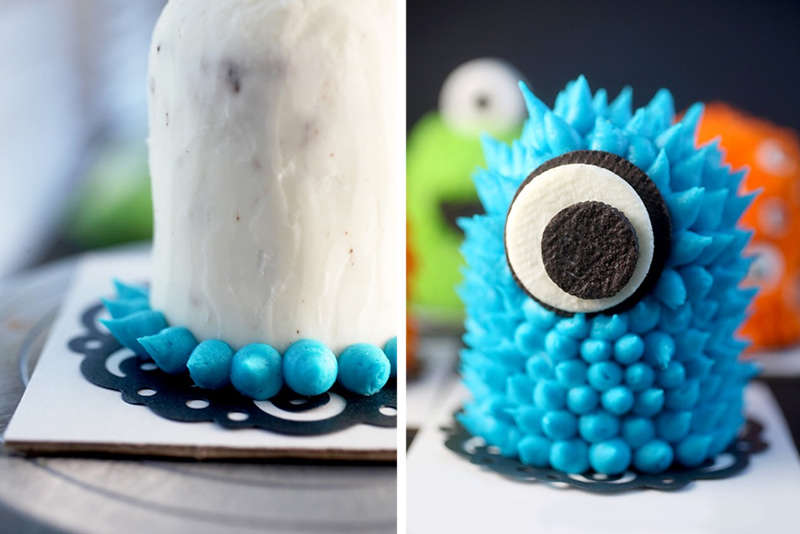
This guy is a little spiky. I used a round #12 tip to pipe rows around the cake starting from the bottom and working my way up.
The eye is made of regular and mini-size Oreo cookie halves attached with frosting.
Oh yeah … before frosting, place the mini cake on a 4-inch doily and then on a piece of cardboard so you can rotate for decorating and then for transporting.
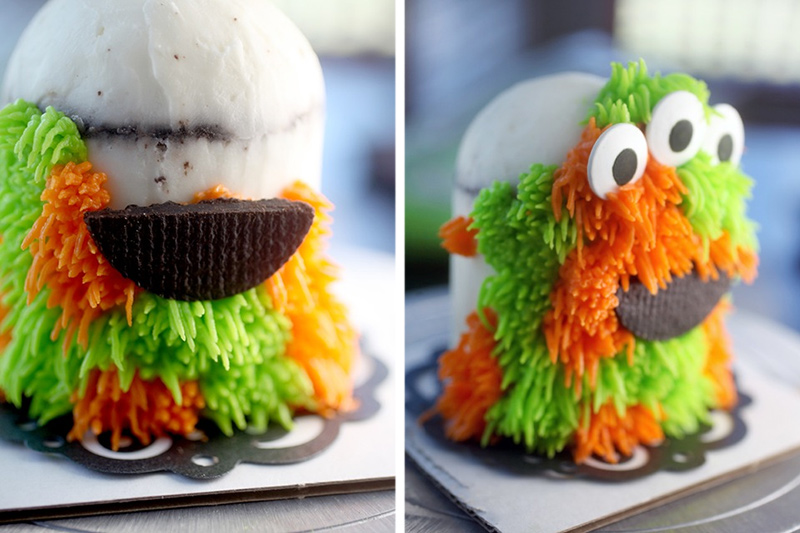
I used a grass tip (#233) for this one. You can work with two different frosting colors for a fun furry effect. Just pipe in random shapes making sure to get the colors close to each other so the white crumb coat doesn’t show from underneath.
For the mouth, cut an Oreo cookie half … in half … and press on top of the frosting. Then pipe more frosting so it overlaps the top of the mouth. Make sure he has several candy eyes so he can see how cute he is.
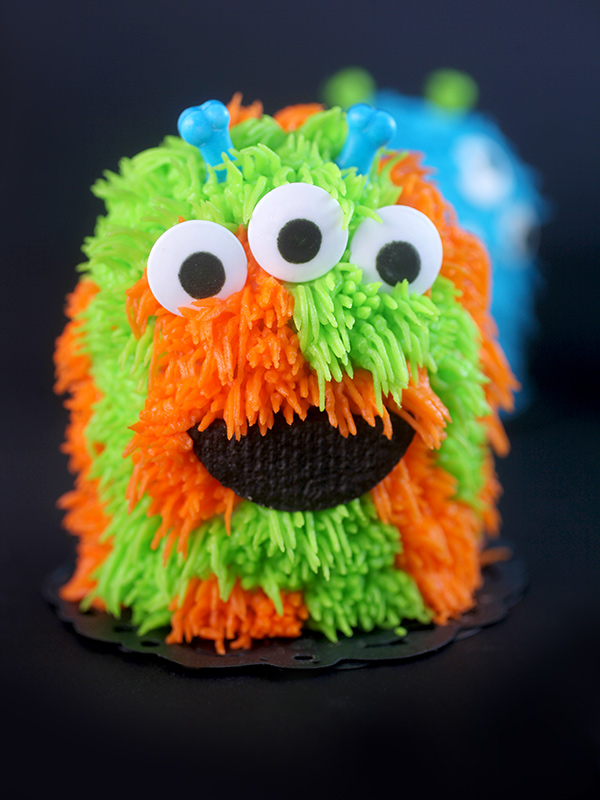
And throw on some cute bone candies to top him off. But really… you can use any candies you have on hand and just get creative with different designs. That’s the fun part. The possibilities are endless.

This one is covered in tons of candy eyes. I used a #21 tip and piped around the base. In the places I wanted eyes, I piped in a circular shape leaving room for the eye to sit in. This is mainly so I didn’t have a bunch of orange frosting squishing out around the eye when I pressed it in place. But… maybe that would look all monstery-cute, too.
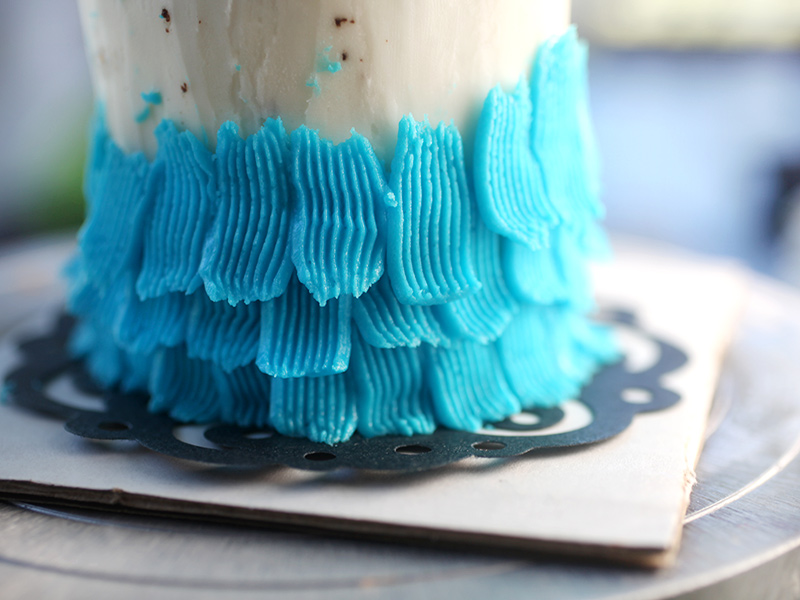
I like how this one turned out… kind of hairy and tattered looking. This is made with a basket weave tip (#48).

When you place eyes in position, then just overlap the frosting on top so it all looks integrated.
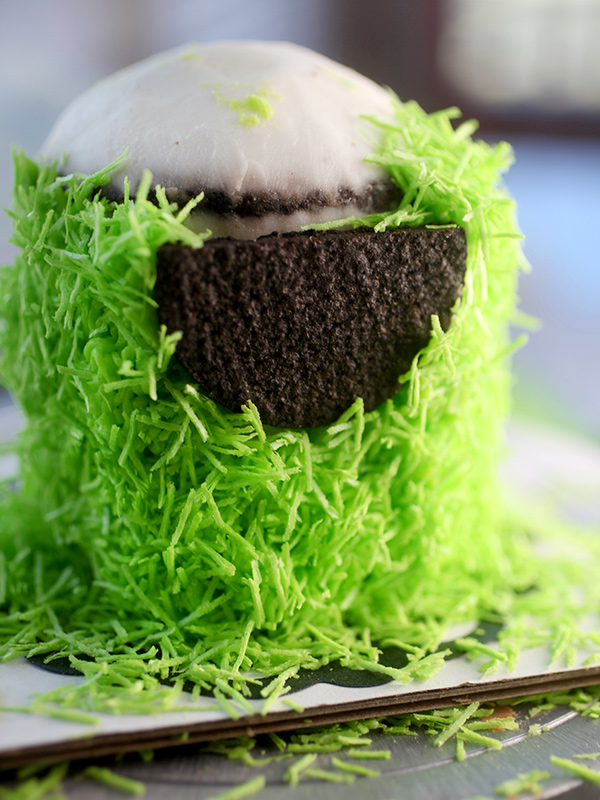
Oh yeah – this one is easy. I didn’t use a decorating tip. Instead I applied a thin layer of green frosting and then covered the cake with my green candy shred [3]. So spooky cute!

You can give them little signs to hold, too.
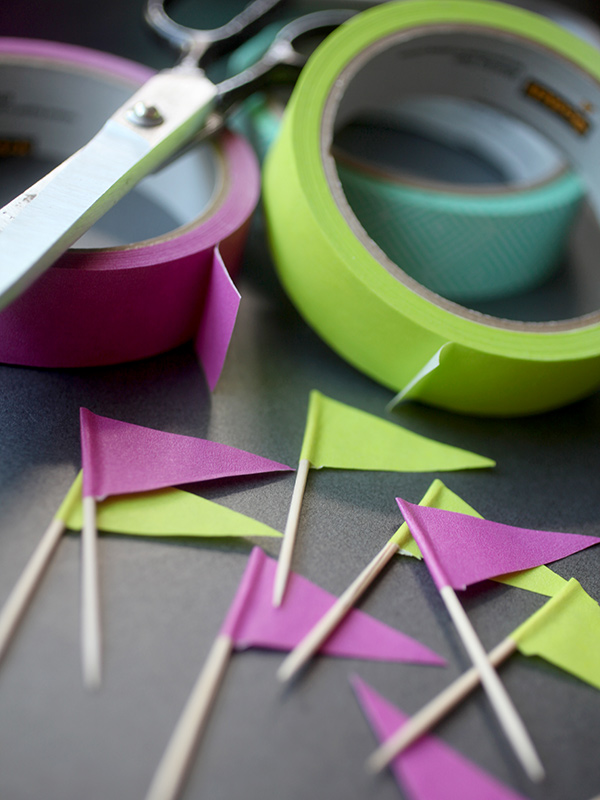
Just wrap washi tape around a toothpick and cut into a triangle shape for pennants.
Super easy.

Hope these minis make you smile.
Enjoy!
URLs in this post:
[1] this chocolate cupcake recipe: http://www.bakerella.com/groundhog-day-cupcakes/
[2] this buttercream recipe: http://www.bakerella.com/finally-i-found-it/
[3] my green candy shred: http://shop.makenmold.com/Category/153_1/Decorettes.aspx
