Snow Cone Cupcakes
 [1]
[1]
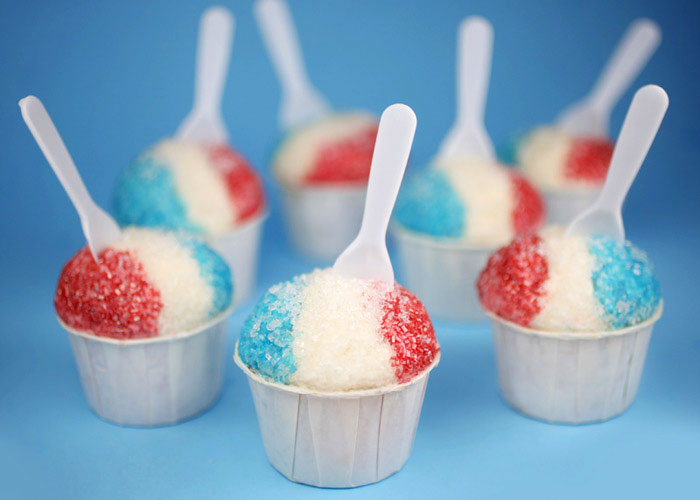
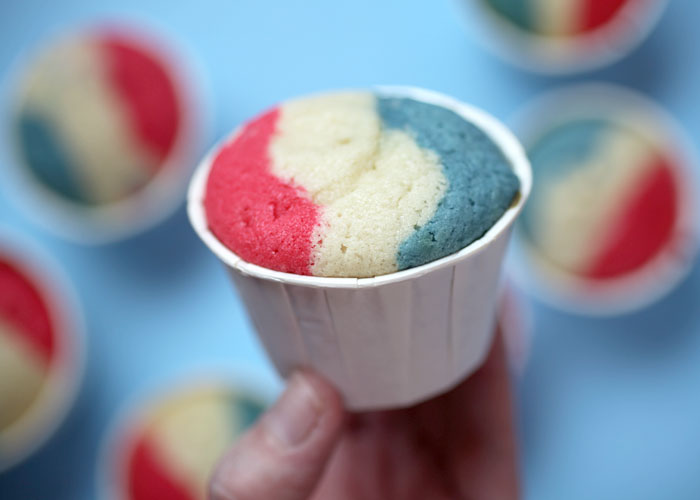
These snow cones won’t melt. Nope. They’re not icy… but they are frosted.
They’re snow cone cupcakes and they were a lot of fun to make.
I decorated them in red, white, and blue so you can see how cute they can be for Memorial Day or the Fourth.
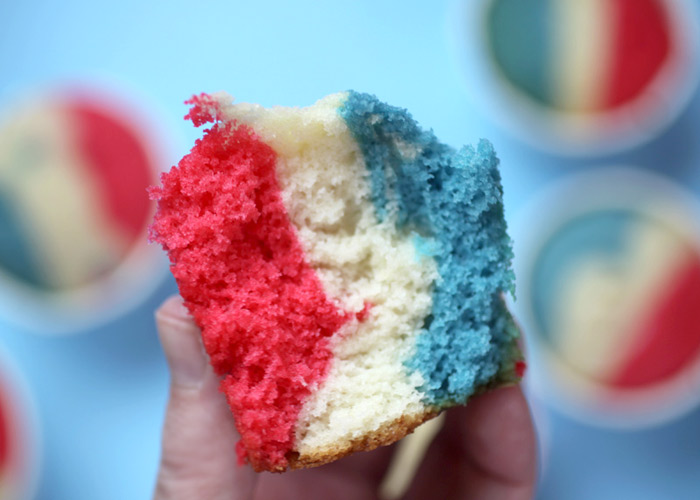
When I made them, I wanted more than just the tops to resemble snow cones though. I wanted the cupcake to be tri-colored too. But not the usual layered look you see from bottom to top.
No. These should be layered vertically to match the frosted tops, right?
 [2]
[2]
Yes and Yay!
To be honest, I’m glad it actually worked so well. I wasn’t sure when I first started thinking about it, but they came out just like I had hoped.
And they’re an added little surprise when you bite into them.
 [3]
[3]
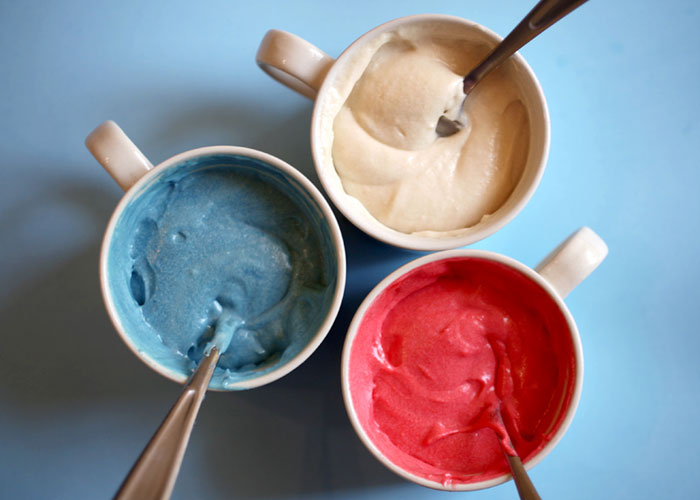
Divide the cake batter equally and then tint a third blue and another third red.
The plain batter is good to go.
 [4]
[4]
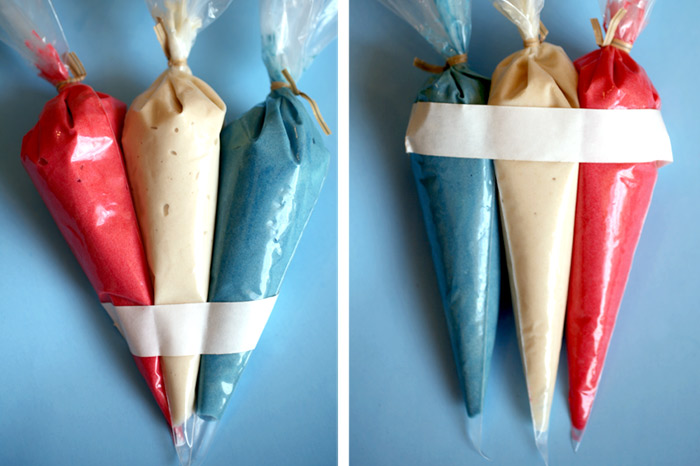
Now the fun part. Spoon each color of batter into a decorating bag and tie the end with a twist tie. For this to work well, you need the colors to fill the baking cups at the same time.
I taped the bags together so I could hold them as one unit. The photo on the right is no good. Taping them at the top causes the tips to separate and you’ll make a mess trying to fill the baking cups this way. Trust me. : )
Instead tape the bottoms so the ends are closer together. Lay the bags on a flat surface and tape them so they are in a row. This will give you a lot more control when you pipe.
Prepare baking cups… Take a deep breath … and cut the ends off the decorator bags at the same time. Try to hold the bags at the top so you can apply even pressure to all three and slowly fill each baking cup with batter. Move the tips of the bags back and forth as you apply pressure so they fill evenly with batter.
Then bake!
 [5]
[5]
And voila – vertically tri-colored cupcakes. Yippee!
All you have to do now is decorate.
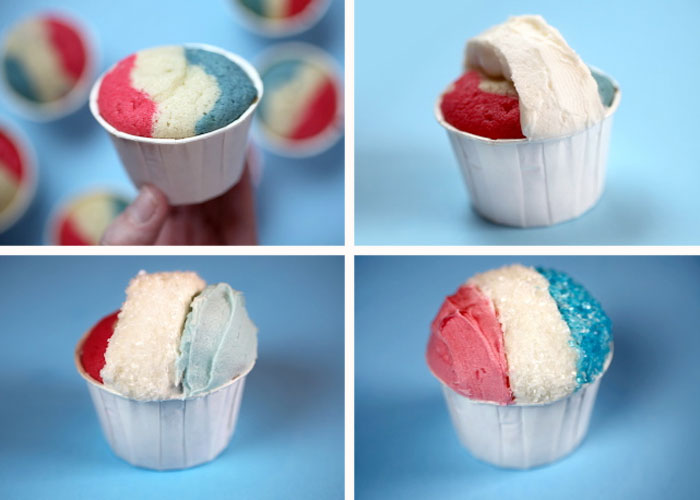 [6]
[6]
I baked these in candy cups and then frosted and decorated them in sections. Middle first – dipped in sugar crystals. Then blue with blue sugar crystals and then the red. I like sugar crystals for this project instead of sanding sugar because the size of the crystals are bigger and look a little more icy, but you can use either. And technically, if your frosting is tinted the right color, you could just sprinkle the entire tops with white crystals.
 [7]
[7]
Once frosted and covered in crystals, use a toothpick to manipulate the frosting and make sure the rim of the paper cup shows. This will help pull off the look.
 [8]
[8]
Note: You can bake these in candy cups or regular baking cups. If you use candy cups, make sure you find the ones that aren't wax coated on the inside. Here are some I found online that are meant for baking in. Most of the ones I've seen in stores have the coating on the inside. And if they are hard to find, you can also just bake them in regular baking cups and place them in the candy cup before you decorate.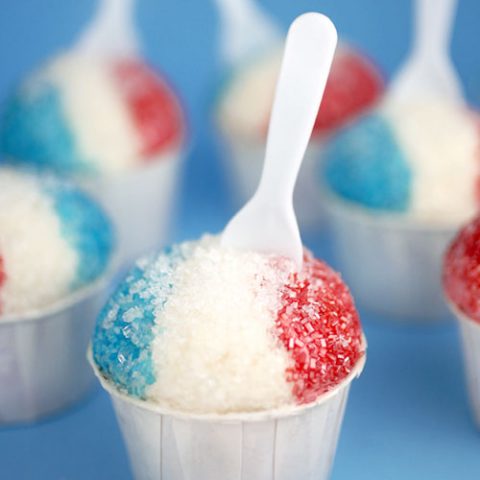
Snow Cone Cupcakes
Ingredients
Red white and blue cupcakes
Frosting
Instructions
Remove and cool. Makes about 16 cupcakes.
Scrape down the sides and add milk. Mix until smooth and creamy. You can also add a couple of drops cherry oil for extra snow cone flavor.
Makes enough to frost about 8 cupcakes with high domes of frosting. Double the amount for this cupcake recipe unless you don't plan on frosting your cupcakes this high.Notes
 [9]
[9]
Serve with little plastic spoons for full effect and see who you can fool!
This delicious recipe brought to you by Bakerella
https://www.bakerella.com/snow-cones/
URLs in this post:
[1] Image: http://www.flickr.com/photos/bakerella/7235314684/
[2] Image: http://www.flickr.com/photos/bakerella/7235314484/
[3] Image: http://www.flickr.com/photos/bakerella/7235315648/
[4] Image: http://www.flickr.com/photos/bakerella/7235310994/
[5] Image: http://www.flickr.com/photos/bakerella/7235314864/
[6] Image: http://www.flickr.com/photos/bakerella/7235315428/
[7] Image: http://www.flickr.com/photos/bakerella/7235305798/
[8] Image: http://www.flickr.com/photos/bakerella/7235315020/
[9] Image: http://www.flickr.com/photos/bakerella/7235305456/