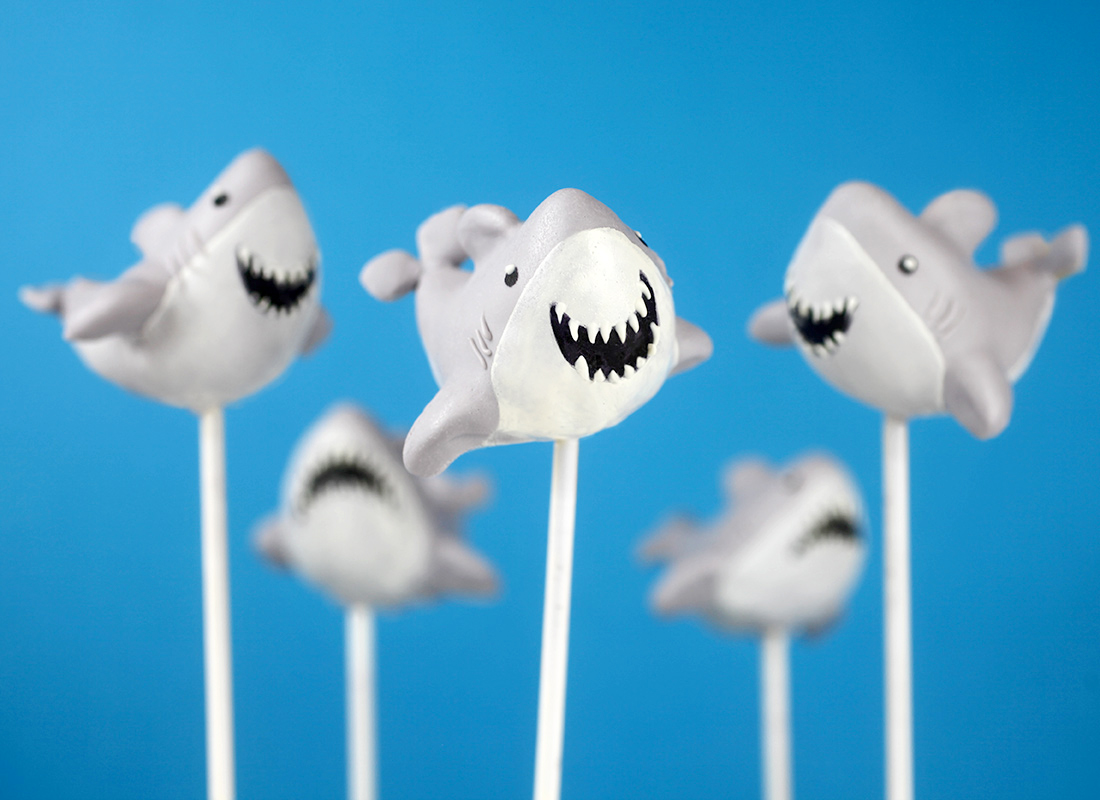
Look at these cute little sharkies. Did you know it’s Shark Week on the Discovery Channel and Shark Fest on National Geographic … and I finally made some cake pops to go along with it. I’ve been wanting to make these for more than a couple of years now, but I always think about it when Shark Week is over. Not this year though. I’m only a couple of days in to all the tv programming, so there’s still plenty of shark shows to go and I’ll be chomping on these over the next few days. : )
Want to make some, too?
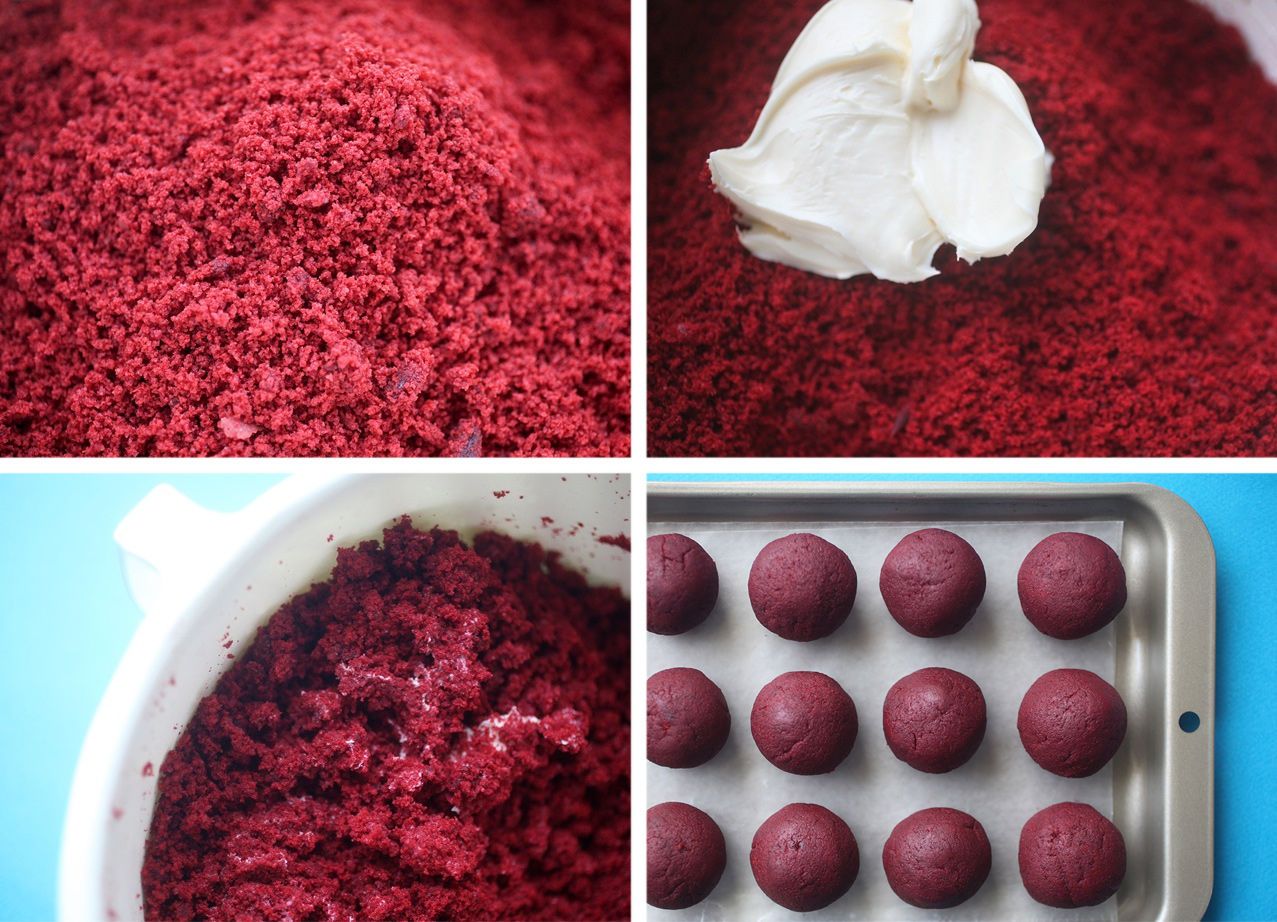
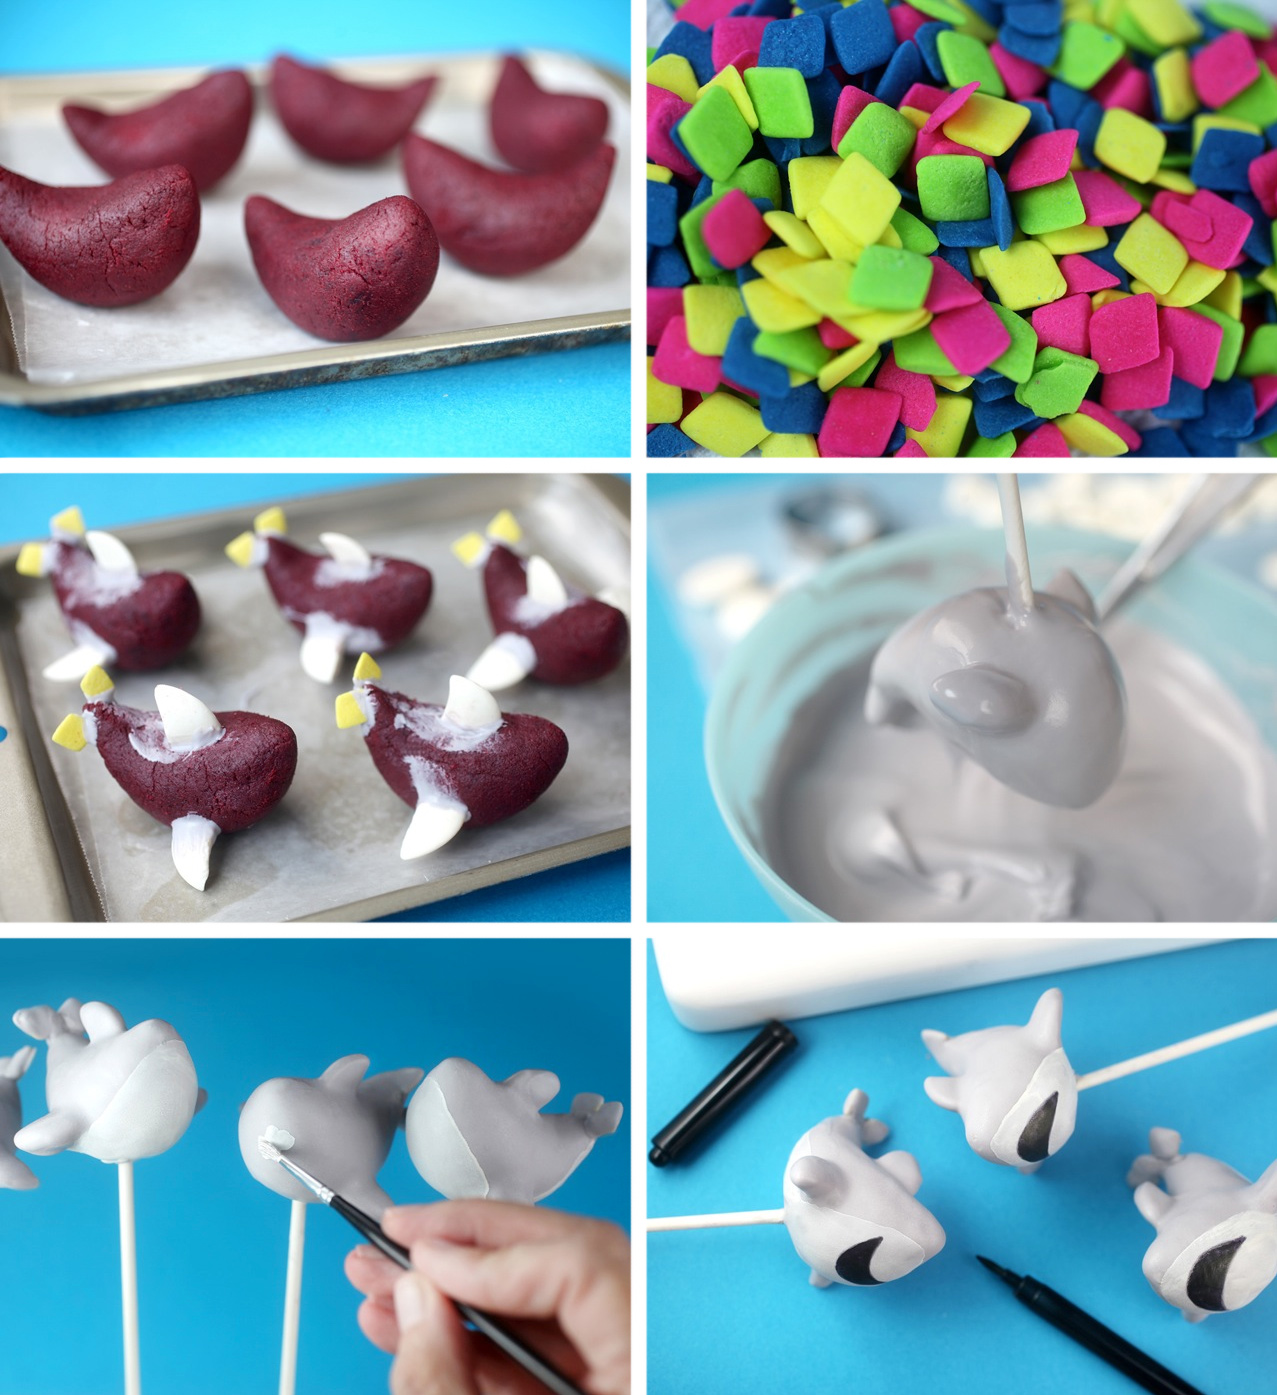
Start out by making basic cake pops (instructions here) rolling the balls slightly larger than usual. Then use the directions below to decorate them.
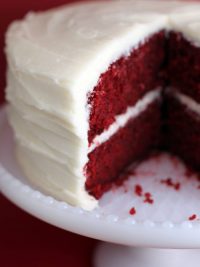
Obviously, red velvet cake is the only way to go here.
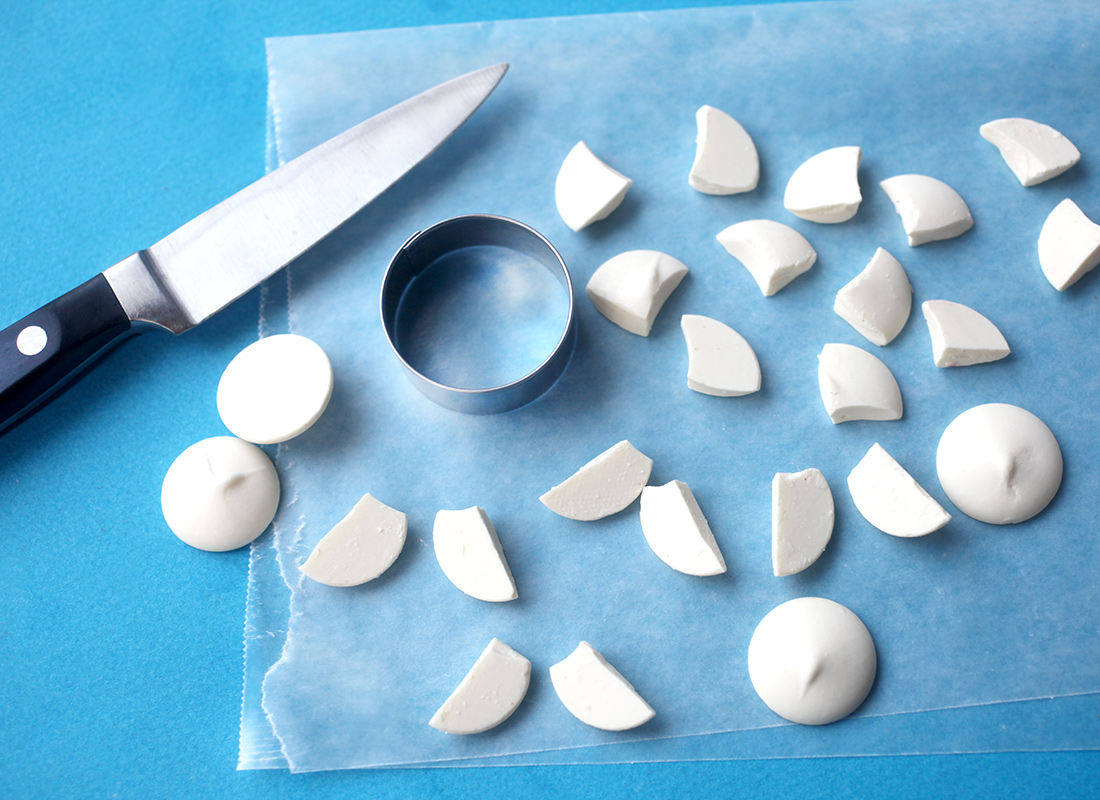
I didn’t really have anything perfect on hand for the fins, so I improvised by cutting curved shapes out of candy wafers.
There are two different shapes here. The top left is made by cutting a curved section out of the wafer and then cutting it again kind of parallel to the first cut so you end up with a small dorsel fin (top) shape.
The bottom shapes are made by cutting a small curved piece away from a candy wafer and then cutting the wafer in half. These are for the pectoral fins (side) shapes. These pieces will be attached to the cake shape before dipping so that when the cake pop is removed from the melted coating, the attached pieces will help create the final shark.
Like so.
Okay let’s decorate this guy…
- Take the round cake balls and shape into… well, I don’t know what I would call this… but, it’s curved and then rounded and plump on one end (the front) and pointed and thinner toward the back (tail).
- I used these flat diamond shapes for the caudal fin in the back (yes, I totally looked that up.) But you can use whatever works. I just had these handy. Jumbo heart sprinkles could work too.
- Attach all the fin shapes to the shaped cake ball using melted candy coating to glue. It’s okay if they look messy right here. Just make sure the candy coating is smoothed flat to the cake. If not, any bulk will change the shape of your sharks when you dip.
- When chilled, not frozen, dip the end of a lollipop stick in coating and then into the bottom of the shark. Tilt the shark’s head up so when you insert the stick, you have more area for it to go into. These are on the heavy side and if you stick it straight into the middle, they will fall off. Having the heads tilt up also adds to the character of these I think.
- When dipping, make sure the coating is melted and fluid. If it’s too thick, they will also fall off. For the gray coating, I added black candy coloring to white coating. But you can also make these a blue color and they’ll be super sassy.
Let the sharks dry. Note: a couple of times, my caudal fins fell off in the coating. If that happens. just quickly remove them and then you can attach them separately after the shark is dry. - I used edible food paint to make the area underneath the shark white.
- Let dry and then draw on big mouths using a black edible ink pen.
- For the finishing touches, draw on eyes with the black edible ink pen and then dot them with white candy coating using a toothpick.
- Use a clean toothpick to draw on teeth. Dot and pull to a point to make them look sharp.
- Draw on gills using a toothpick and gray candy coating.
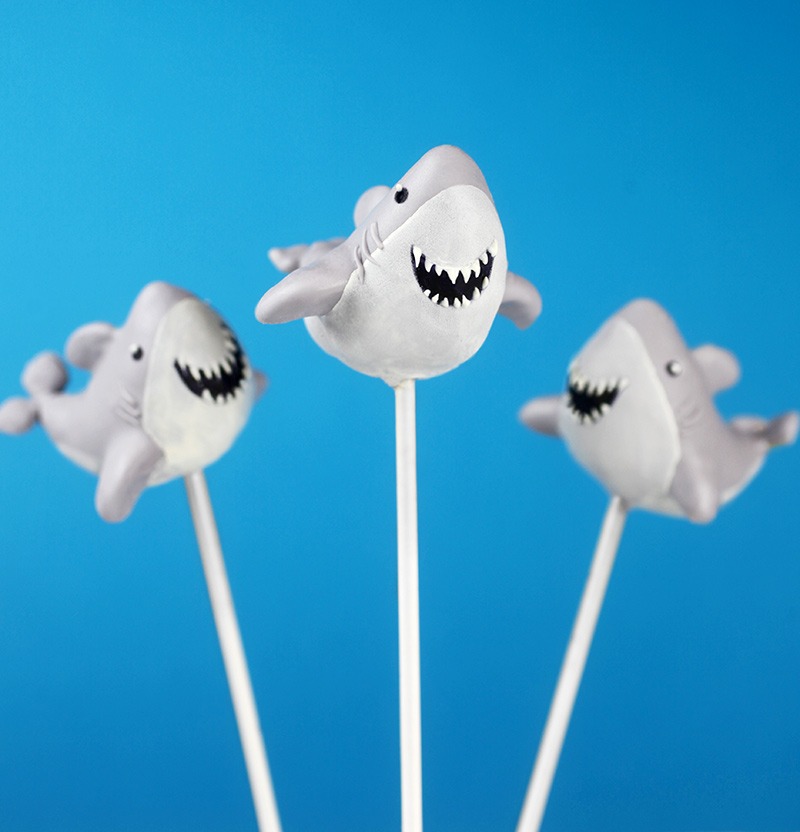
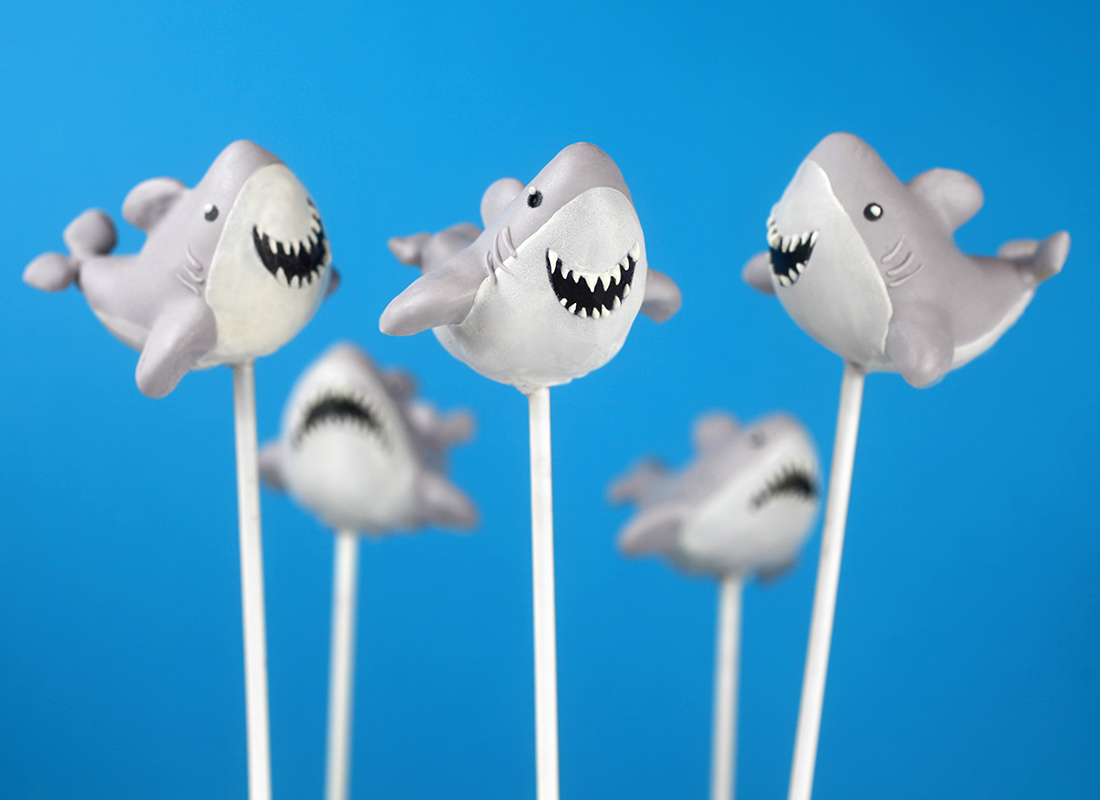
Look how happy these sweet little sharkies are.
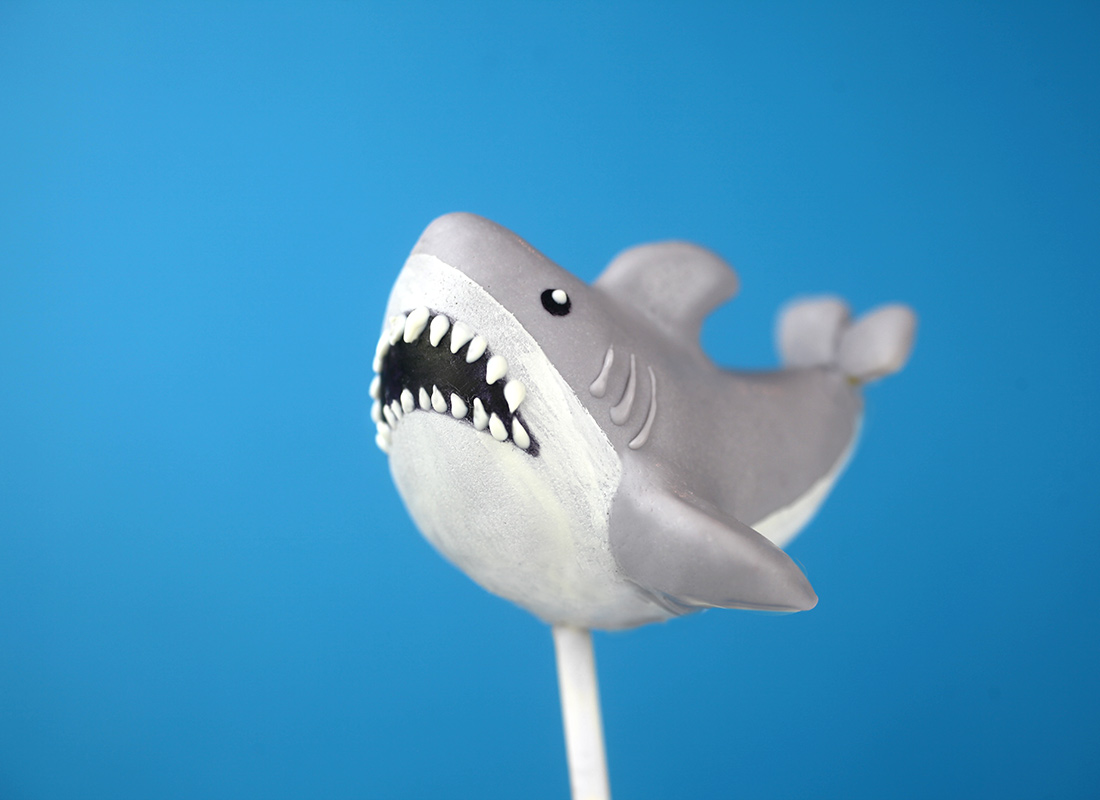
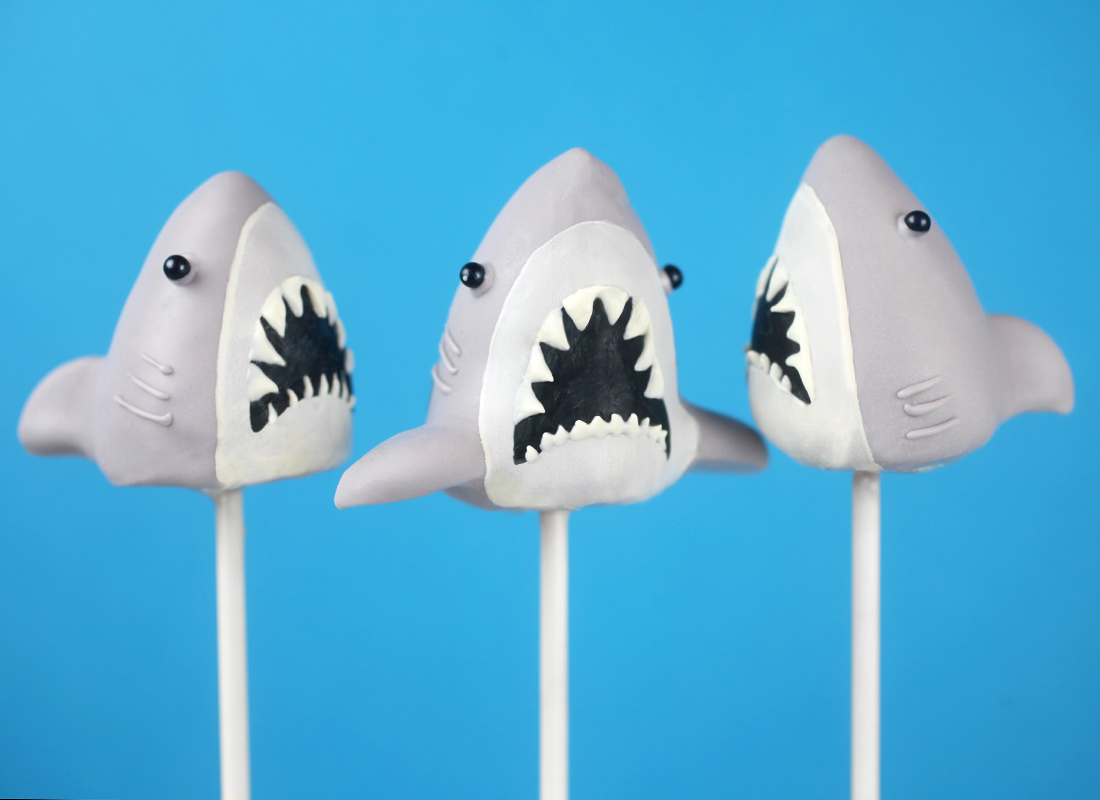
But maybe we should make one a little more menacing.
Duunnn. Duunnnnnn. Yes. That’s more like it. And more iconic. BTW these are much easier to shape and dip if you’re thinking about making some.
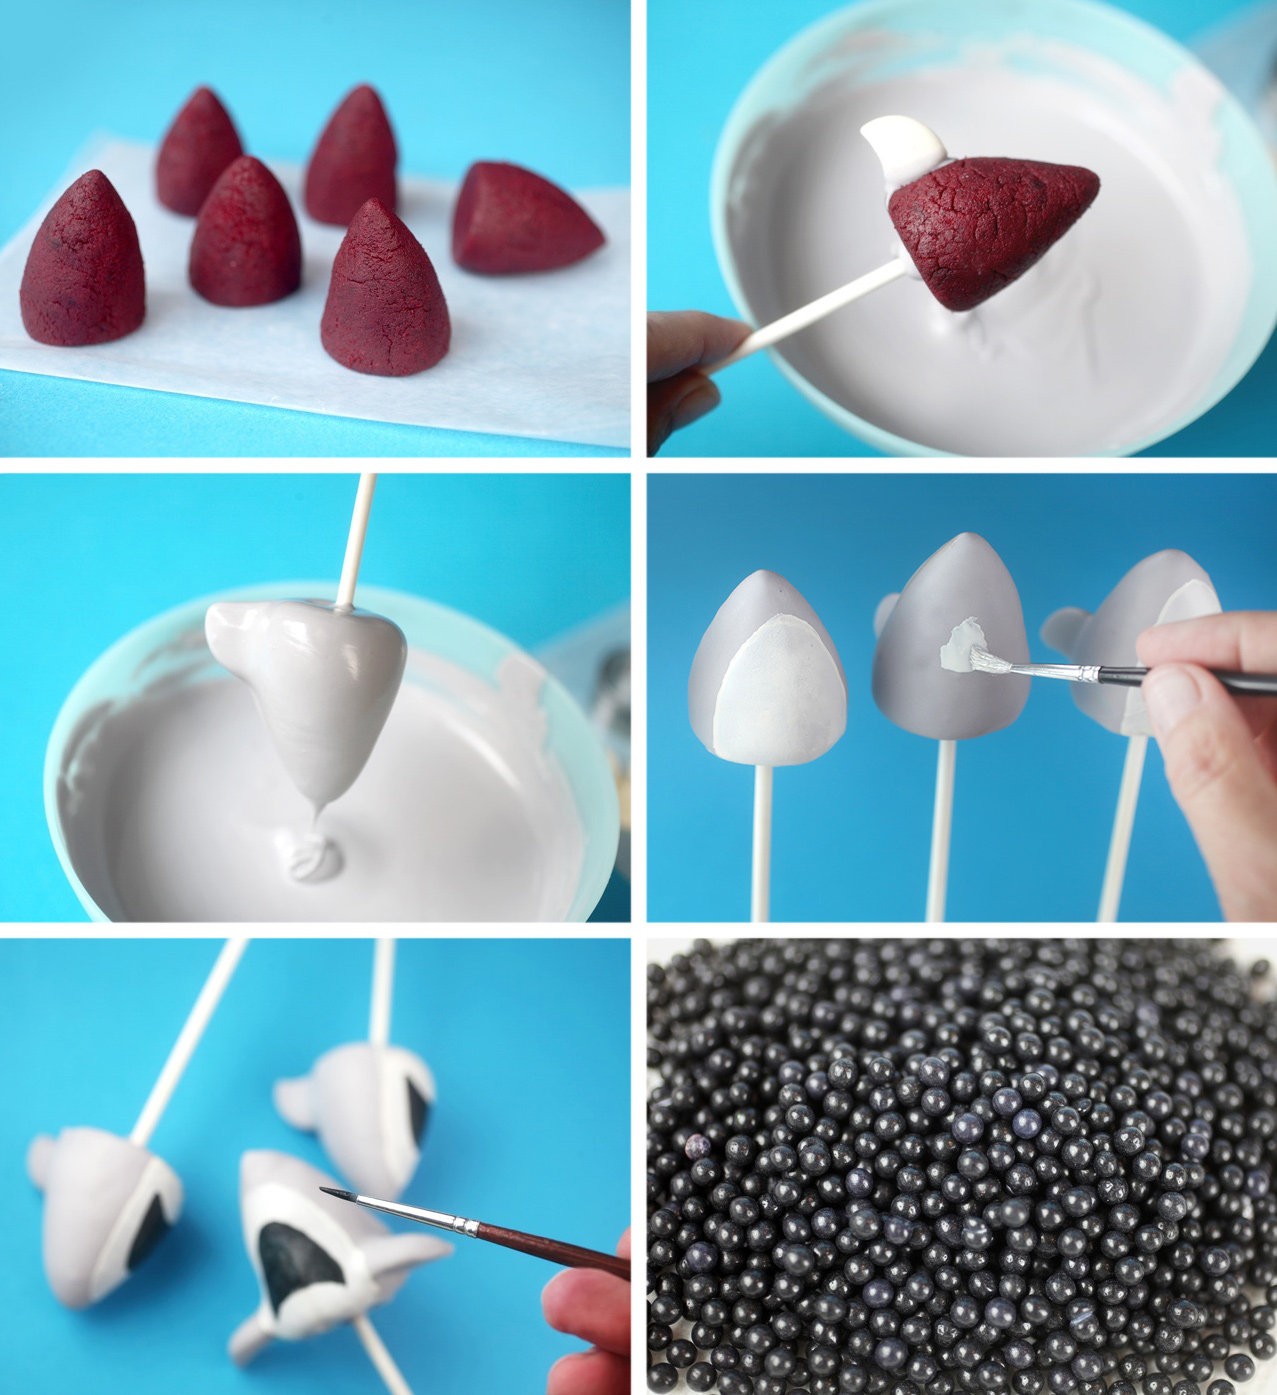
- Roll the balls on wax paper and begin to shape into a cone. Slide the bottom on the wax paper to make it flat. Continue shaping until the top is pointed. These are also angled to one side slightly.
- Attach a dorsel fin to the back with melted candy coating and dip. Add pectoral fins if you like. They look cute both ways.
- Dip and let any excess fall off. Let dry completely.
- I also used edible food paint for the white undersides, but you can also dip these at an angle (almost flat) in melted white candy coating. Use a toothpick to coerce into a smooth line and let dry. The extra white coating will add some bulk to the look of your shark but that’s ok. You can also skip the white all together.
- For the mouths, I used black edible food paint, but you can also use a black edible ink writing pen.
- To finish the look for these, dot on gray candy coating and place a black sugar pearl in position for the eyes and draw on gils. Let dry.
- Use a clean toothpick to draw on teeth the same as for the other shark design. These are just a bit bigger. Dot and pull to a point to make them look sharp.
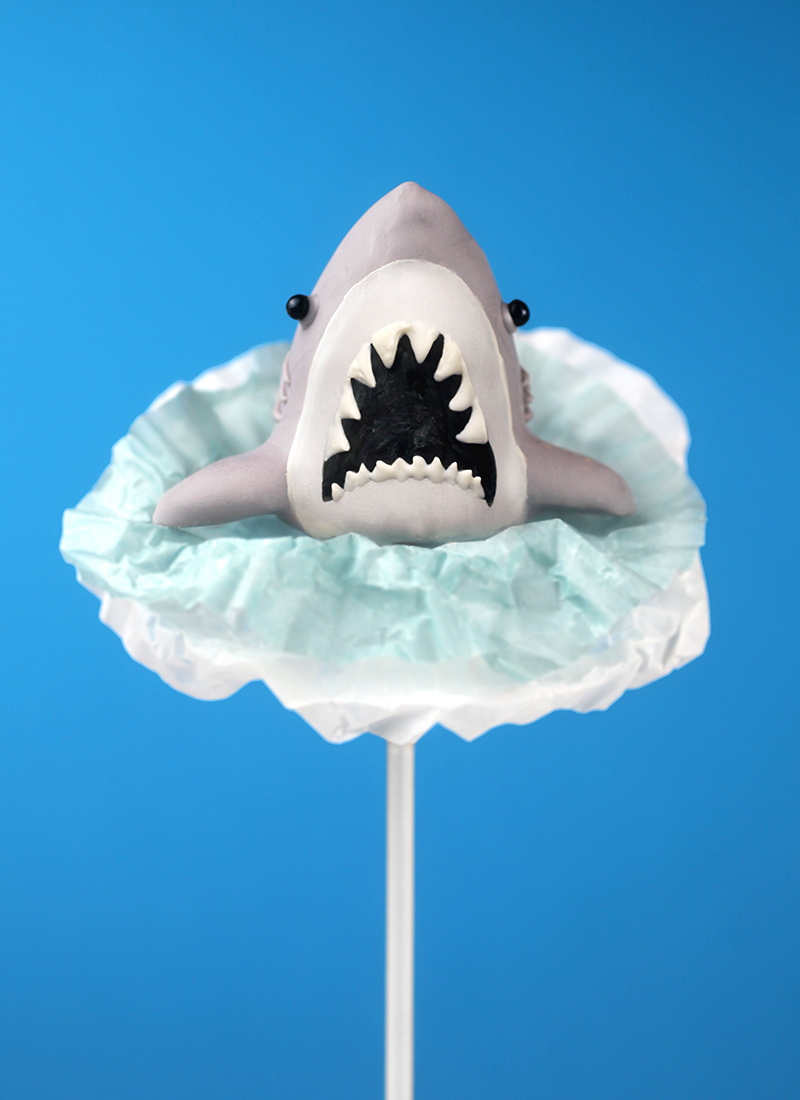
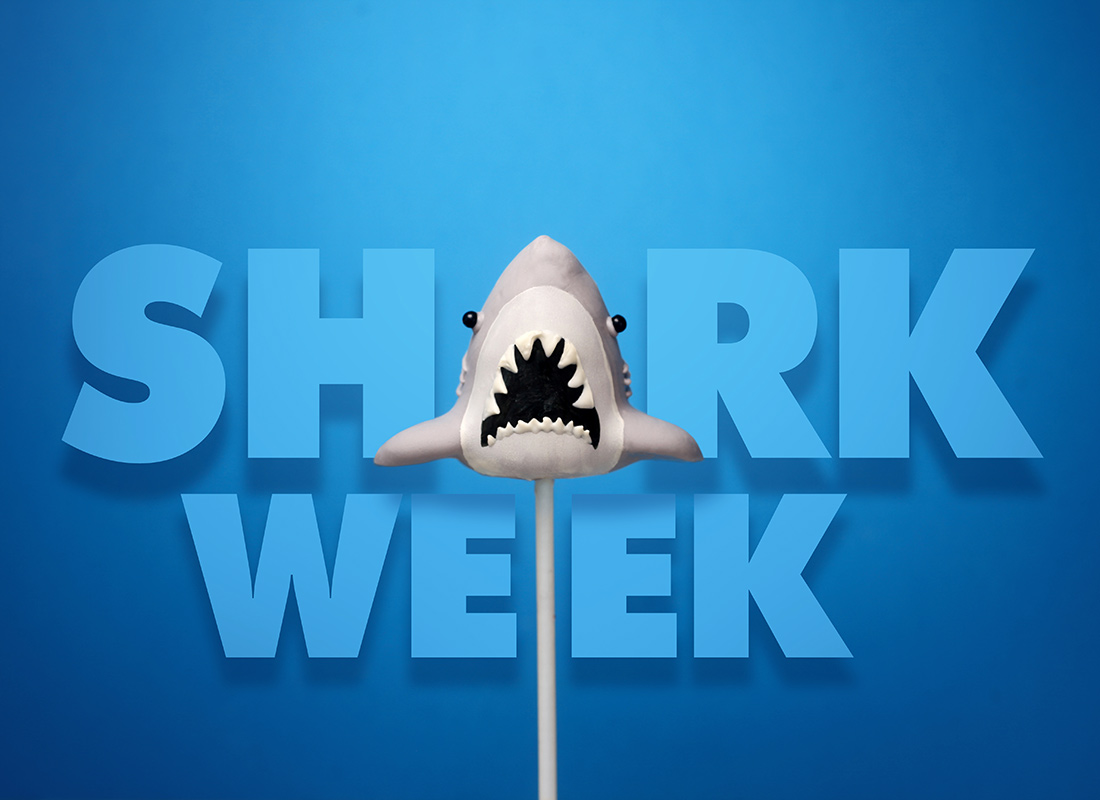
Okay, tell me what you think here. I wanted to make them coming out of water, but didn’t want to add more colors of candy coating around the base of the shark. So I crumpled up light blue and white cupcake liners, poked a hole in the middle and slid up the lollipop stick. I think it kinda works. These would make a big splash at a kid’s party, too.
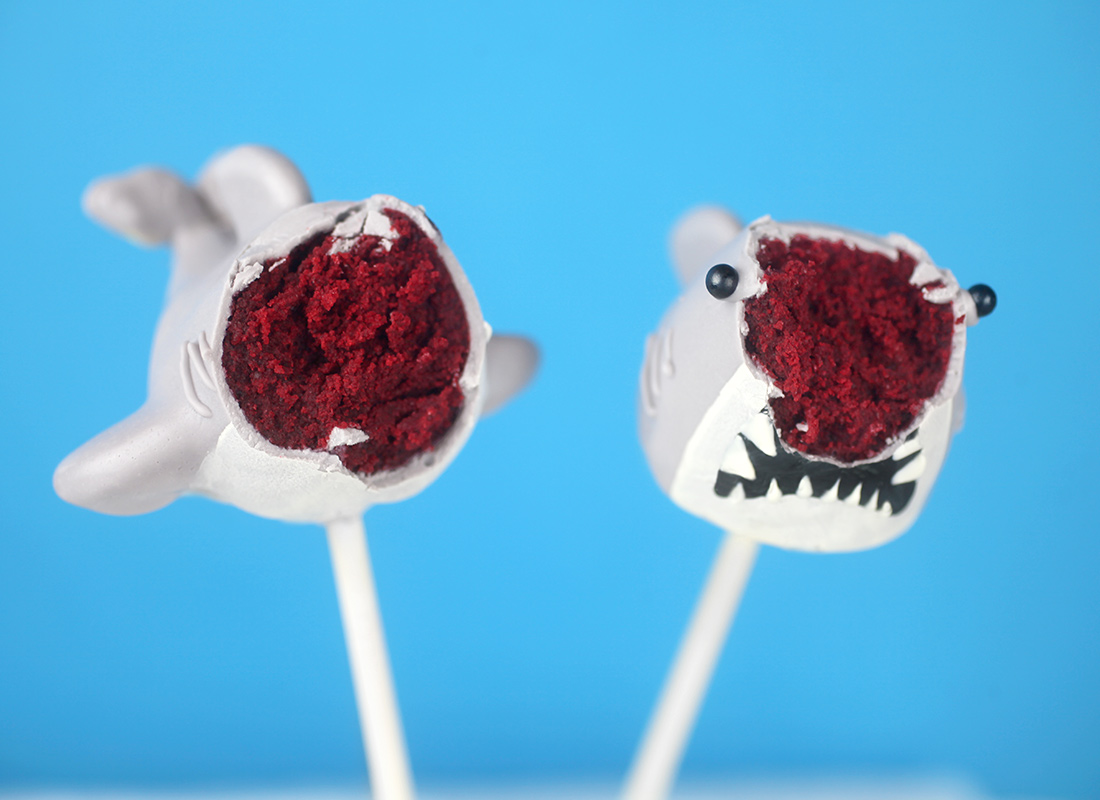
Umm… definitely my kind of shark bite!
Hope you enjoy.


These are sooo cute, but mine turned out looking more like beluga whales. I couldn’t get the gray candy coating the right texture so had to use shortening to thin it out… then the white paint (used cake paint) wouldn’t stick to candy coating and I don’t think it’ll ever dry (waited 24 hours) so I couldn’t then draw the mouth… :( #pinterestfail
You are so creative and talented! I love all the shark variations
Thank you for sharing
Definitely trying this out for my nieces birthday! Thanks for the recipe share!
Your cake pops have always been so creative!!!
These sharks look so adorable!! My nephews are coming to visit me this weekend so I’m going to make these to surprise them. I bet they’ll love it!
My son like it very much.
Hi, Angie! These cake pops look amazing! I just wank to reach me hand through my macbook screen and pull out one of those cuties. I love all you work and especially your adorable minion cake pops! I made them the day I saw them… Even though I had to go to 5 different stores, it was totally worth it! Great post, but I was wondering if you could possibly make shopkins cake pops/cupcakes /cake?! My sisters birthday is coming up and want to surprise her- but I need an amazing recipe from an amazingly creative baker… I wonder who to ask! ;) Thank you so much!
These are so amazing!
You are so creative and talented! I love all the shark variations, but especially the cute, smiley ones! The cupcake liners are genius, and look fabulous!
Those are so cute!!!! You sure are talented!!
You should sell them! I would totally buy a dozen of these cuties!
So enormously cute – one of my favorite of yours so far!!
OMG now I want a little cute shark to squish :D
Soooo cute! I think the cupcake liners are a fantastic idea. I am always so impressed by your work.
Wow! You did an amazing job! Love the scary sharks the best. I can totally see kids having a giggle when they take a bite out of the shark and see the red cake inside!
So cute for Shark Week! Always so creative.
I saw it every time Angie … YOU ARE AMAZING! Another adorable creation! Thank you for sharing!
You are so good. Your talents amaze me and it’s always so fun to see your next project!
Your cake pop designs never cease to amaze me. I don’t know which sharks I like more. The menacing one is a bit scary but so realistic while the smiley ones are so darn cute. They are both perfect for shark week.
I like the idea with the cupcake liners. They all look so sweet! Totally awesome idea for a kid’s birthday party. I like how you think….
Greetings!!
Christina