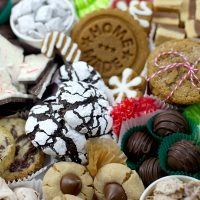
The season of giving will be upon us in just a few short days. I love December. People start baking and sharing sweets with friends and family … even people that might not normally bake any other time of the year. There is just something about the holidays and baking for others that makes people feel good to give.
I like to give fudge, pies, cake balls, cookies… cookies … and more cookies. I don’t really have a favorite kind though. But, one thing I like to do is make people smile, so I thought I would make some sweet little gingerbread cookies to share and get the season started off right.
I like my sweets on the smaller side, so I end up with larger numbers. That way I have enough goodies to give away and enough to keep for me. I wanted to make gingerbread men, but I decided to just make the heads for two reasons:
One … more cookies.
Two … I could have fun and focus on their faces …
oh and three…… less piping and less chances for my icing to look crooked. : )
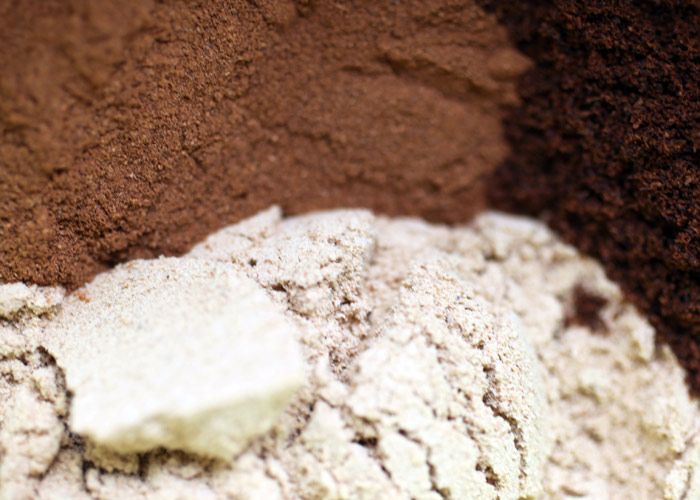
Ooooh, ginger, cinnamon and cloves.
Can you smell it?

Add the spices to your flour … it will make your dough delicious.
I don’t have pics of the rest of the ingredients, but we don’t want to look at those anyway.
We want cookies. Cute cookies.
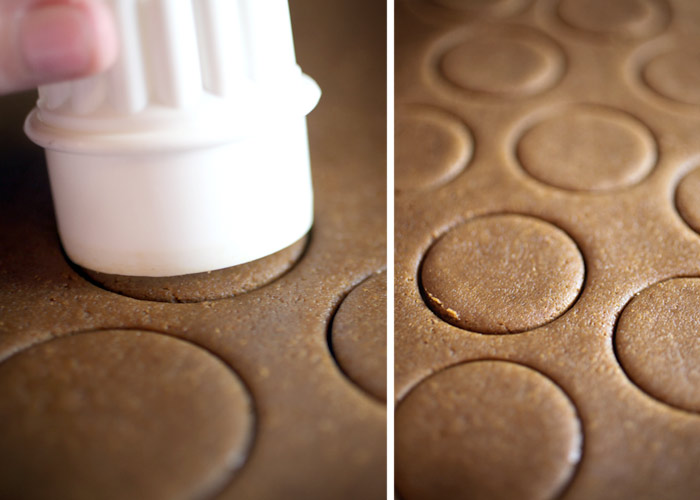
I used a small cookie cutter to make the base for the faces.

Little bitty blank canvases.

Where to start?
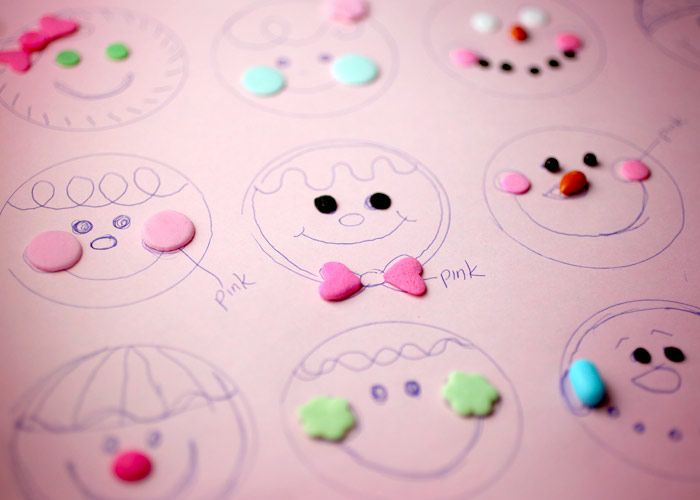
Well, I have to start by drawing ideas out first. Otherwise my faces would look all mangled. I use the same cutter to make several circle shapes on paper and sketch away. Then I place sprinkles on top of the drawings to see what works. It helps for me to have a point of reference when I start piping.
Ugh. I’m all excited about the possibilities up until right before I actually start. I always envision the cookies perfect in my head, but my hands just don’t like to play ball. They get shaky and then I get nervous and then my lines get more wobbly than they would if I just wouldn’t think about it.

This is pretty good though and probably as good as it’s gonna get.
Can someone please tell me how to make the lines meet without overlapping. My release needs work.
Since the edges of the cookies weren’t completely flat, I tried using the cutter dipped in flour to make a guide on the cookie. You can see a hint of the outline above.

It helped some… or not.

Once you pipe on all the details, you can start adding sprinkles for accents.
Or you could pipe them on in different icing colors. I chose sprinkles so I could control the shapes and so I didn’t have to mix a bunch of colors for tiny details.
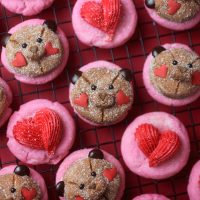
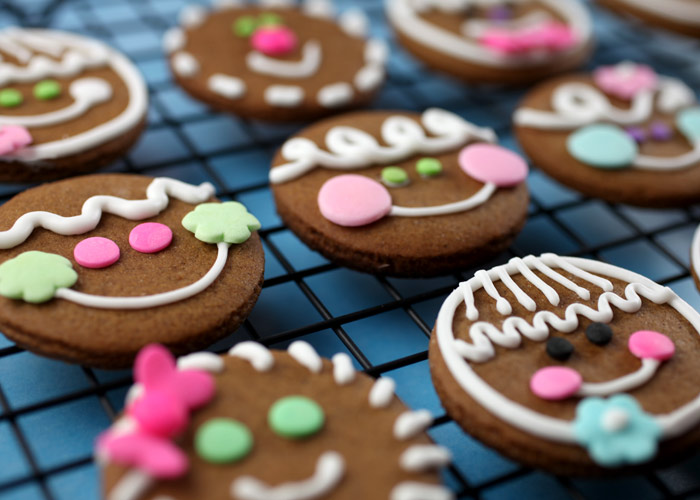
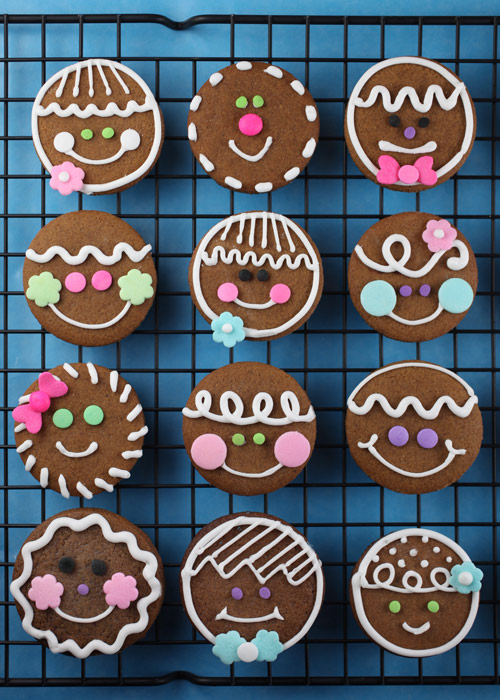
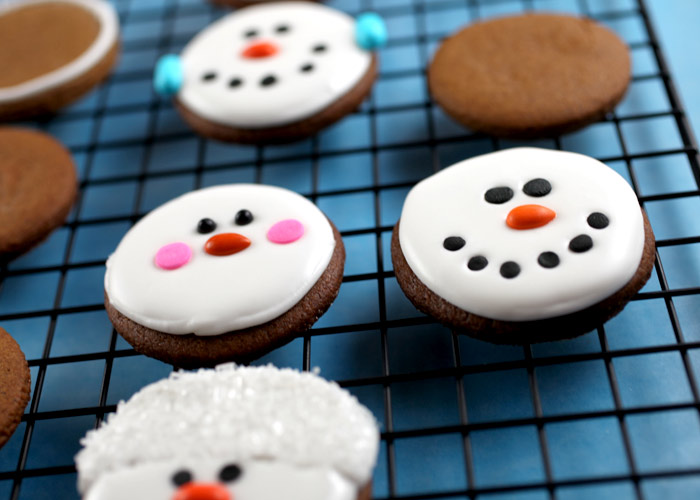
Confetti sprinkles in different sizes, shapes and colors worked great for cheeks, eyes and bows.
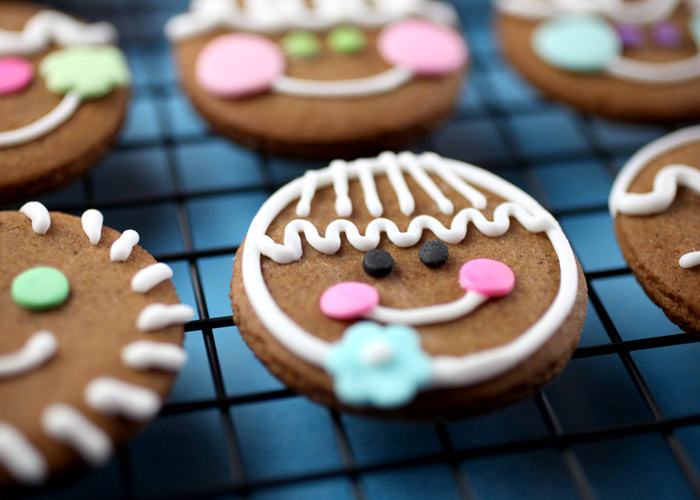
Gingerheads. Look how cute. These are sure to make someone smile.
Big smiles. Big cheeks. And hopefully happy recipients.
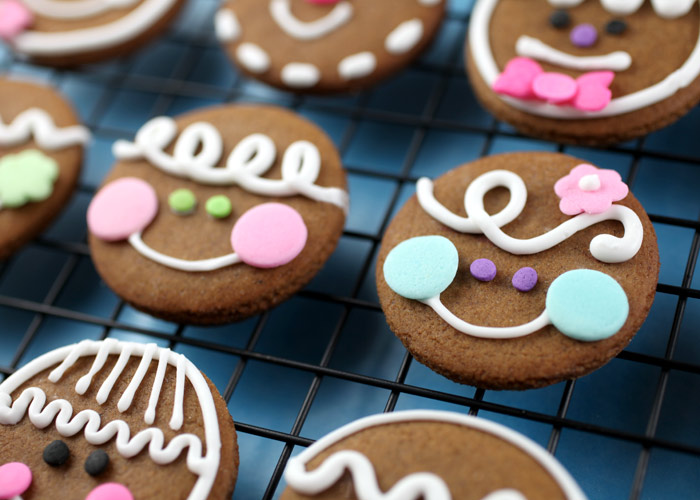
See how versatile the jumbo flower sprinkle is.
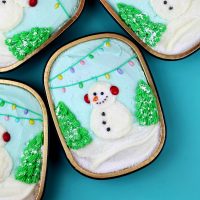
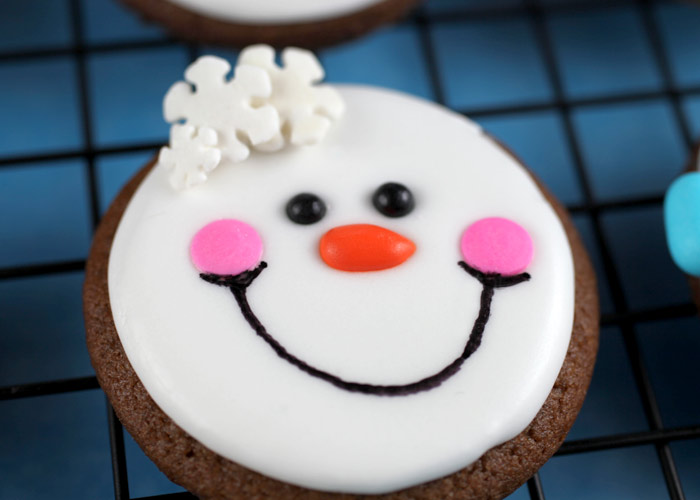
When I finished playing with gingerbread heads, I powered up to pipe snowmen faces.
Looking good.
By the way, so glad I stocked up on black confetti sprinkles this Halloween. They do come in handy.
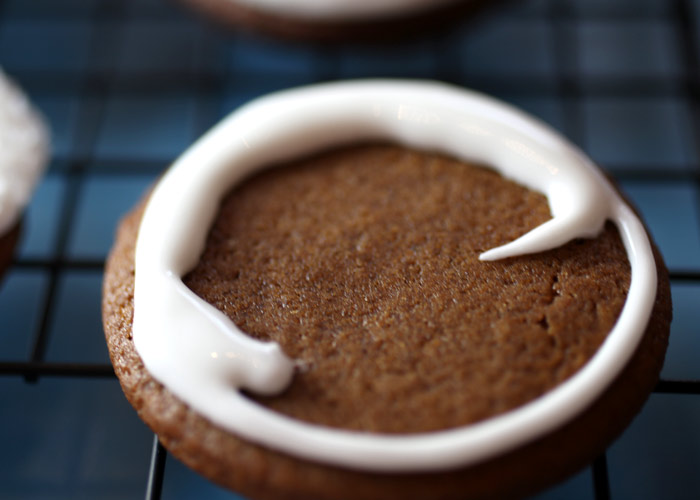
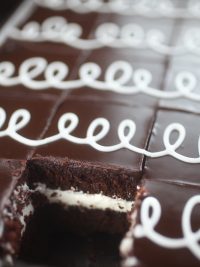
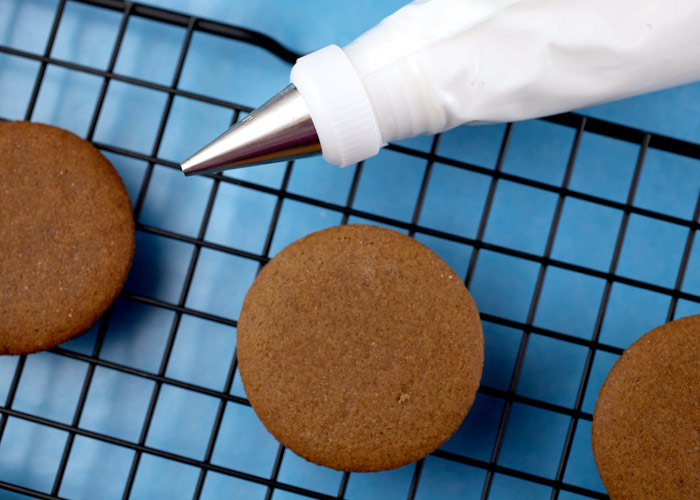
I’ve only really made decorated cookies a handful of times. And they’ve all been since I started blogging. Usually I will pipe the outline and let it dry before filling in the shape. But I wanted to be like my cookie decorating friends and make my edges look seamless and my tops puffy.
So I tried my icing consistency somewhere in between the outline and the flood consistency. I drew the outline and started filling in right away.
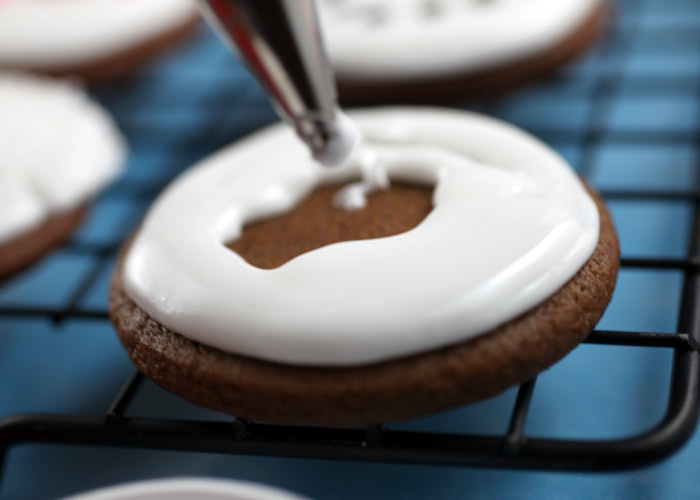
Crossing fingers it doesn’t flow over the sides.
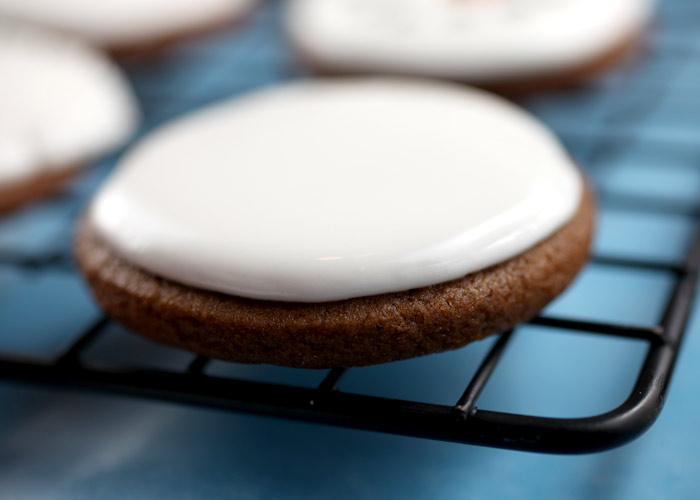
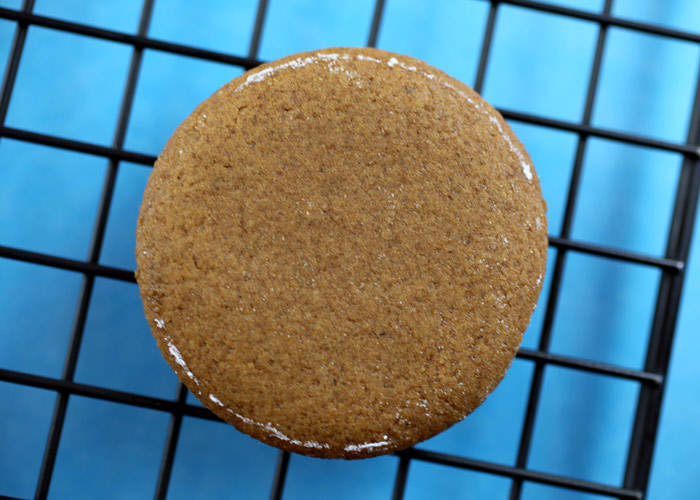
Yay! Success.

I think I like doing cookies this way better.
These were easier than the gingerbread faces because you aren’t as focused on lines that could be wonky.

Again, I just used sprinkles to make most of the accents.
Confetti sprinkles, sugar crystals and coated sunflower seeds, too.
Just place them carefully in position while the icing is still wet.
Wait to draw on any details though, until completely dry.

I think this little guy might be my favorite snowman face. His hat is so sweet.
The earmuffs are tic tacs which don’t really go with gingerbread, but they were the right size and color.

Pipe the bottom half of the face first and let it dry. Then outline the shapes for the hat and fill it in with more icing. While it’s still wet, dip it in sugar crystals. If you lose any of the shapes, you can press in slightly with a toothpick.
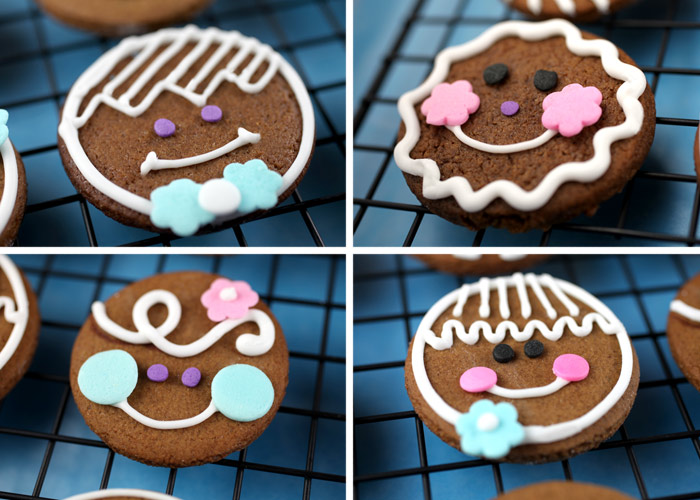
I don’t know what she’s wearing. It’s not really a bow or a hat. Let’s say she’s British and call it a fascinator if anyone asks.

These were incredibly fun to make and so colorful for using only white icing. So even if you’re not a cookie decorating wizard, you can still make adorable treats with simple sprinkles. Which ones would you like to be given?
………………………………………………………………………………………………………………………….
For the icing, mix together four cups confectioner's sugar and four tablespoons meringue powder with about four tablespoons water. If it's too thick, add more water a teaspoon at a time. Or if it's too thin, add more confectioner's sugar. Decorate using a #2 to outline and #3 tip to fill in. Confetti sprinkles in different sizes, shapes and colors make great little cheeks, eyes and bows.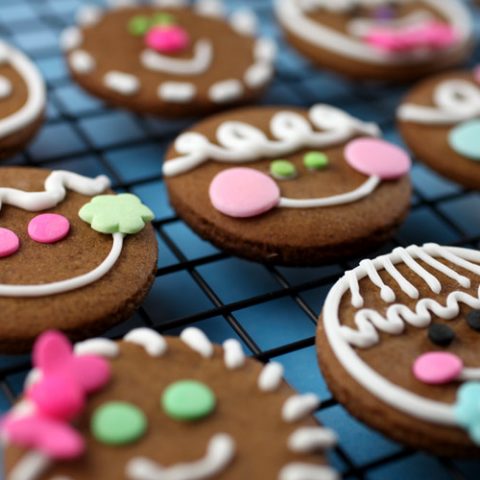
Gingerbread Cookies
Ingredients
Instructions
Notes
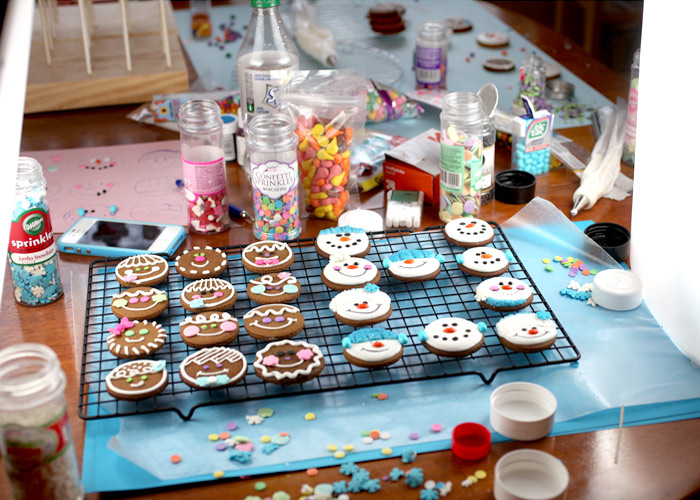
P.S. Thought you might like to see my mess. I usually place sprinkles I’m using in the caps of the containers they come in so I can sort through and find the color I need. But when I get excited and impatient, things start to look like this. I waste a lot of sprinkles this way.
Do you give goodies during the holidays? What’s your favorite sweet to share?
………………………………………………………………………………………………………………………….
This post is sponsored by Glad. Did you know that you can turn your sweet tooth into a donation to help support pediatric cancer research? Visit Glad to Give™ for more information.