Now, if you’re a little less mainstream, here’s an alternative one that rocks:
Anyway, hope you’re smiling and …
Want to make your own smiley face cake pops?
Yield: 45-50 cake pops
Smiley Face Cake Pops
Ingredients
1 box cake mix (cook as directed on box for 13 X 9 inch cake)
1 can frosting (16 oz.)
Wax paper
Yellow candy coating (1 lb. pkg.)
Lollipop sticks
Edible ink pens in black and red
Instructions
After cake is cooked and cooled completely, crumble into large bowl.
Mix thoroughly with 1/2 can of frosting using the back of a large spoon and add more if needed.)
Roll mixture into quarter size balls and place on wax paper covered cookie sheet. (Should make 45-50)
Melt candy coating in the microwave per directions on package. (30 sec intervals, stirring in between.)
Dip the tip of your lollipop stick in a little of the melted candy coating and insert into the cake balls. (Insert a little less than halfway.)
Place them in the freezer for a little while to firm up.
Once firm, carefully insert the cake ball into the candy coating by holding the lollipop stick and rotating until covered. Once covered remove and softly tap and rotate until the excess chocolate falls off. Don't tap too hard or the cake ball will fall off, too.
Place in a styrofoam block to dry. Once dry, draw faces with an edible ink pen and allow ink to dry!
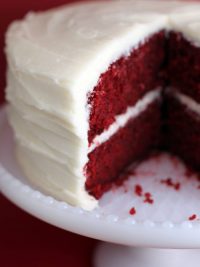
Note: I think cake pops are a little more difficult to make than the cupcake pops because of trying to get the candy coating smooth. So, If you haven’t made them before, check out this post for red velvet cake balls and this one for cupcake pops.
This site focuses on fun and easy baking. You’ll find ideas for cake pops (a Bakerella creation), cakes, cupcakes, cookies, and more. You may even find yourself smiling from all the sweetness.