Hostess with the Mostess Snack Cake

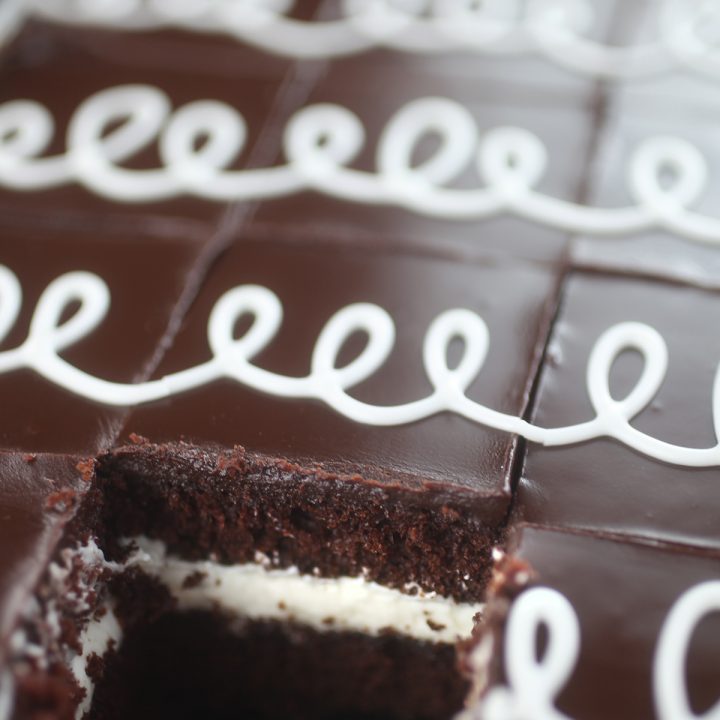
You really need to make this cake. It’s like ridiculously good. The perfect chocolate cake with marshmallow cream frosting, chocolate ganache and pretty vanilla swirls to top it off. It’s basically a hostess cupcake, but super-sized. And I’ll say it again … soooo gooooood!

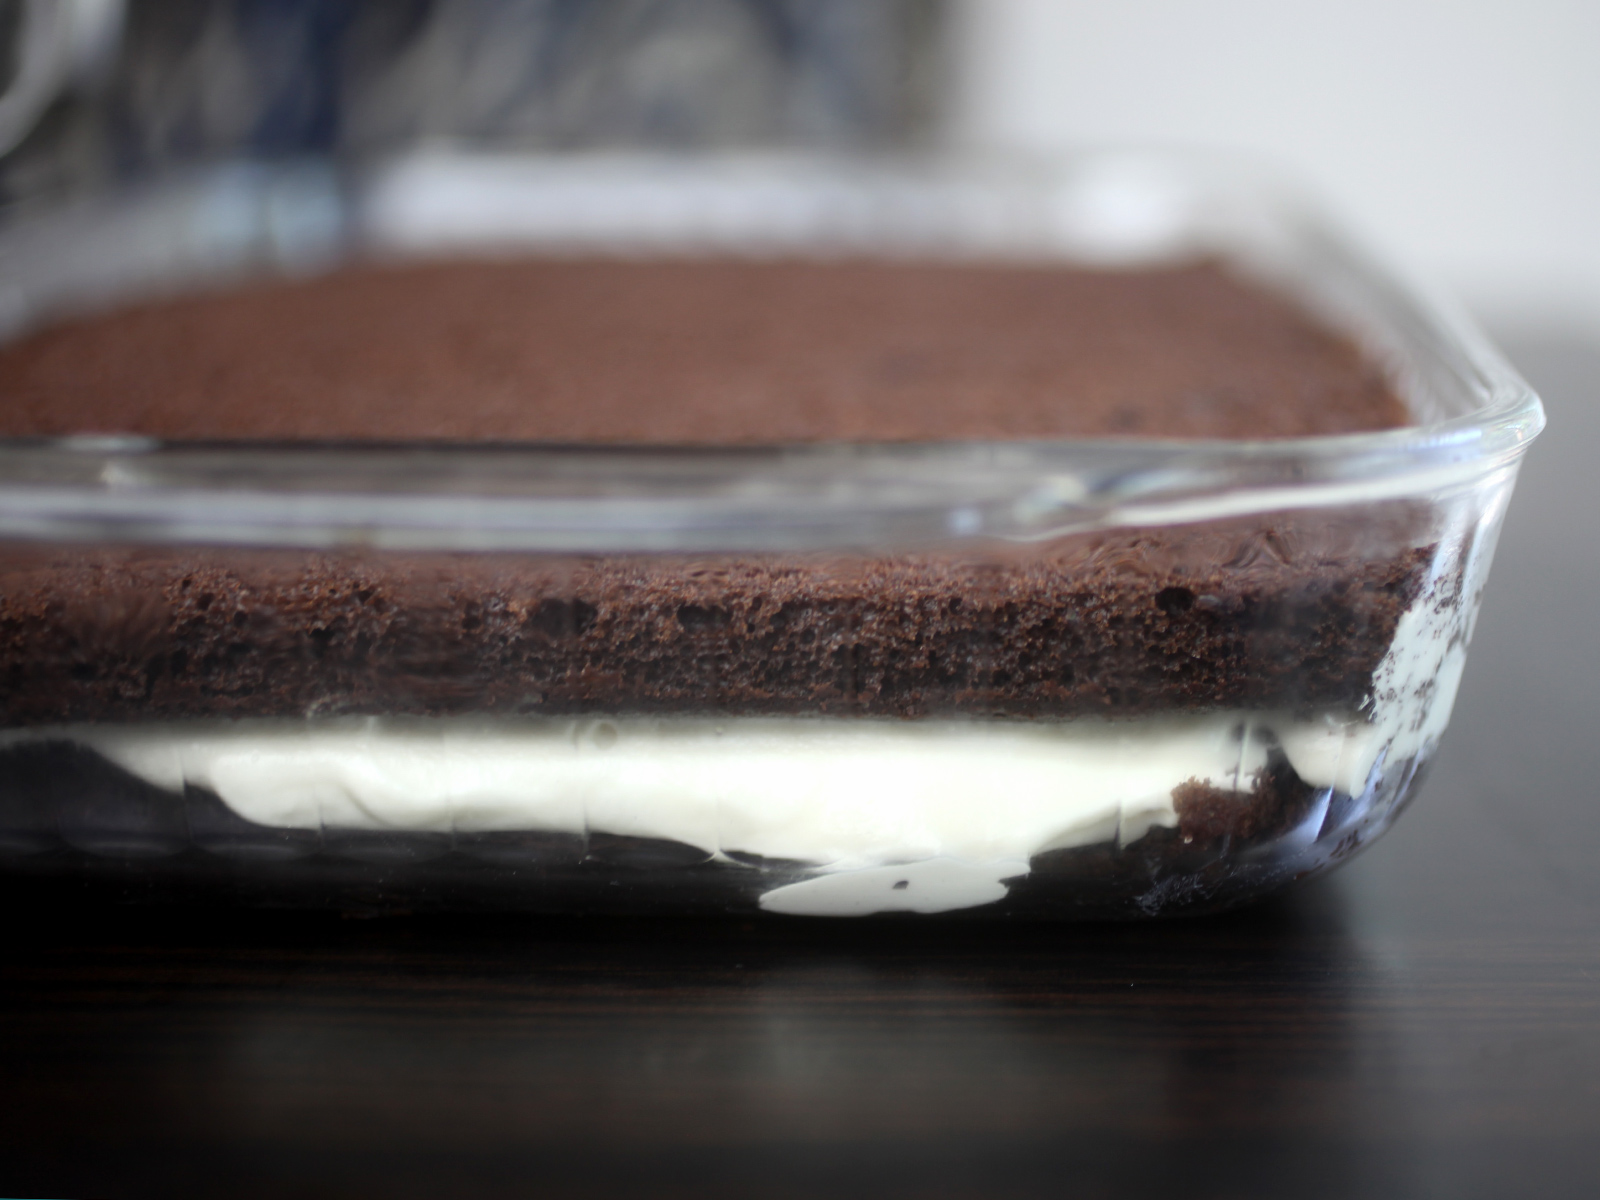
Plus, look at that cake to filling ratio. That is what I’m talking about.

The cake is baked in a roughly 12 X 18 rimmed sheet pan [1] that is greased and lined with parchment paper and then greased again on top of the parchment paper and dusted with cocoa. (I like to use cocoa instead of flour for chocolate cakes). Allow some of the parchment paper to overlap on either side of the pan to aid in transferring the cake later on.

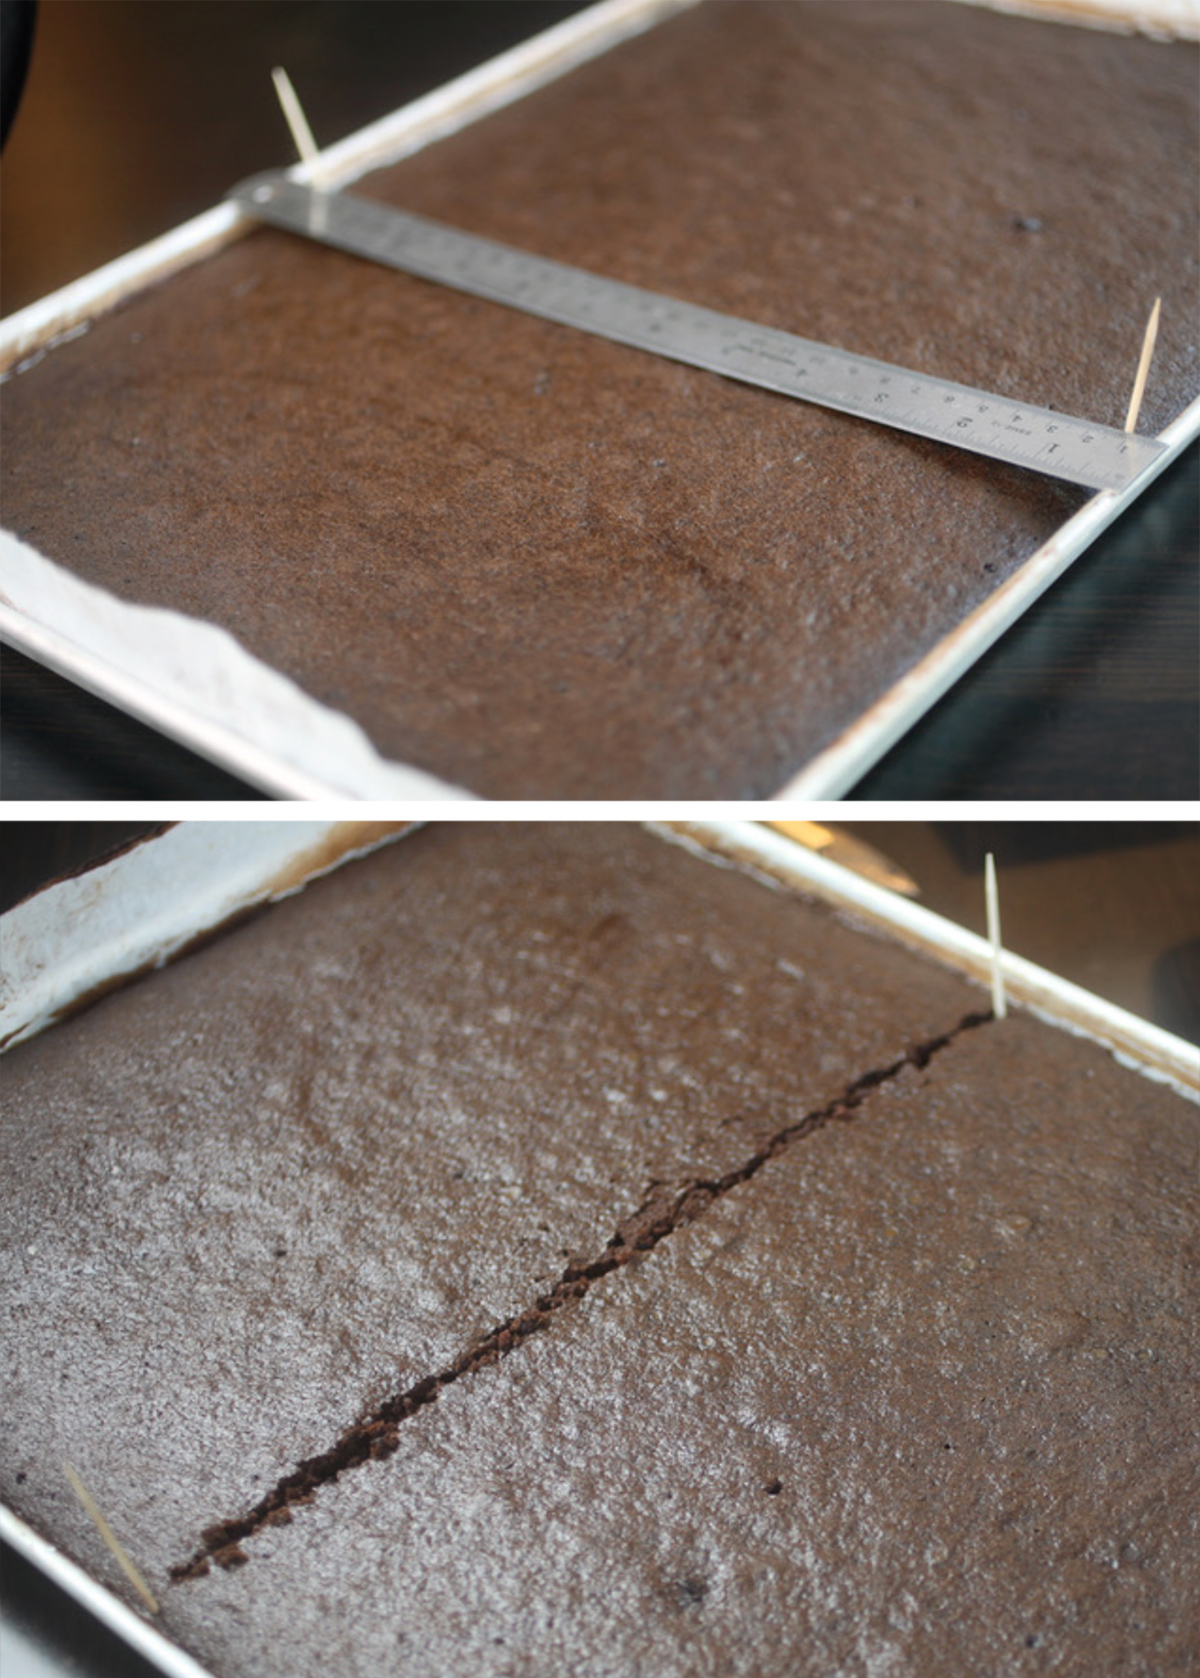
Then the cake is divided in two sections. Measure the cake to get exactly equal layers and cut the cake in half while still in the pan.

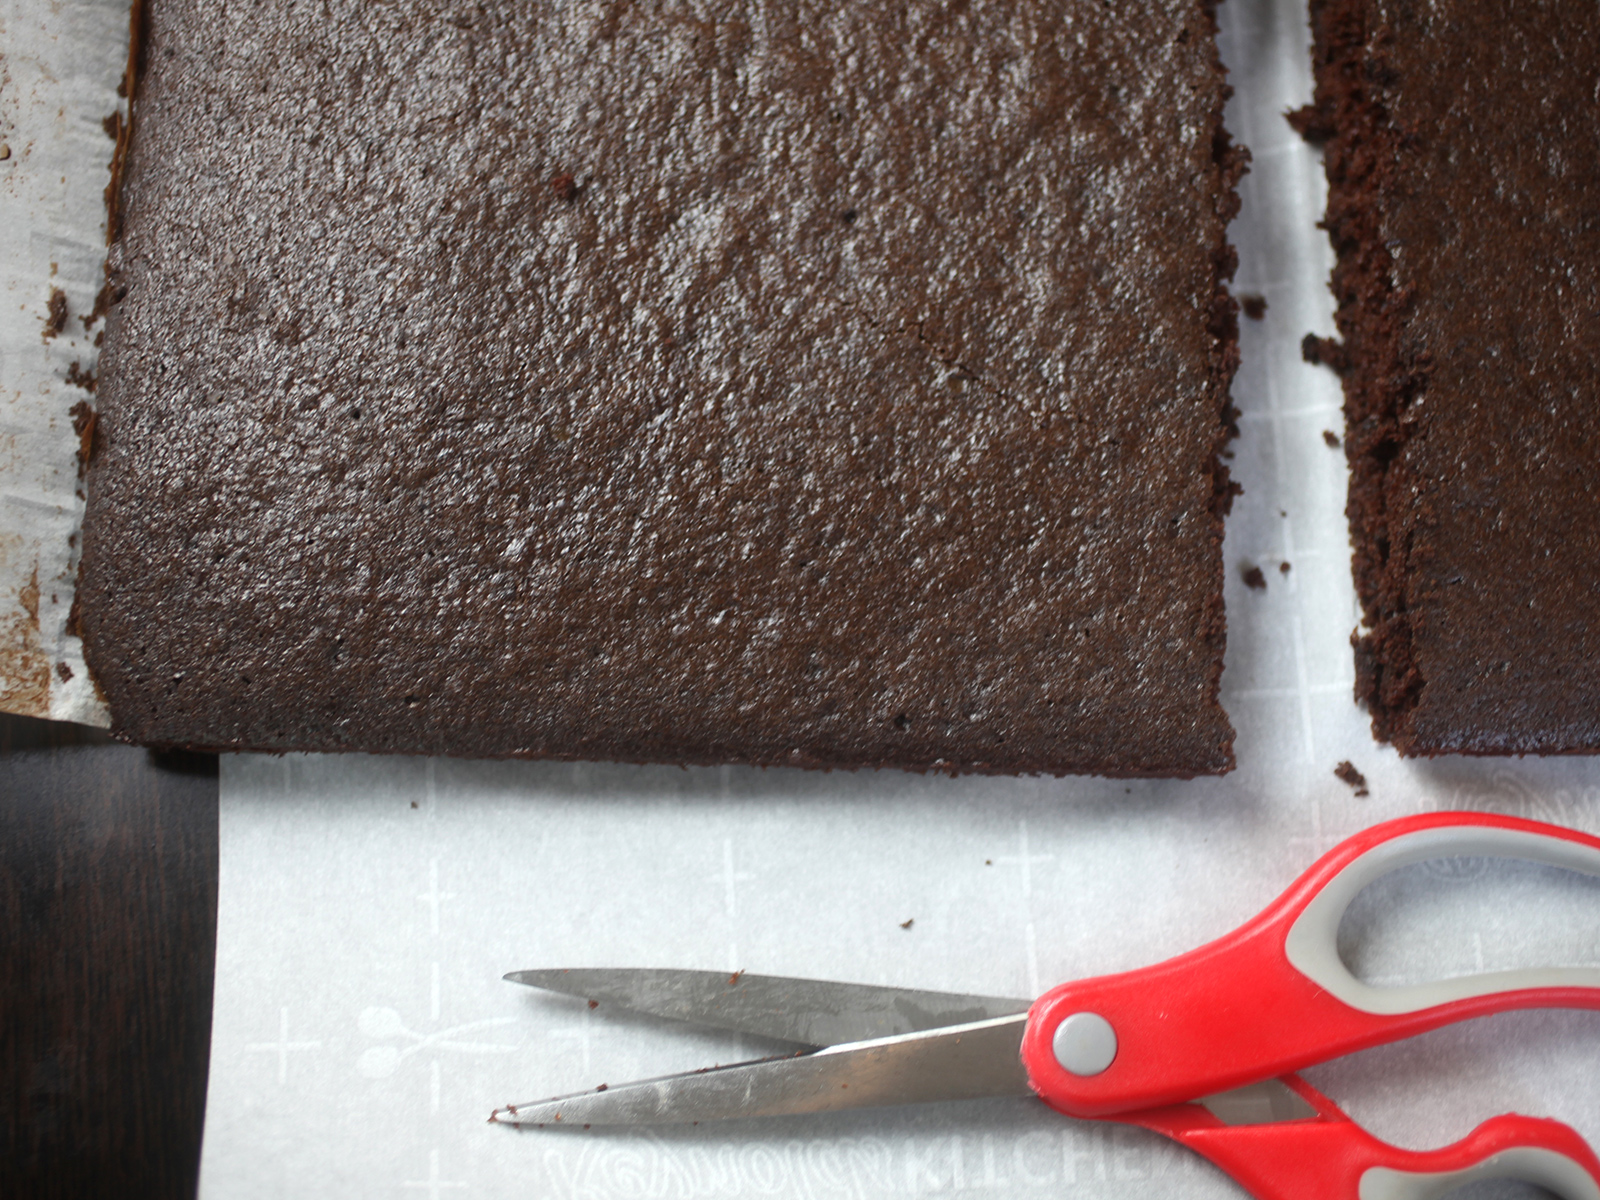
Then carefully remove the cake using the parchment paper that overhangs the pan. Once removed, use kitchen scissors, to cut through the parchment paper in the same spot that the cake has already been cut in half. Do this so you can handle each cake layer separately without it tearing apart.

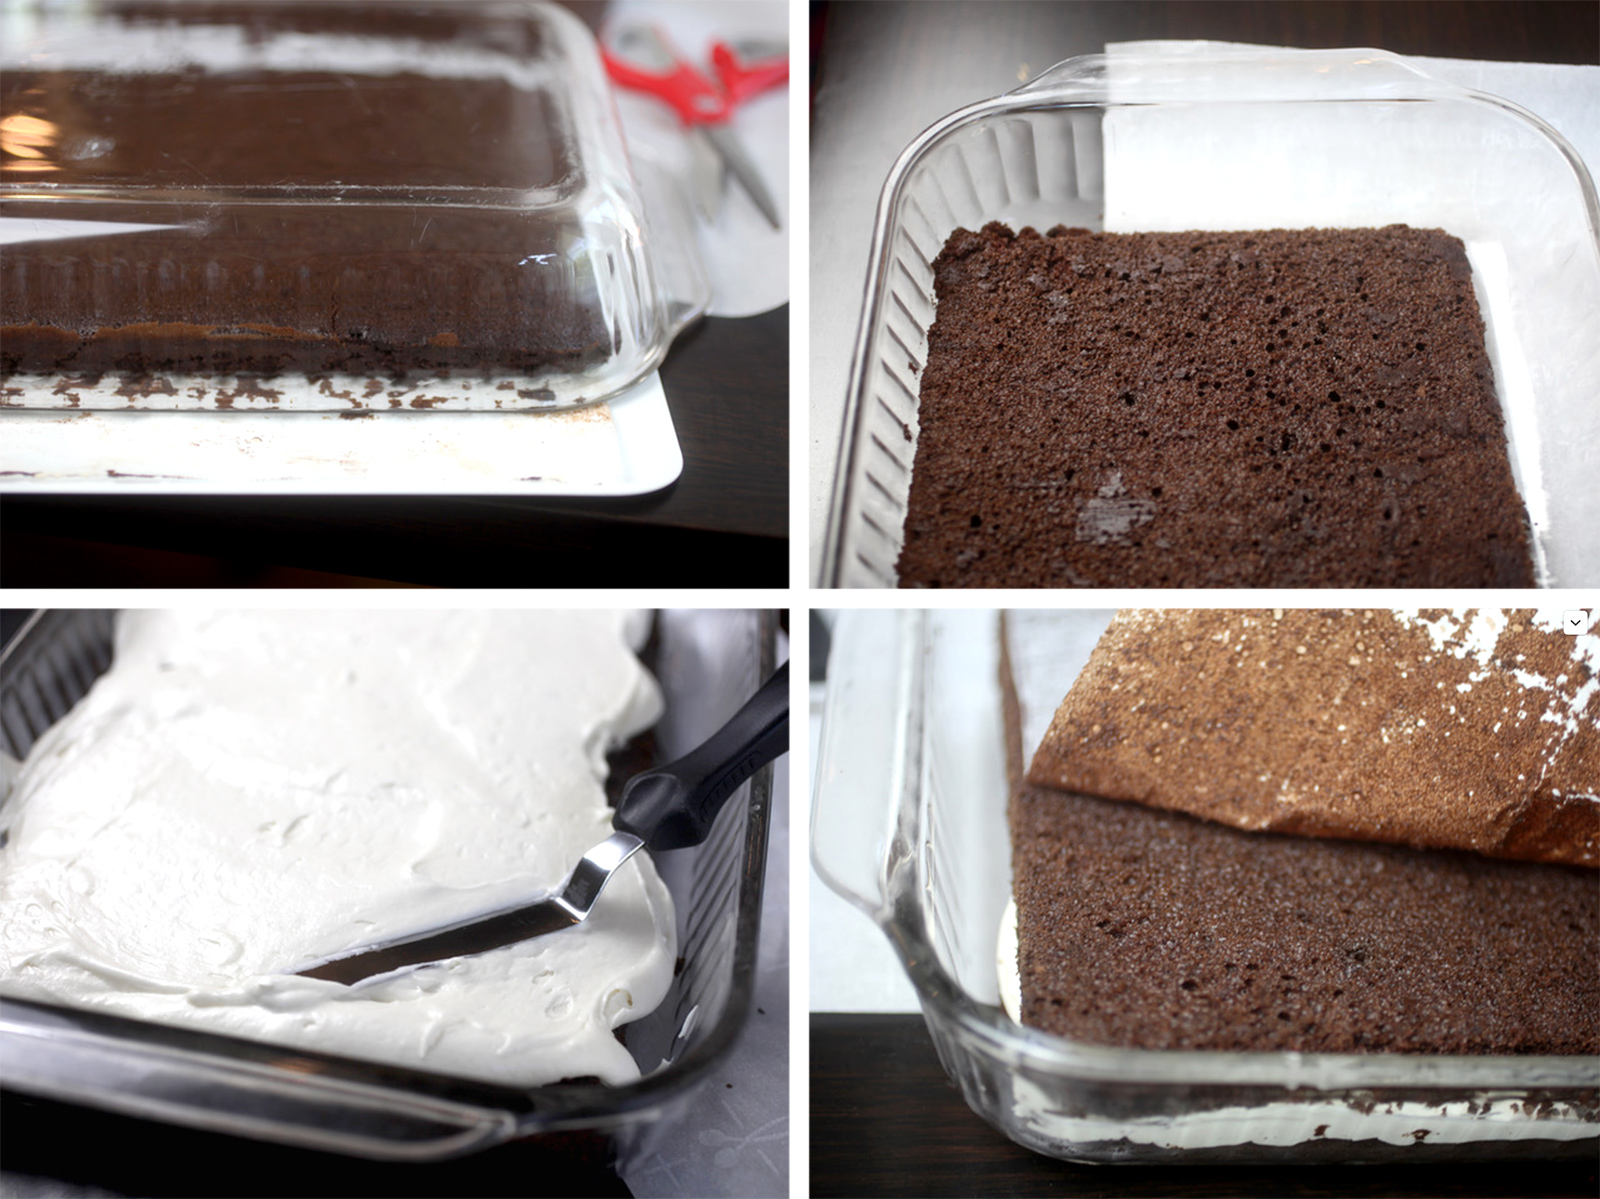
Now that you have two equal layers, you’ll want to transfer and assemble them in a 9 X 13 inch covered baking dish. You’ll need the depth and you’ll appreciate the lid as you snack on this over the next few days.

Transfer the first layer with the help of a rimless cookie sheet. Place a cake layer, parchment paper side down, on the cookie sheet and place the baking dish on top. Holding the cookie sheet against the baking dish, flip it over and the cake layer will fall into place into the bottom of the dish. Remove the parchment paper and then pipe and frost an even layer of marshmallow cream frosting.

To transfer the second layer, you can’t flip the baking dish, so place the cake layer on the rimless cookie sheet and carefully transfer using the cookie sheet for support and your hands for guidance. Get it right the first time because you really can’t readjust it at this point. Remove the parchment paper.

Press the top layer gently into the filling and make sure the layers are as flat and even as possible.

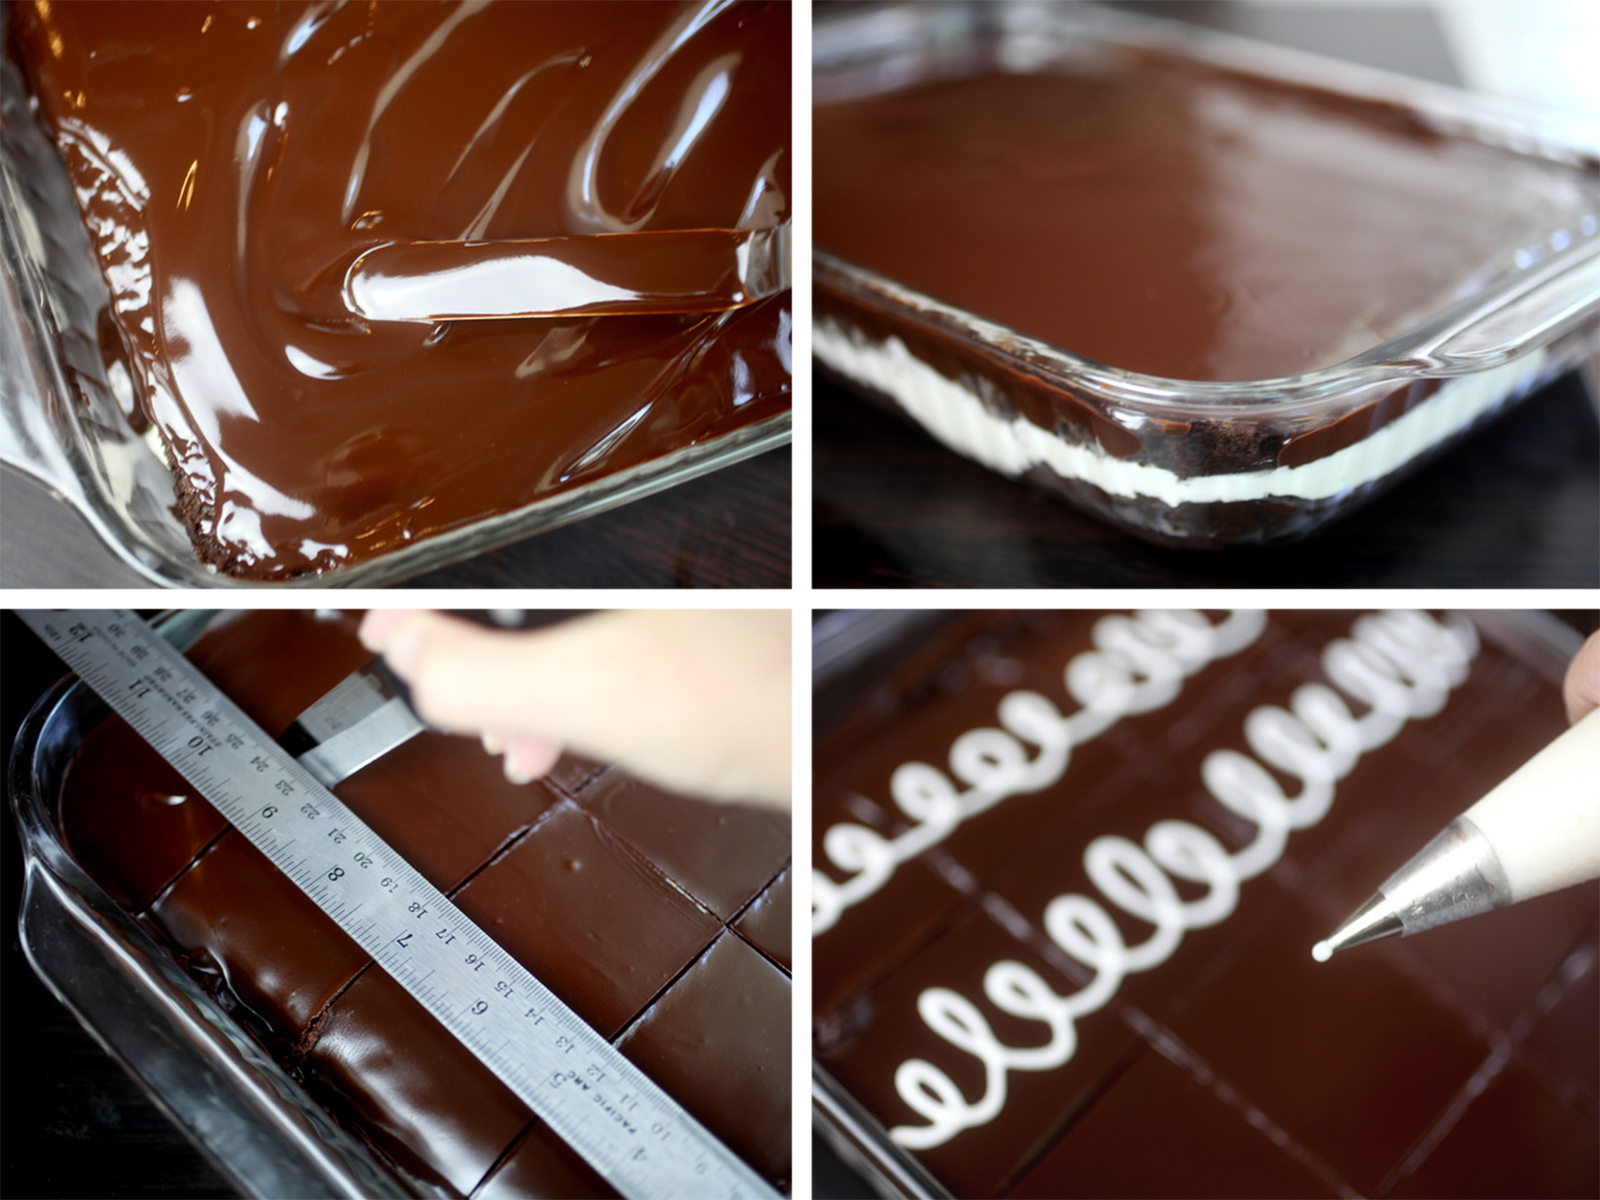
Now the really good part. Lather the top of the cake in decadent chocolate ganache. Oh my gosh. Yes so much ganache. Spread evenly and give the dish a little jiggle and the ganache will settle into a smooth surface. And look as shiny as glass. Let rest for several minutes.

Once the ganache is almost set, but still somewhat shiny, go ahead and cut the cake into even squares. You can use a ruler for guidance as long as it is sturdy and large enough to rest on the edges of the baking dish and without sinking into the ganache. Just be careful… you wouldn’t want to mess up that beautiful glossy chocolate.

Tip: When cutting, use a sharpe non-serrated knife. Wipe it off and run it under hot water between each cut to help guarantee nice clean lines.
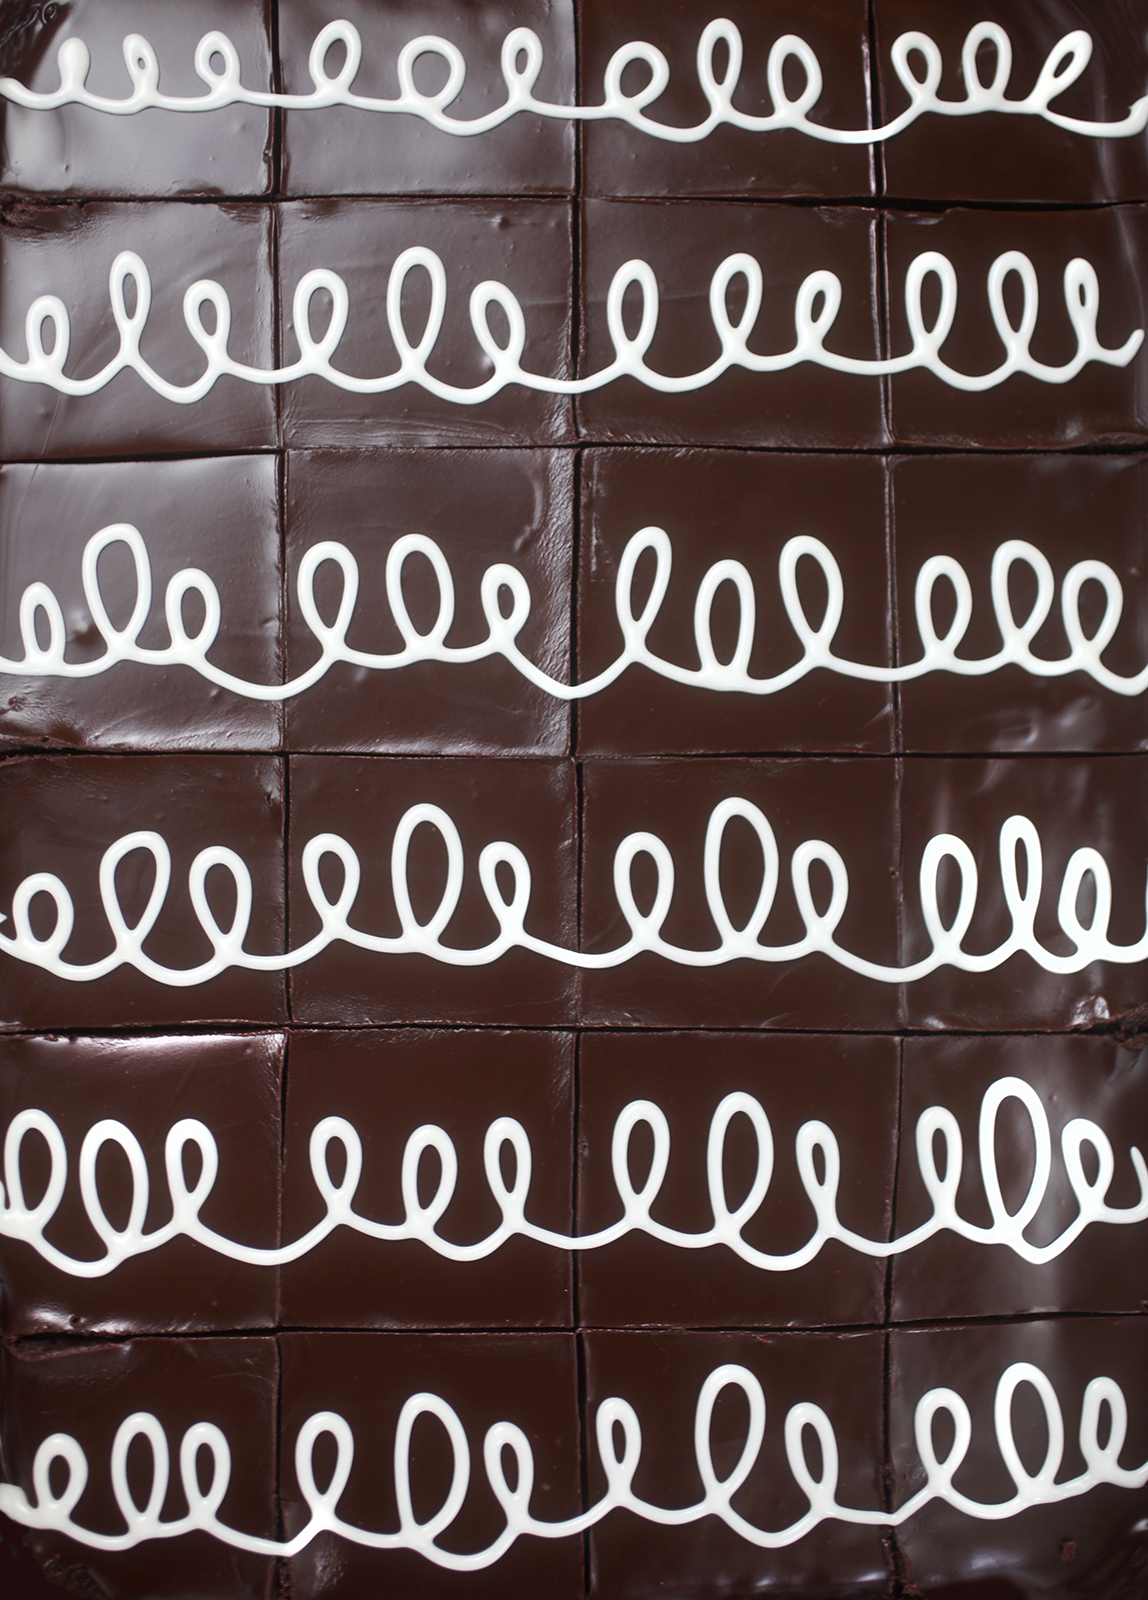
Now start swirling.

Use a decorating bag fitted with a Wilton #3 tip for big, bold swirls.

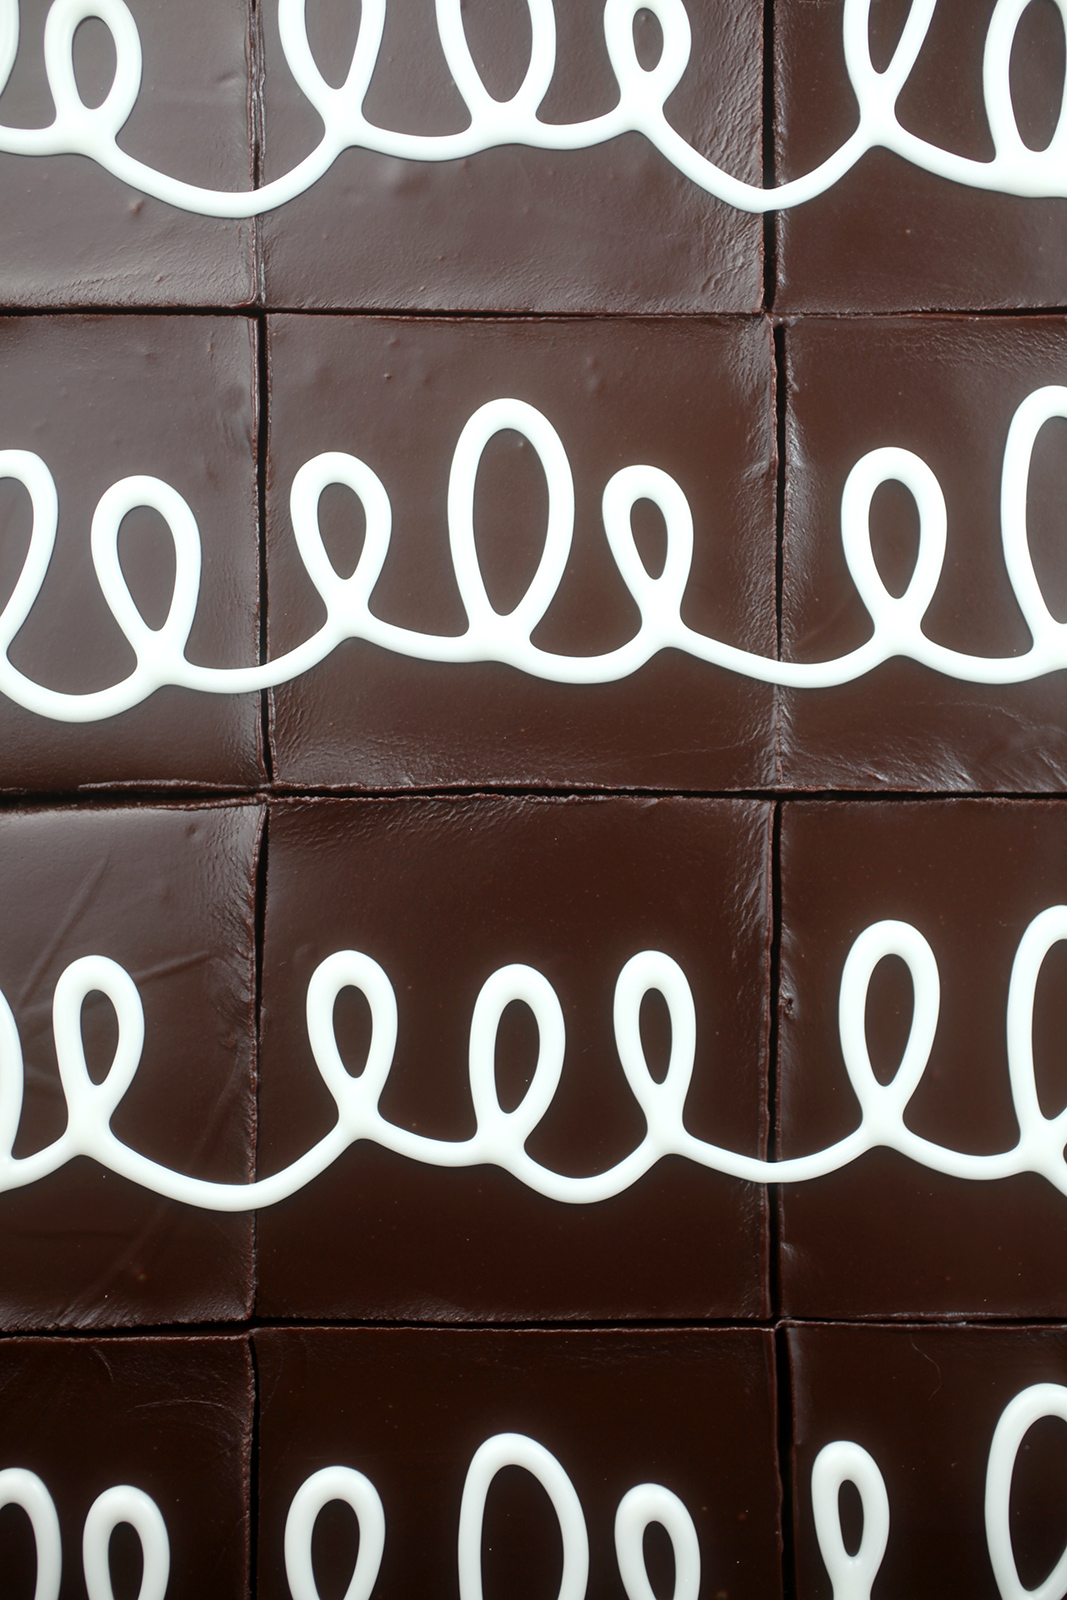
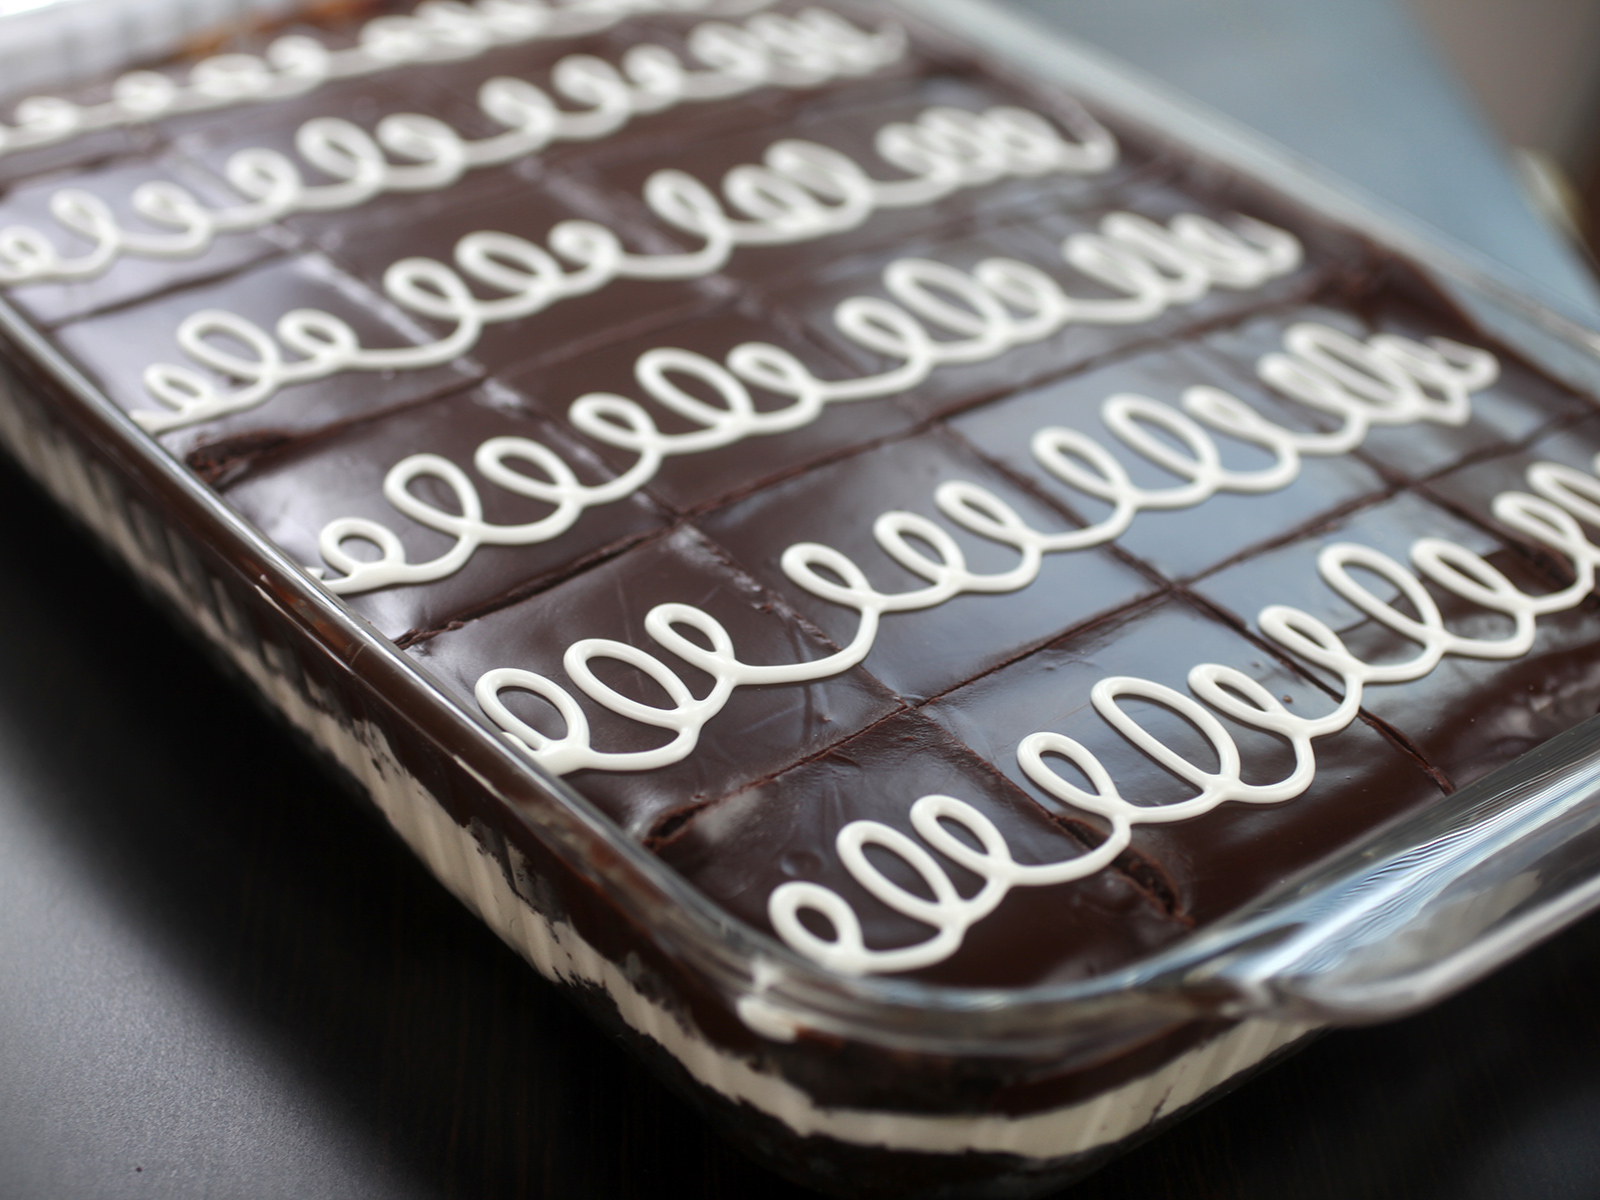
So classic and pretty.

Hostess with the Mostess Chocolate Snack Cake
Yield: 24 cake squares

Hostess with the Mostess Chocolate Snack Cake

Prep Time 45 minutes
Cook Time 15 minutes
Additional Time 15 minutes
Total Time 1 hour 15 minutes

Ingredients

Devil’s Food Cake

  • ¾ cup natural unsweetened cocoa
  • 2/3 cup hot water
  • 1 cup buttermilk
  • 1 ¾ cups all-purpose flour
  • 1 ½ teaspoon baking soda
  • ½ teaspoon kosher salt
  • ¾ cup unsalted butter, room temperature
  • 1 cup granulated sugar
  • ½ cup light brown sugar, firmly packed
  • 3 large eggs
  • 2 teaspoons vanilla

Cream Filling

  • 2 cups confectioners’ sugar
  • 6 Tbsp unsalted butter, room temperature
  • 7 oz jar marshmallow crème
  • 1 tsp vanilla
  • 4 Tbsp heavy cream

Ganache

  • 3 tbsp unsalted butter, softened
  • 10 oz bittersweet chocolate, finely chopped
  • 1 Tbsp light corn syrup
  • 1/3 cup heavy cream

Vanilla Icing

  • 1 cup confectioner’s sugar
  • 1/2 tsp vanilla
  • 1 Tbsp milk

You’ll also need:

  • 9 X 13 baking dish, covered preferred
  • 12 X 18 rimmed baking sheet
  • Unrimmed cookie sheet larger than 9 X 13
  • Offset spatula
  • Piping bag and Wilton #3 tip
  • metal ruler (helpful when cutting)
  • mini offset spatula (very helpful when lifting cake squares)

Instructions

  1. Make the CAKE Preheat oven to 350 degrees Fahrenheit. Grease the bottom and sides of a 12 X 18 inch sheet pan and line the bottom with parchment paper allowing a few inches to overlap each end. Grease the top of the paper and dust the pan with cocoa.
  2. In a bowl, whisk cocoa powder into the hot water. Cool to lukewarm and whisk in the buttermilk. In another bowl, sift together the flour, baking soda and salt.
  3. In the bowl of a mixer fitted with the paddle attachment, beat the butter and sugars on medium speed until combined. Add eggs one at a time, beating well after each addition. Add vanilla along with the final egg. Reduce speed to low and add dry ingredients in three additions alternating with the buttermilk mixture in 2 additions. Beat until combined.
  4. Pour batter into prepared pan. Bake for about 15 minutes until a toothpick inserted in the center comes out clean. Let cool in the pan. Cut a straight line down the center of the cake so you have two sheets roughly 9 X 12 inches. When cool gently lift cake out of sheet pan holding the parchment paper on either end. Place on counter and with kitchen scissors, cut down the center to separate the two pieces of cake while still keeping them on the parchment paper. This will help in transferring.
  5. Transfer one 9 X 12 cake layer section to a 9 X 13 baking dish  with the help of a rimless cookie sheet. Place one of the cake layers, parchment paper side down, on the cookie sheet and place the baking dish on top. Holding the cookie sheet against the baking dish, carefully flip it over and the cake layer will fall into place. Remove the parchment paper.
  6. Make the CRÈME FILLING In the bowl of a mixer, sift the sugar over the butter. Using the paddle attachment, beat on medium speed until lightened. Add marshmallow crème, vanilla and heavy cream and beat until fluffy.
  7. Pipe thick lines of the marshmallow cream filling on top of the cake and then spread evenly with an offset spatula to avoid getting too many cake crumbs mixed in the filling.
  8. To transfer the second layer, you can't flip the baking dish this time, so place the cake layer on the rimless cookie sheet and carefully transfer using the cookie sheet for support and your hands for guidance. Get it right the first time because you really can't readjust it at this point. Remove the parchment paper on the top layer.
  9. Make the GANACHE In a heatproof bowl set over, but not touching barely simmering water in a saucepan, melt the butter and chocolate with the corn syrup and cream, stirring constantly with a wire whisk until smooth. Let cool slightly. Pour prepared chocolate ganache on top of the cake, spread evenly and allow to set. When almost set and still slightly shiny, cut the cake into 24 even cake squares using a sharp unserrated knife. Run the knife under hot water in between each cut for smooth edges.
  10. Make the VANILLA ICING In a small bowl, stir together the confectioners’ sugar, vanilla and milk until smooth. You can add a little more sugar or milk to make the consistency thicker or thinner.
  11. Finally, pipe vanilla icing swirls across each row of squares using a decorating bag fitted with a #3 Wilton tip. Serve squares using a small spatula and enjoy!

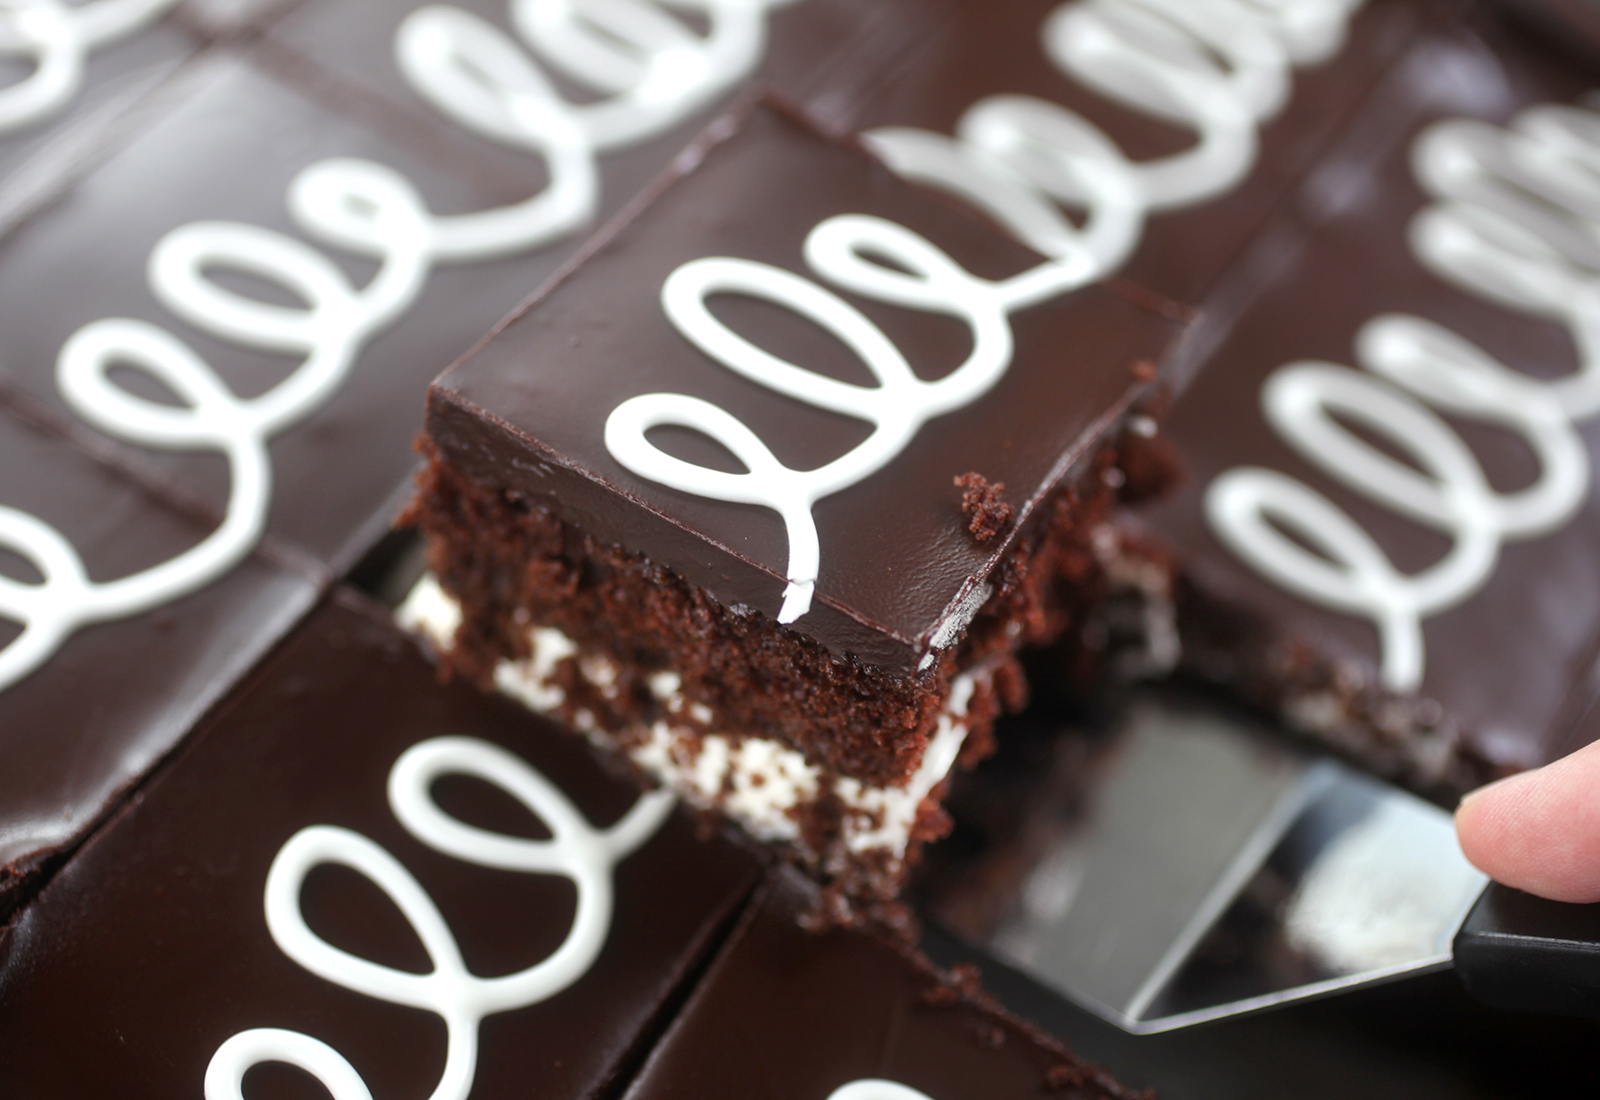
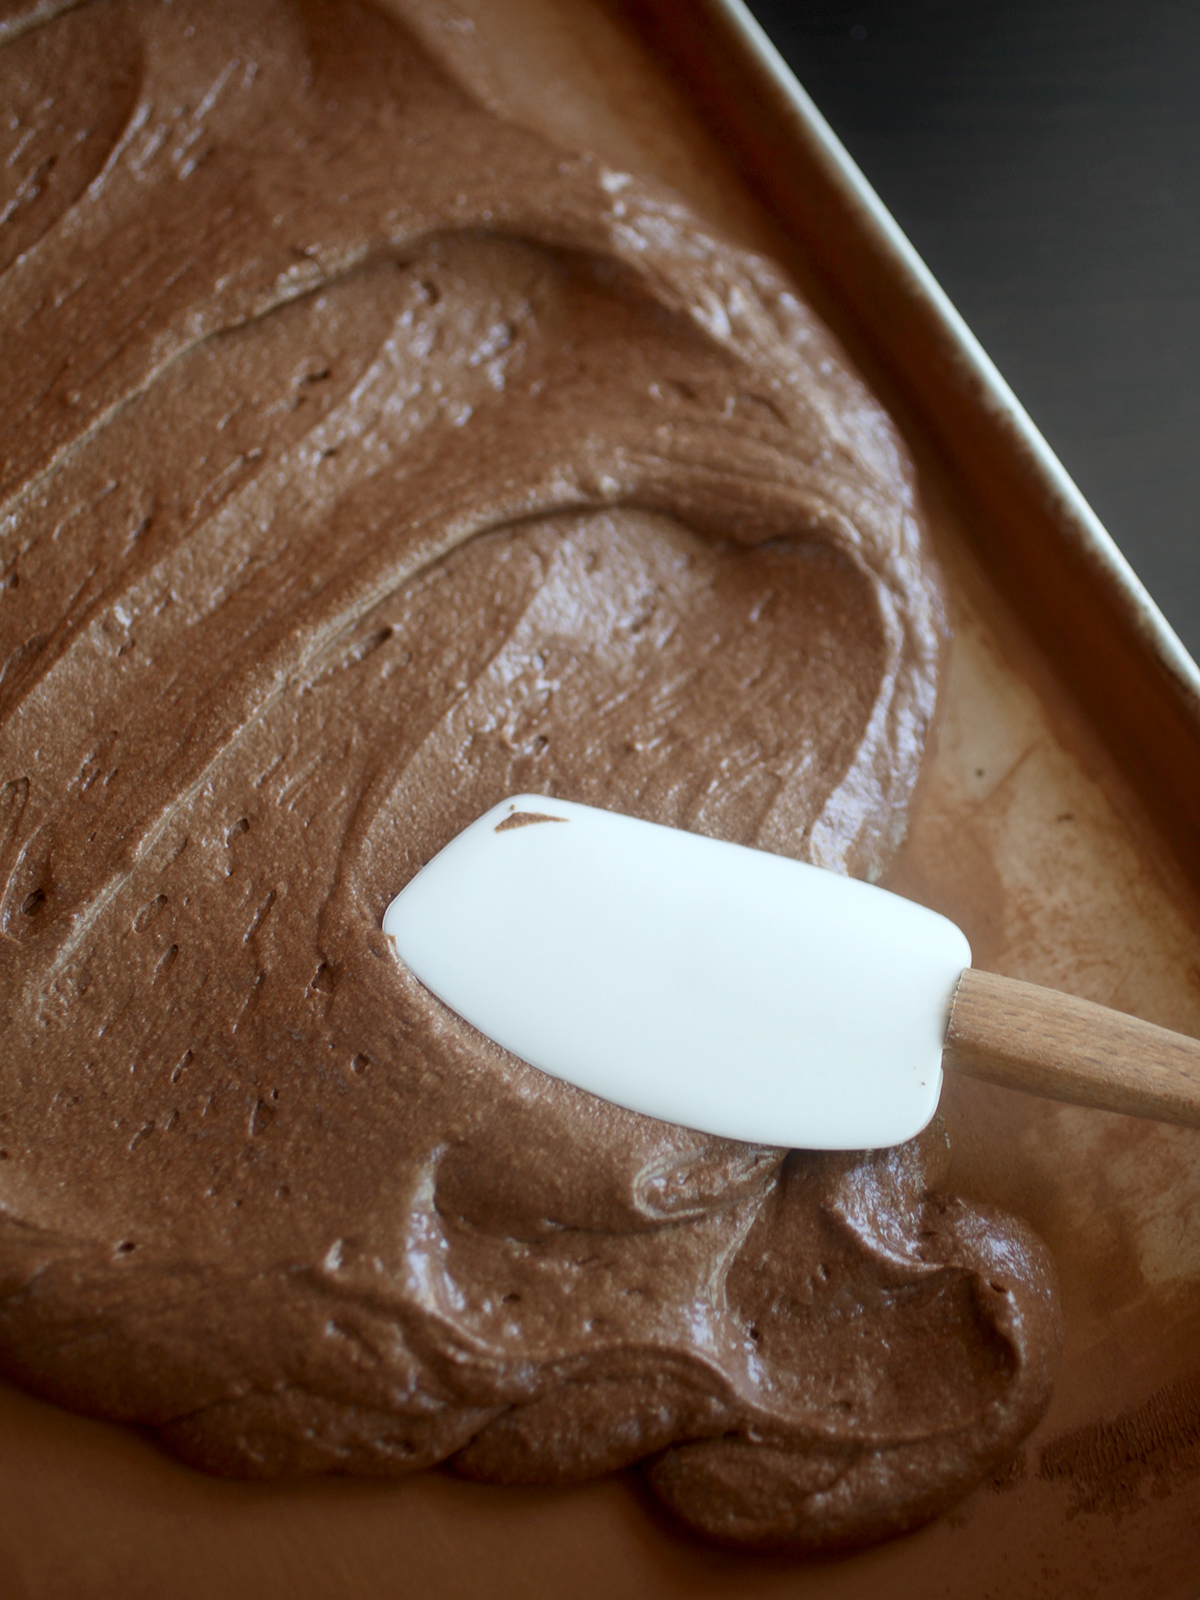
I have this mini spatula [2] I use all the time. It’s one of my favorite kitchen tools. Especially for brownies and snack cakes like this one. Highly recommend.

And I highly recommend taking a big bit out of this cake. I think you’ll fall in love!

Enjoy!


URLs in this post:

[1] 12 X 18 rimmed sheet pan: https://amzn.to/3guNZhH

[2] mini spatula: https://www.pamperedchef.com/shop/Cooking+Tools/Spatulas%2C+Scrapers+%26+Spreaders/Mini+Serving+Spatula/2622