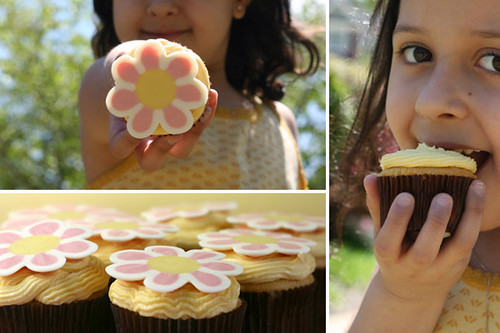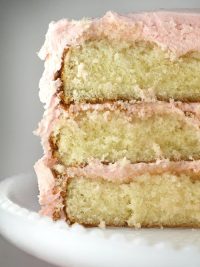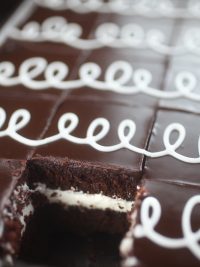
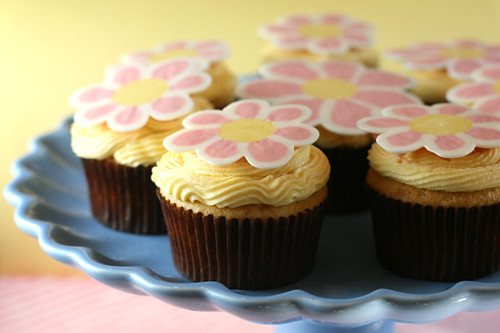
Can’t decide on flowers or candy? Then give your mom both – and some cupcakes to boot.
These cute candy flowers were inspired by fellow flickr user mommawants1more. She does a great job with this creative candy technique. Then I also found this decorating style featured in the book, The Whimsical Bakehouse![]() , and saw how easy it was to do using colored candy melts. And you know, I have my fair share of those laying around the kitchen lately. So you guessed it, I started melting. Read below to see how you can do it too.
, and saw how easy it was to do using colored candy melts. And you know, I have my fair share of those laying around the kitchen lately. So you guessed it, I started melting. Read below to see how you can do it too.
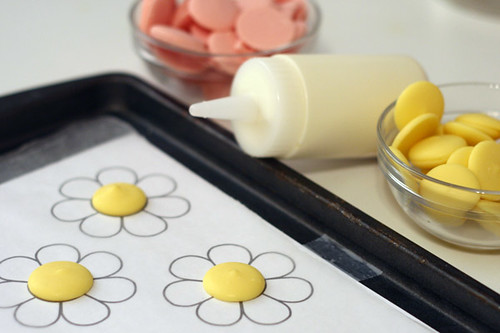
Find a design you want to use or draw it by hand for a more whimsical feel.
Place the drawing on a cookie sheet and cover with wax paper. Tape it down flat so it doesn’t move. Use one unmelted yellow candy melt for each flower center.
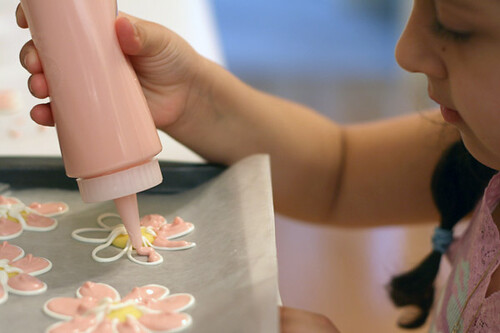
Melt the white candy coating and use a plastic bottle (shown) or ziploc bag with the corner cut out to pipe the outline of your shape. Place in the freezer for a couple of minutes until hardened. Remove.
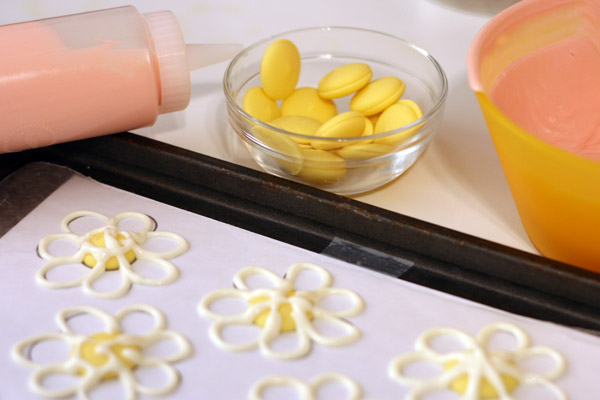
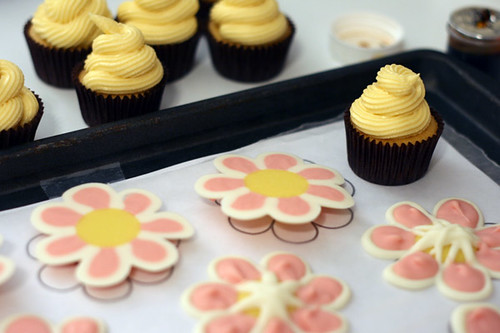
Fill in the shapes with a second color. It shouldn’t be too hot. (or too hard… my niece even helped me with this.)
Return to freezer to harden. Remove and flip over to reveal the flat side to display on your cupcakes. Easy!
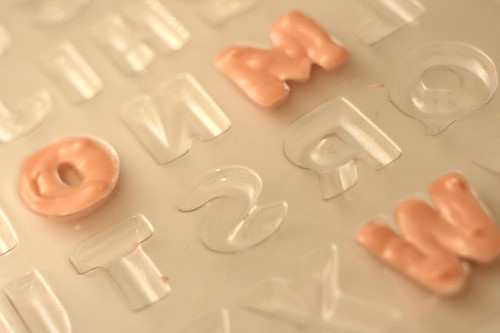
And if you want to make some letters, that’s easy too! Use an alphabet mold and fill shape with melted candy. Freeze for a few minutes and then, pop them out.
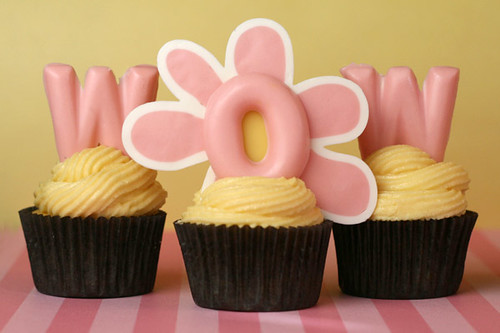
Perfect!
You’ll need:
Frosted Cupcakes
Squeeze Bottle or Ziploc Bag
Cookie Sheet with Wax Paper (taped flat)
Colored Candy Melts
… and a steady hand
Here’s three brands of candy melts:
Make ‘n Mold Candy Melts
Mercken’s Candy Coatings![]()
Wilton Candy Melts![]()
Here’s some fun stuff if you’re up for it:
Alphabet Candy Molds
The Whimsical Bakehouse![]() (shows some examples and instruction on how to use this technique.)
(shows some examples and instruction on how to use this technique.)
And if you’re not up to the challenge:
Visit Sugar Coated Love and maybe mommawants1more can make some for you.