Here’s a last minute easy Easter treat. All you really need to pull it together are some candy wafers in spring colors (or even just chocolate and vanilla). And don’t forget some fun Easter candy. Eggs, pastel candy corn, miniature chocolate bunnies, peeps, M&M’s. Customize the colors and candies and get creative.
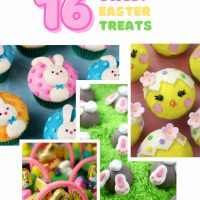
P.S. Here’s another version without bunnies but still cute.
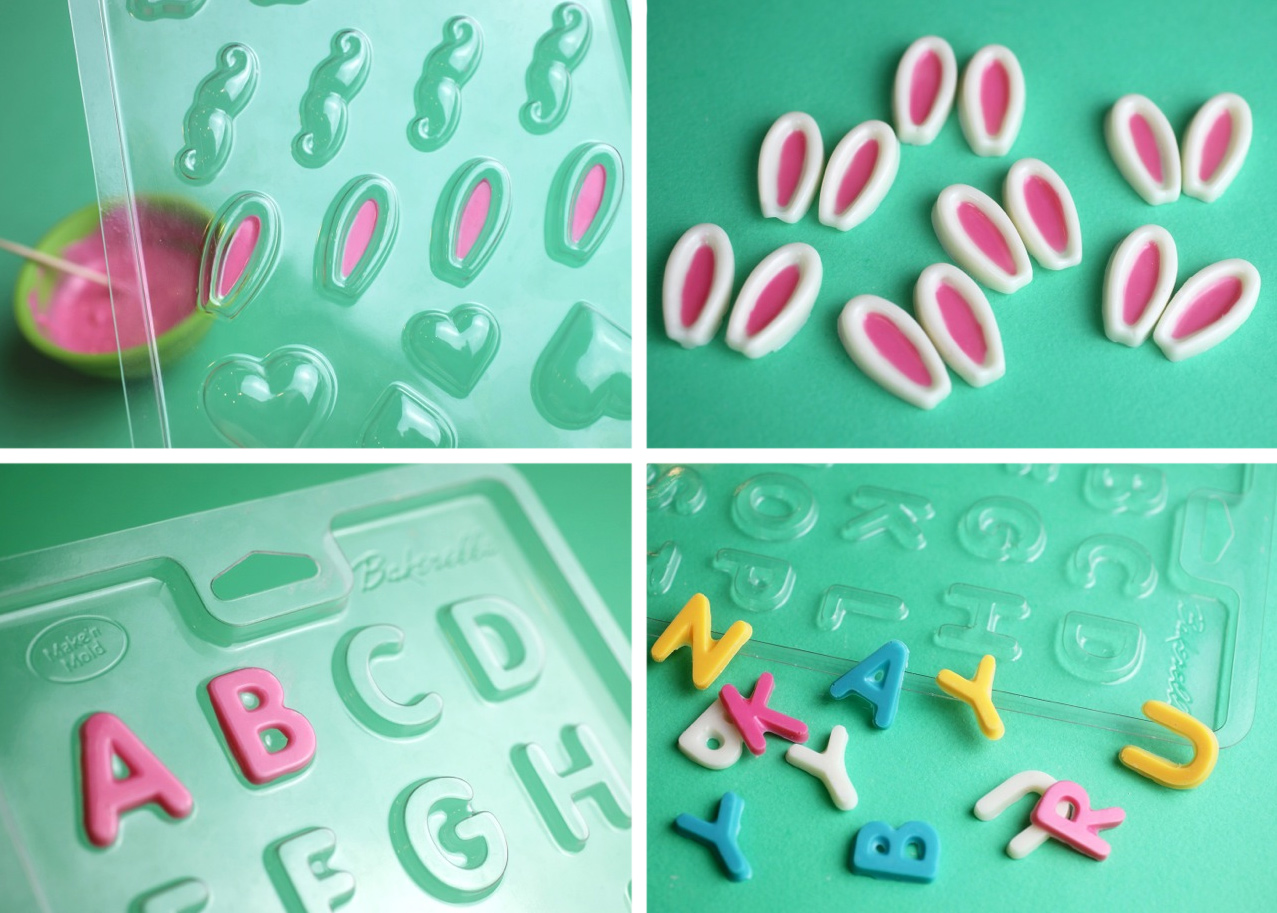
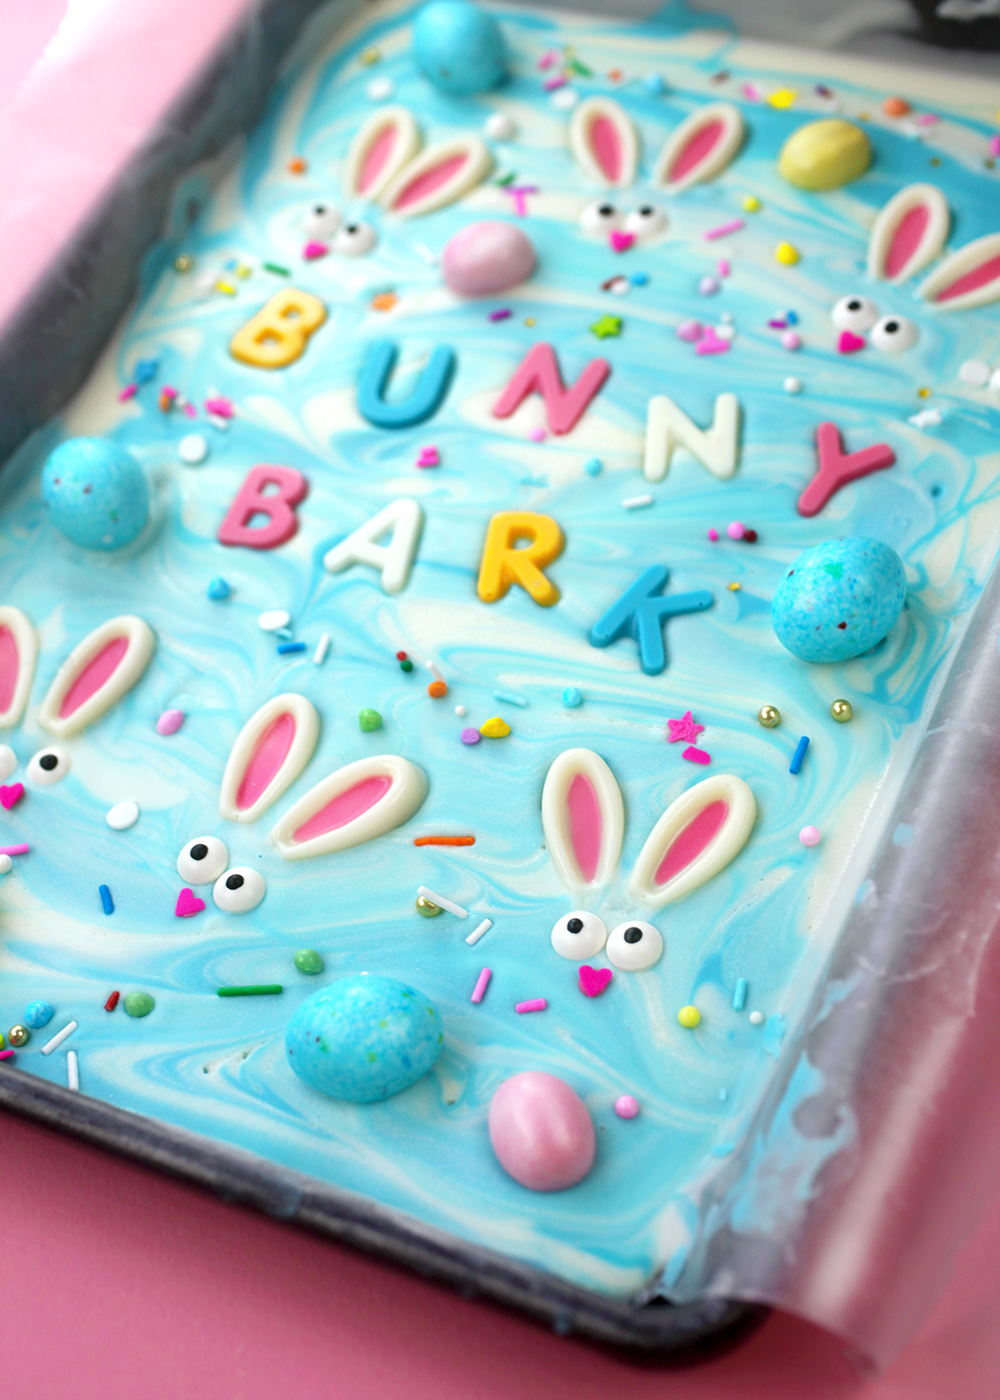
I decided to use a couple of my candy molds to make bunny ears and little letters. Fill the mold cavities with melted candy coating, place in the freezer to set and then gently pop them out until ready to decorate. The cool part about using molds and candy is that you can totally make the decorative pieces in advance to use them when you need them.
My molds are sold out, but you can find other letter molds online, and if you want cute bunny ears, you can substitute jordan almonds, pastel candy corn, or even pipe your own ears shapes on wax paper using melted candy coating.
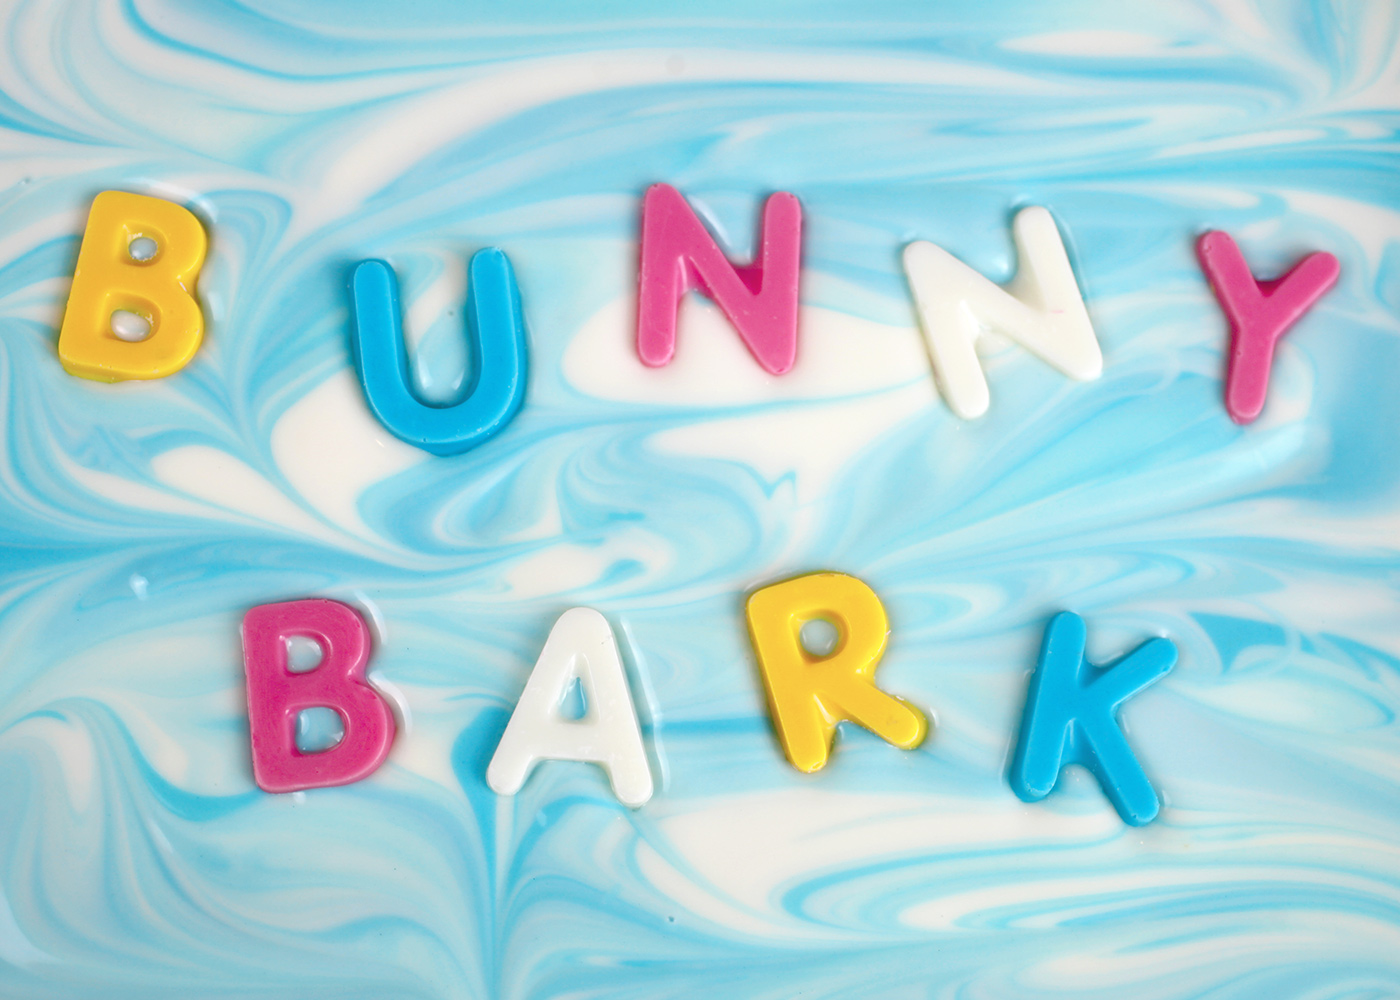
Okay, so I spelled out the obvious… but duh… now I wish I had spelled out something like Hoppy Easter…… next time.
Assembling your bark:
- Have all your add-ons or decorative pieces organized and ready to go.
- Melt your candy coating until it’s nice and fluid.
- Spread out into a 9 X 12-inch sheet pan covered with wax paper and work FAST so you can add all your goodies before the coating sets.
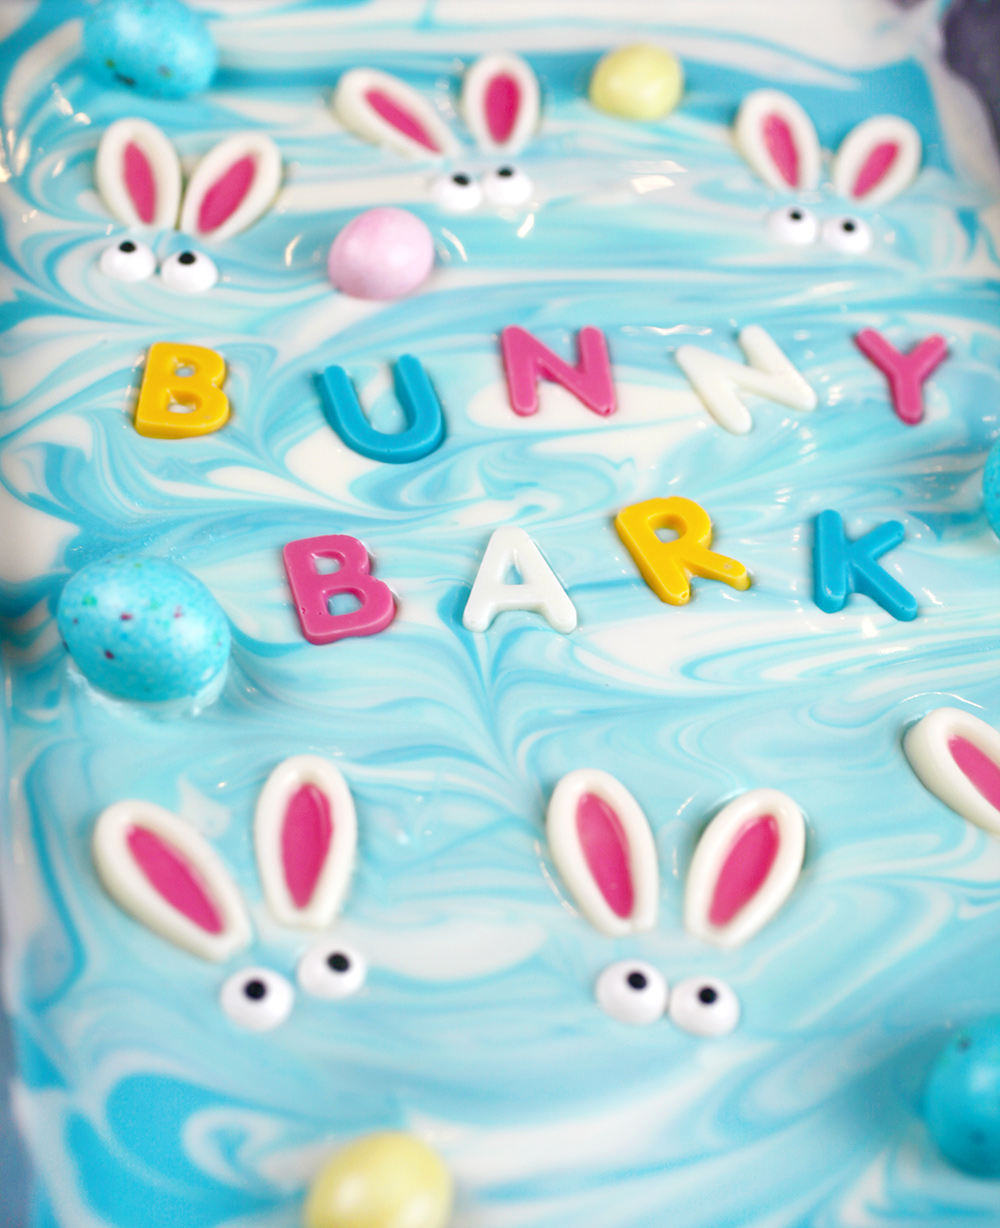
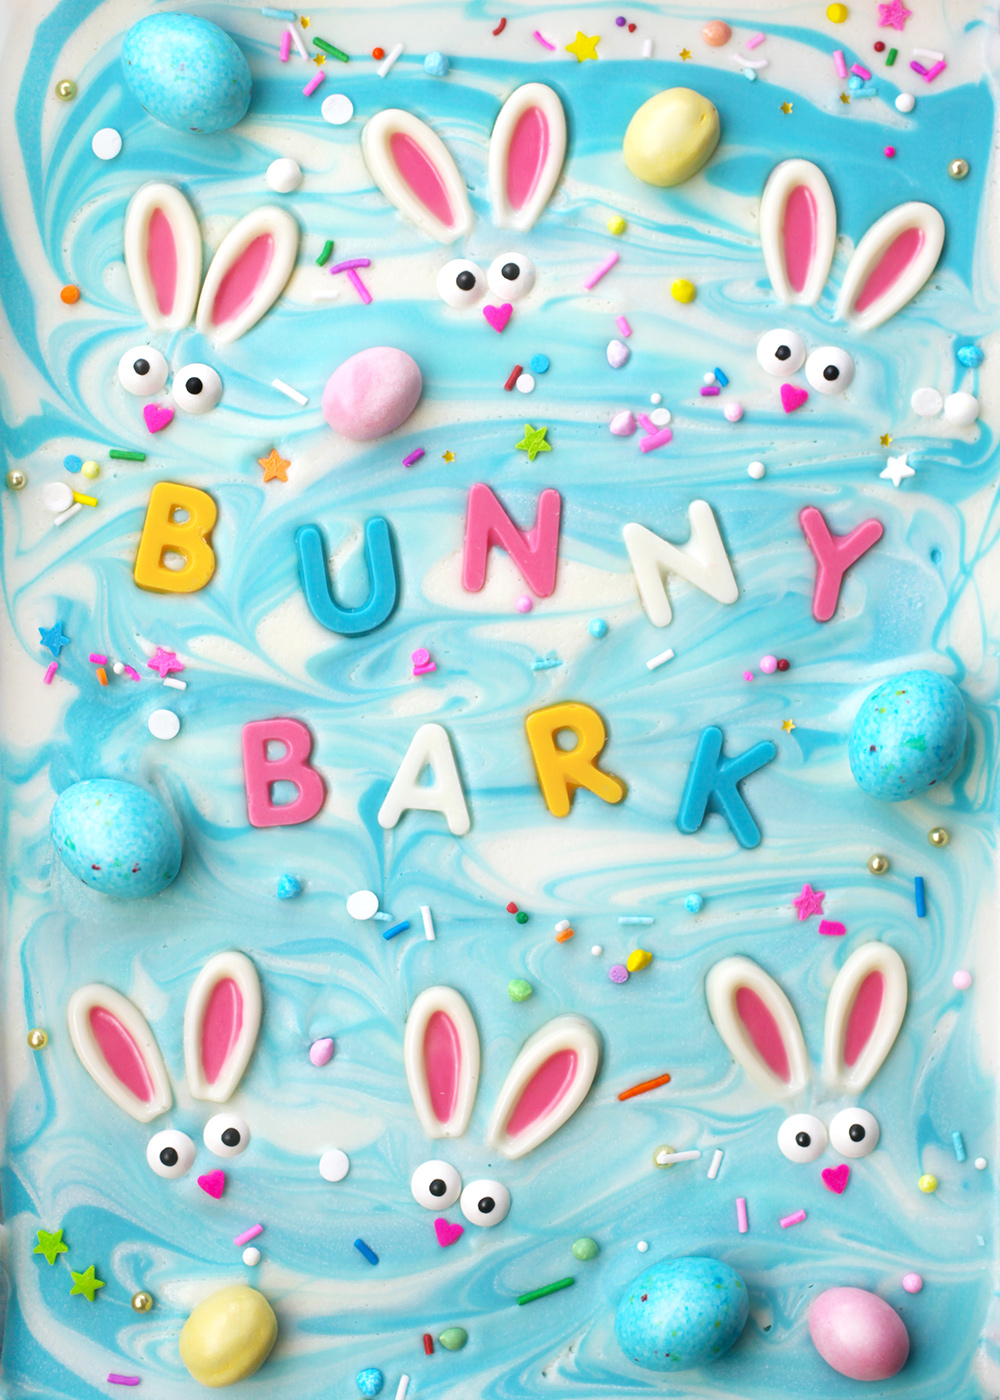
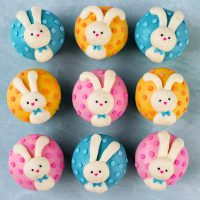
I started with letters first. Then bunny ears and candy eyes. Next, candy Easter eggs making sure to evenly space out all the pastel colors.
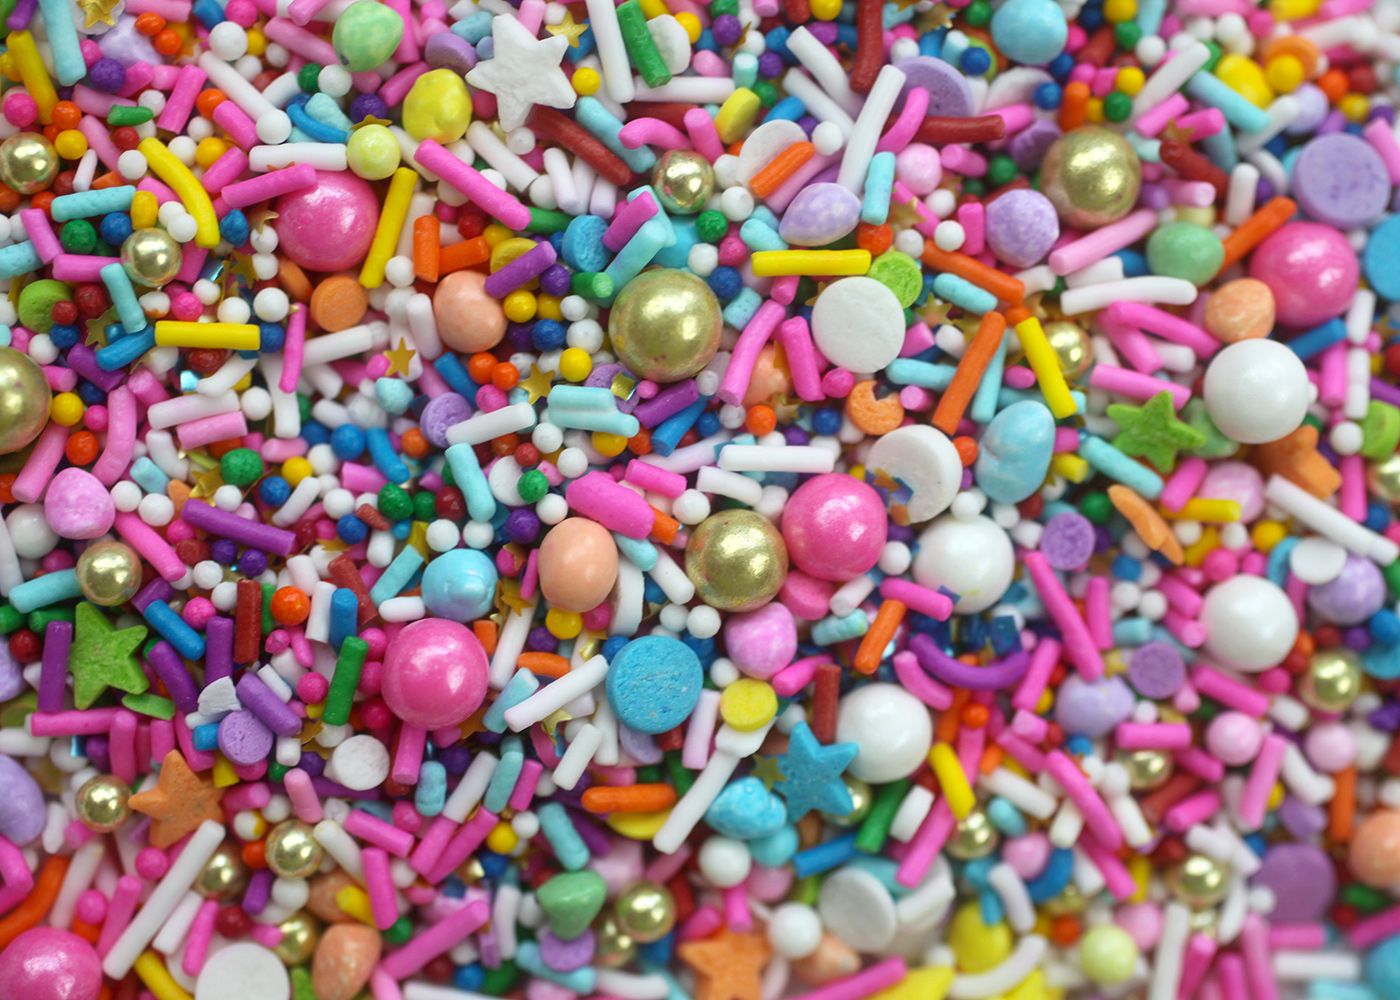
Then add sprinkles in lots of pretty colors and let the bark set. You can also place in the freezer to speed up the process.
FYI … These are one of Sweetapolita’s beautiful sprinkle medleys. Check her out for tons more color combos to swoon over.
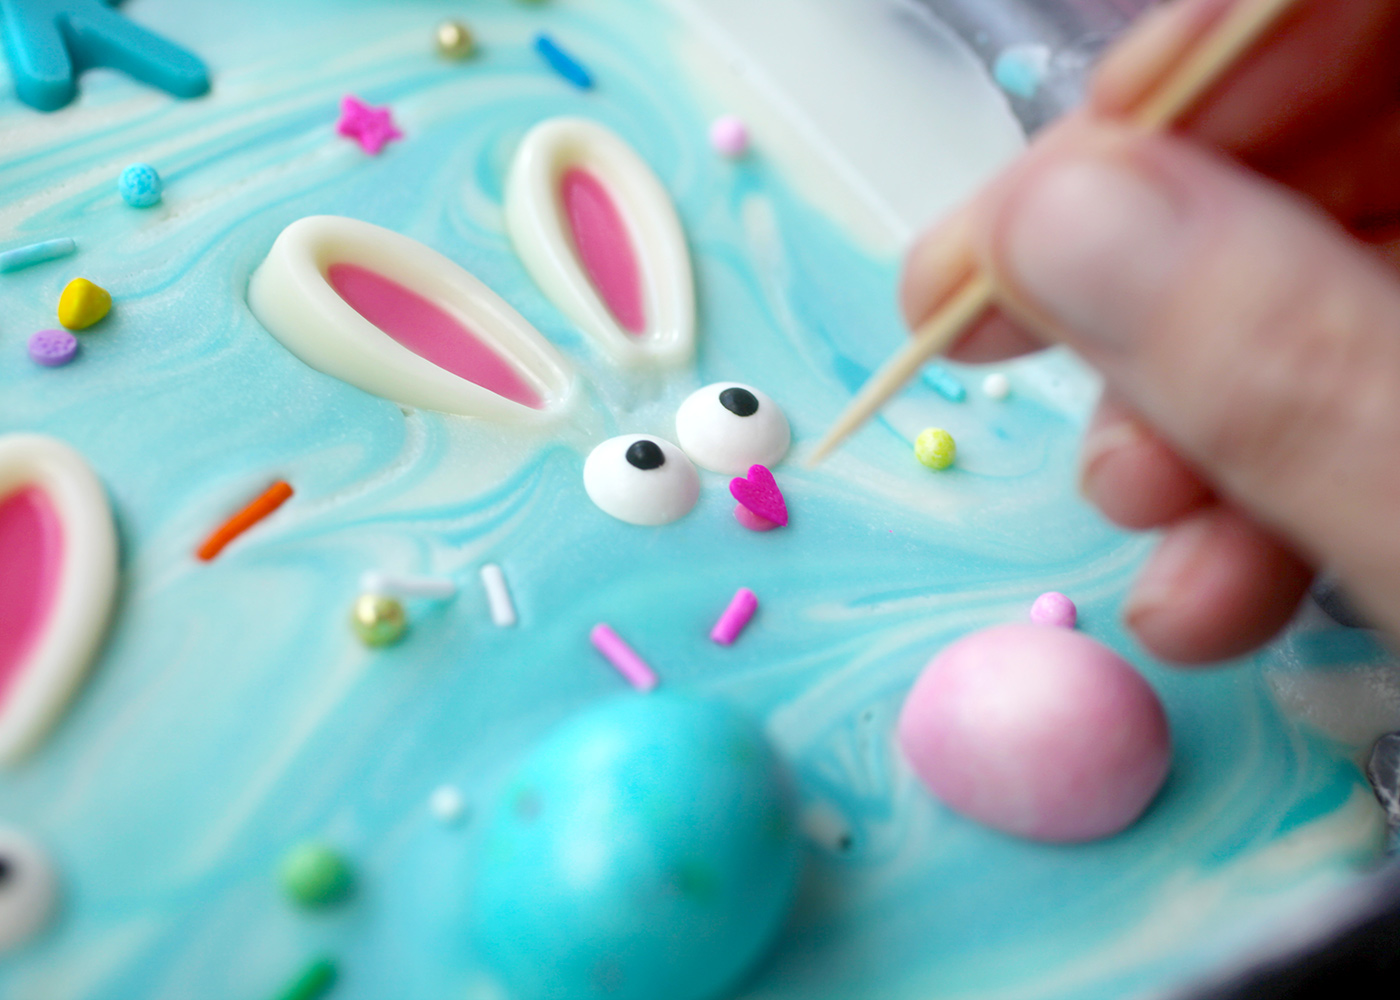
For the final touch, use a dot of melted candy coating to attach small pink heart sprinkles in positions for noses. I decided to do this after the bark had set because they were so small and took the most precision.
Bunnies! When dry, use a knife to make cuts on the bark, scoring it to make it easier to break apart. Then lift the bark from the pan by the wax paper and break into pretty pastel pieces.
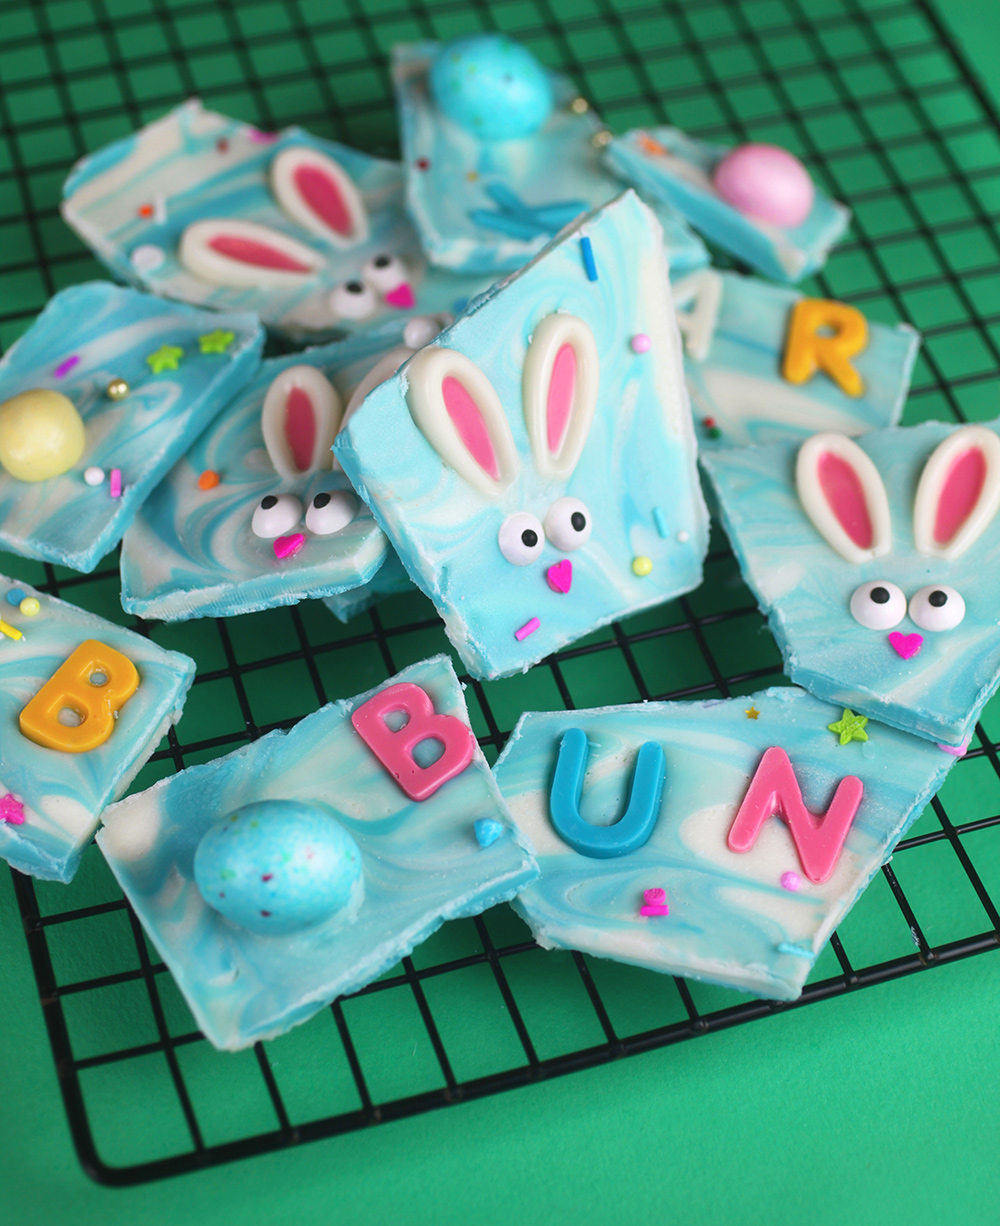
Enjoy and … Hoppy Easter!


Too cute for Easter Treat!
Hi there! I am so inspired by all of your beautiful creations! I would really like to purchase the molds you used to do the lettering and bunny ears, jewel pops, etc, but can’t seem to get to them on the Make and Mold website! I think the link is broken?!? I really need them! Could you contact me to let me know where to order, and if they’re still available? Thank you SO MUCH! You are so inspiring!
This is so cute and fun! I love how real you are…I always await your posts with excitement and read every word! Thanks for sharing all your fabulousness and creativity! :D Makes my day!
I would eat so much of this in one sitting. Looks cute AND delicious!
This is simply adorable! Perfect treat for Easter ?
this is the cutest easter treat i’ve seen!
This is the cutest thing I’ve ever seen. Literally sweet bark.
Cute!