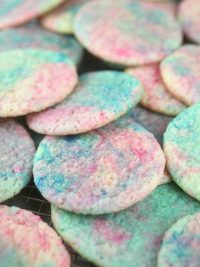
I made some tiny sugar cookie sugar cookies for you.
Tee-niny!
Yes, I love little and I kinda like to play with my food… But I’m sure you know that about me by now.
And you probably know that I made more than just baby cookies.
They’re cute on their own, but I really needed them to put on display.

On these 3-tier sugar cookie dessert stands I made.
EEek! Cookies on cookies. Key-ute.

I love sugar cookies since they require a few basic ingredients that I almost always have on hand.
They can be baked in no time – especially with the recipe I’ve been using from my friend Bridget at Bake at 350. It’s been my go-to recipe lately. I love hers because nothing has to be set out to room temperature. And her dough doesn’t need to be chilled before rolling either. Equals Awesome! I hate waiting. So I love this recipe. When the dough comes together it will be crumbly, but don’t worry. Just grab it and knead it a bit and it’s ready to roll and cut. And it lifts beautifully, too.
Here’s Bridget’s recipe for sugar cookies and royal icing on some peppermint cookies I made a few weeks ago. And here is the recipe on her site.
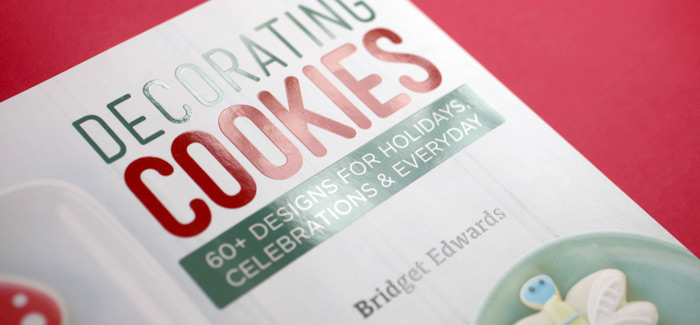
But even better, Bridget has a Cookie Decorating book out. And I’m giving one away at the end of this post. YAY!
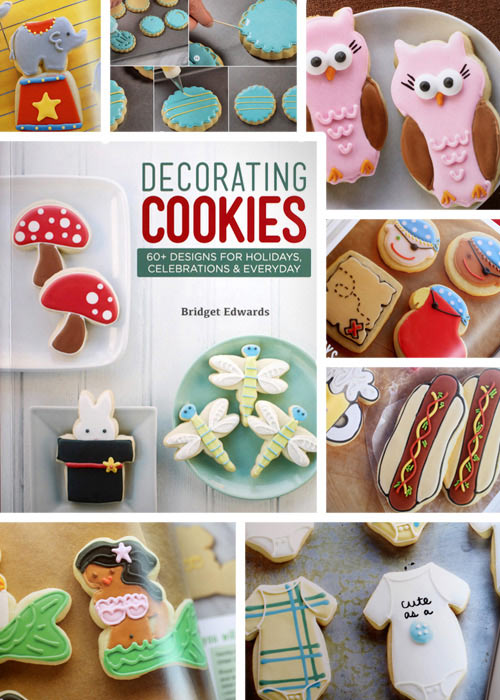
Actually, I’m giving away a signed copy of her book, Decorating Cookies. Easy to understand instructions with tons of adorable cookie decorating ideas. You’ll love it.
Skip on down to the bottom if you want to enter. Wheee!
Or if you want to see how I made my cookies stand, then keep on reading. These aren’t in Bridget’s book… I was just inspired by her cookie creations and love for decorating and wanted to share it with you since I love using her recipe.
Hope you like them Bridget! P.S. I need a piping boot camp. I don’t know how you do it.
Roll your cookie dough out nice and flat. I used these rubber dough bands to make sure the thickness was even when I rolled.
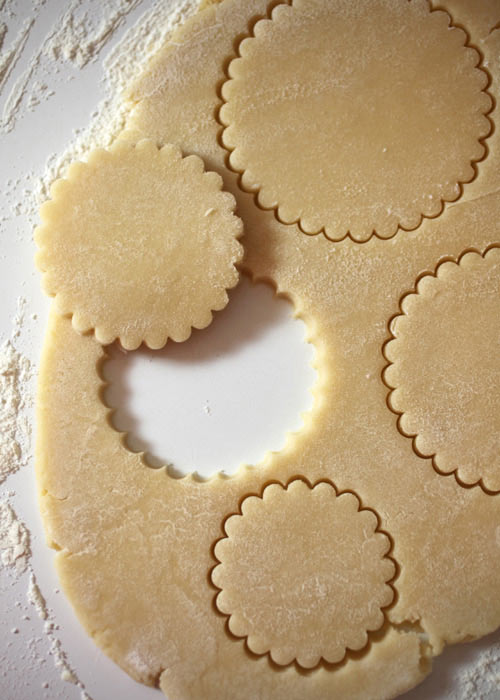
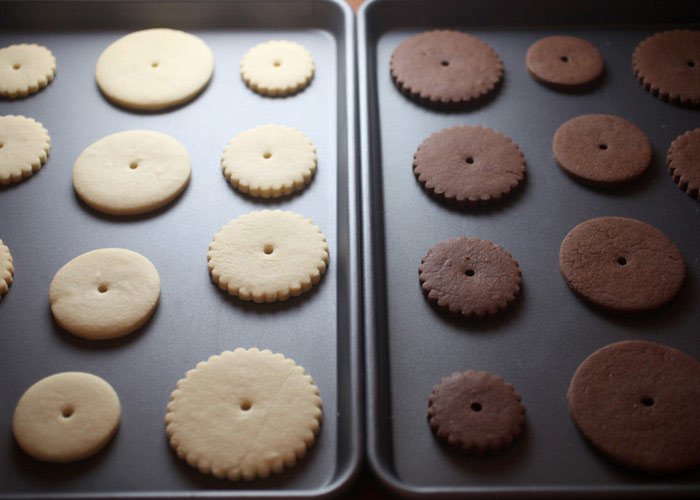
Then cut out circles in graduating sizes. I used 3-7/8, 3, 2-5/8 and 2-1/4 inch sizes.
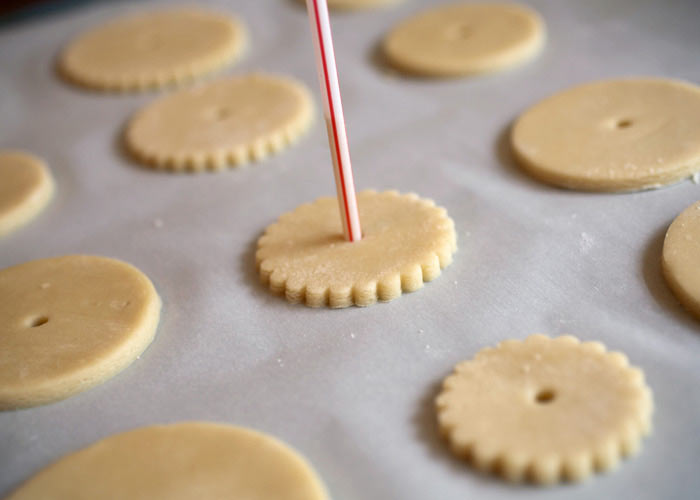
Before you bake, use a plastic drinking straw to remove the centers of each cookie. The straw collects the dough in the center. Convenient.
Freeze the cut shapes for about 10 minutes to help the dough avoid spreading and then bake.
And when they come out of the oven, use the straw again to make sure the holes stay the same size.
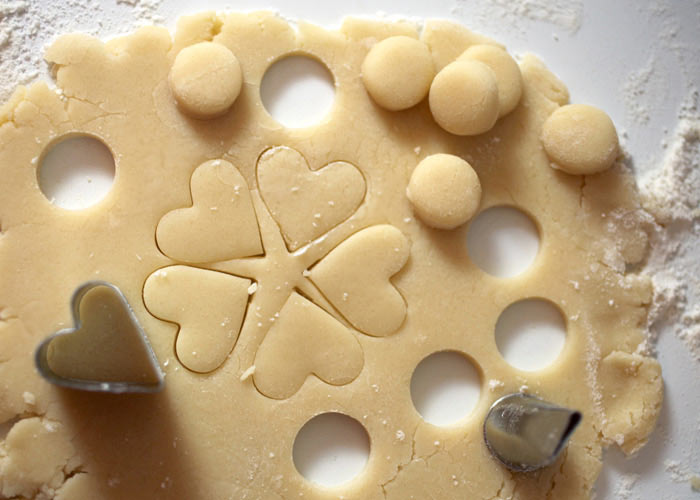
Use the dough scraps and tiny cutters to cut out shapes for your desserts to go on display.
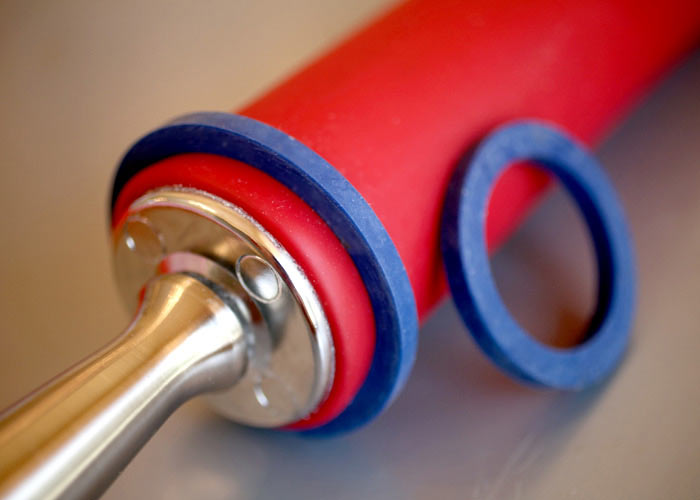
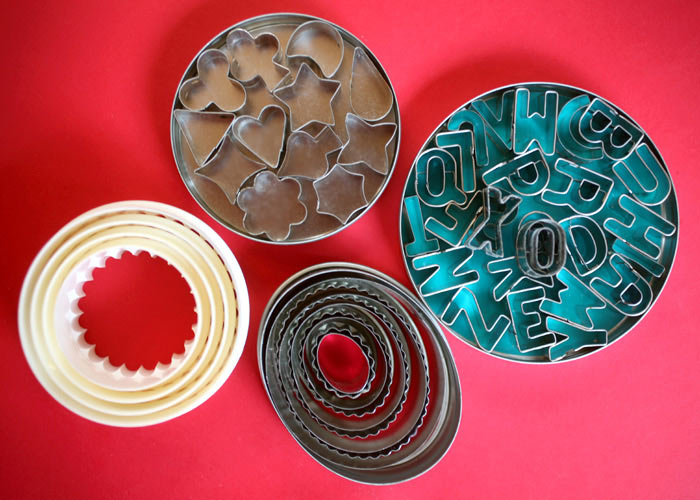
A piping tip like the one on the right will make circles with rounded tops since the tip is cone-shaped.
Makes great mini macarons or whoopie pies. Just tap the tip on the counter to release the dough.
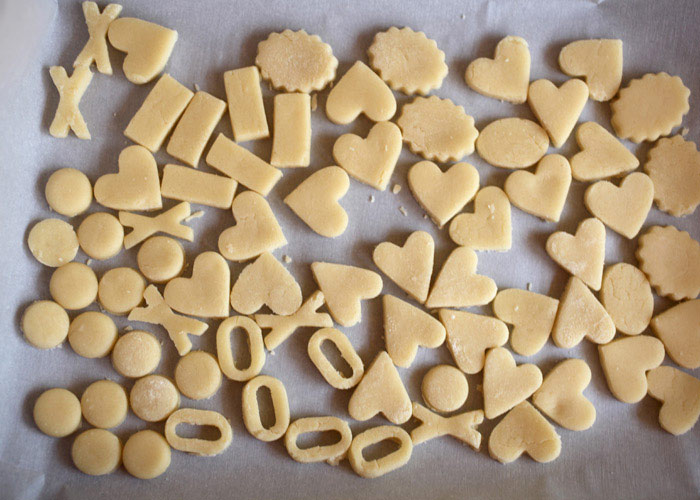
Lots of little shapes.
Assorted shapes – around 1 inch wide.
Tiny alphabet cutters. XOXO
Graduated ovals – plain on one side and crinkled on the other.
And my favorite – I can’t live without – graduated circle cutters that I used to make the stands.
You’ll want to use four different sizes to make the 3-tier stands.
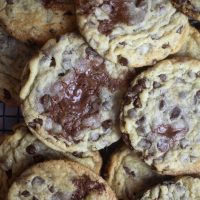
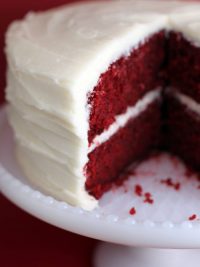
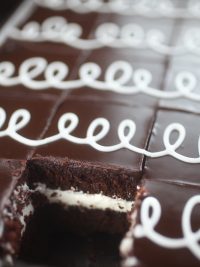
Note: For the chocolate cookies, I swapped out 1/2 flour for 1/2 cup cocoa and used all vanilla extract in Bridget’s recipe.

After they are baked and cooled, and then comes the piping. This always goes smoother in my head than when I actually start piping.
Pipe first with outline icing and then fill with flood icing.
However for these I ended up using a royal icing consistency somewhere in between and piped and filled with the same consistency.
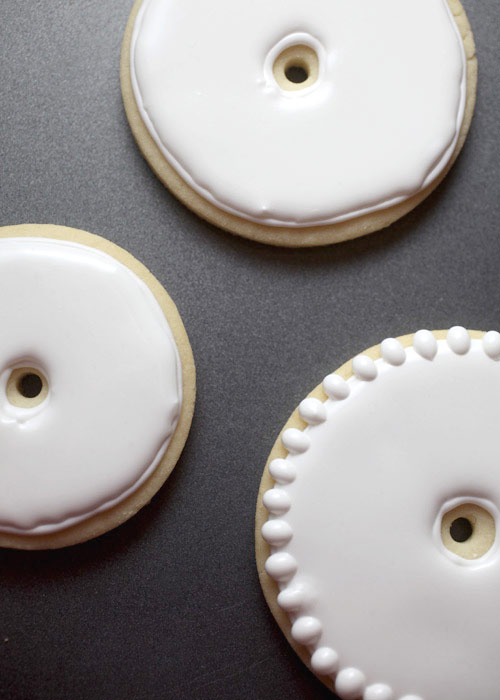
Ugh – wonky lines. Not what I’d hoped.
So after I filled and before the icing set completely, I piped dots all the way around. Camouflage it.
Much better.
Let cookies dry overnight. And after all the cookie decorating save leftover royal icing in an airtight container or in the piping bag with the ends tied off and cap closed for finishing up the project the next day.
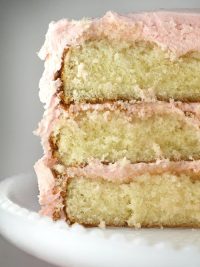
Now comes the fun part.
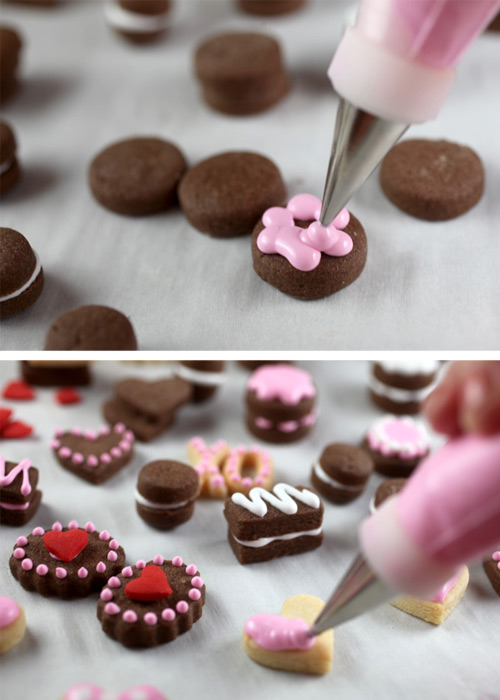
Ice the cakes and decorate!
Easy details for major impact.
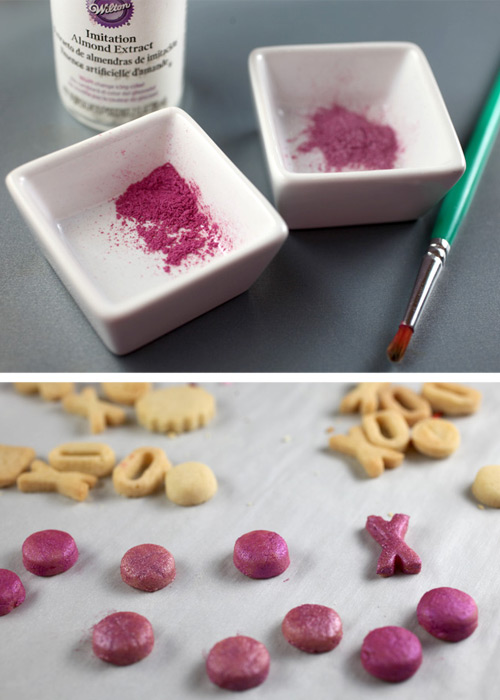
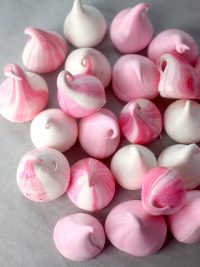
Oh and those macarons, try painting them with a little luster dust.
Just mix some of the powder with a small amount of clear extract and you can paint right on the cookies.
Pretty.

Pretty dang cute!

And even cuter on display.
These were surprisingly easy to make stand up.
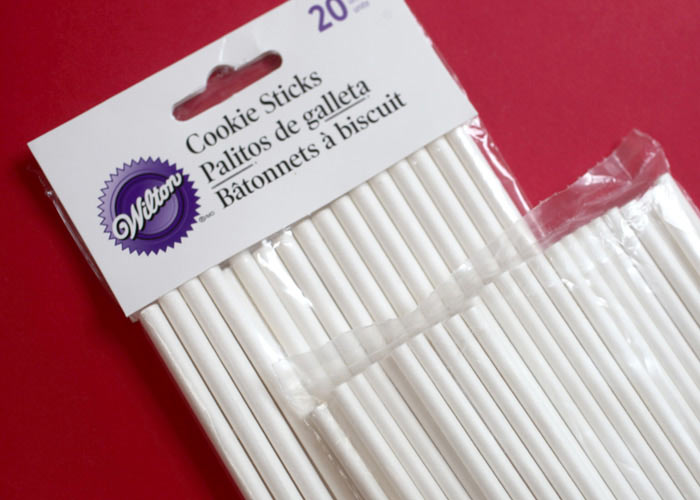
Start with using cookie sticks for the support. These are bigger than the lollipop sticks I usually use for cake pops (lower right).
The sticks should be about 6 inches tall for the stands. Buy the 6 inch sticks or cut down the 8 inch.
Use a cookie stick to gently twist through each cookie opening to make sure it goes through before building.
And make sure your cookie icing is completely dry and set from the day before.


- Start with the smallest cookie shape. It should not be iced. Place on a flat surface and then insert the cookie stick. Slide the largest iced cookie on top. Having two cookies on the bottom will give you more support and keep the stick straight.
- Cut striped straws into 1 1/2 inch sections. Slide one straw piece over the stick and push to the bottom as a spacer/ledge.
- Slide second largest iced cookie on stick until it stops at the straw. Then slide another straw piece on top.
- Slide last cookie on top until it stops at the straw. Then slide one more straw piece on the very top. Wrap a piece of washi tape around the straw and cut out a triangle for a cute flag topper.
- Note: Not shown. Use the leftover royal icing to pipe in between the two bottom cookies and pipe dots around the centers of each tier to help secure the cookies in place as you build. Attach the desserts to the tiers with royal icing too. Then let dry and don’t move for a few hours. I skipped this step because I wanted to get right to taking pictures.
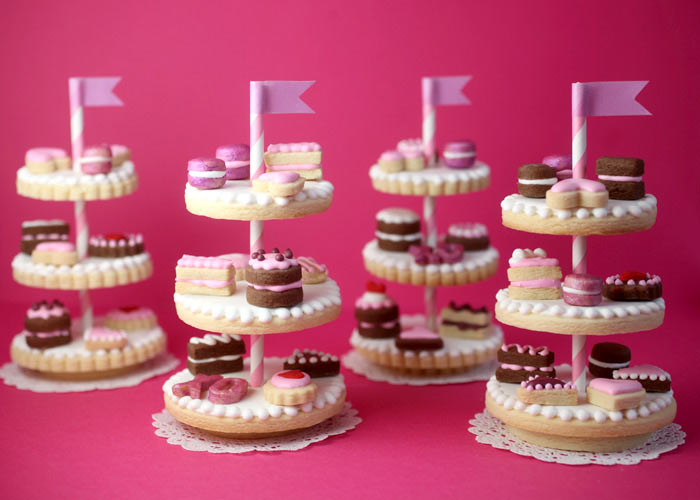
There you have it four cookies for 3-tier stands. Bridget’s recipe will make four stands with enough cookies to decorate.
And these can be totally scaled back? Two tiers? Just a cookie plate? Just the tiny cookies? Only one cookie shape? Choose how you want to play.

They’d be super fun and totally stand out for Valentine’s Day, for a dessert party or even party favors.
Enjoy!
_______________________
Now for the giveaway!
Enter for a chance to win a signed copy of Bridget’s book, Decorating Cookies.
- Just answer the following question and leave your response in the comments section on this blog post.
- What did you do this weekend? Something fun I hope. I made a bunch of cookies : )
- Deadline to enter is
Wednesday, January 30, 2013 at 7:00 pm.Sorry, Time’s Up. Winner announced below. - One winner will be picked at random and announced sometime Wednesday evening on this post.
Good Luck!
Thank you all so much for the sweet words on the cookie stands. I really appreciate it. And now for the winner of Bridget’s book.
It’s comment #917 – Becky P! Congratulations and have fun decorating cookies. And swimming too.