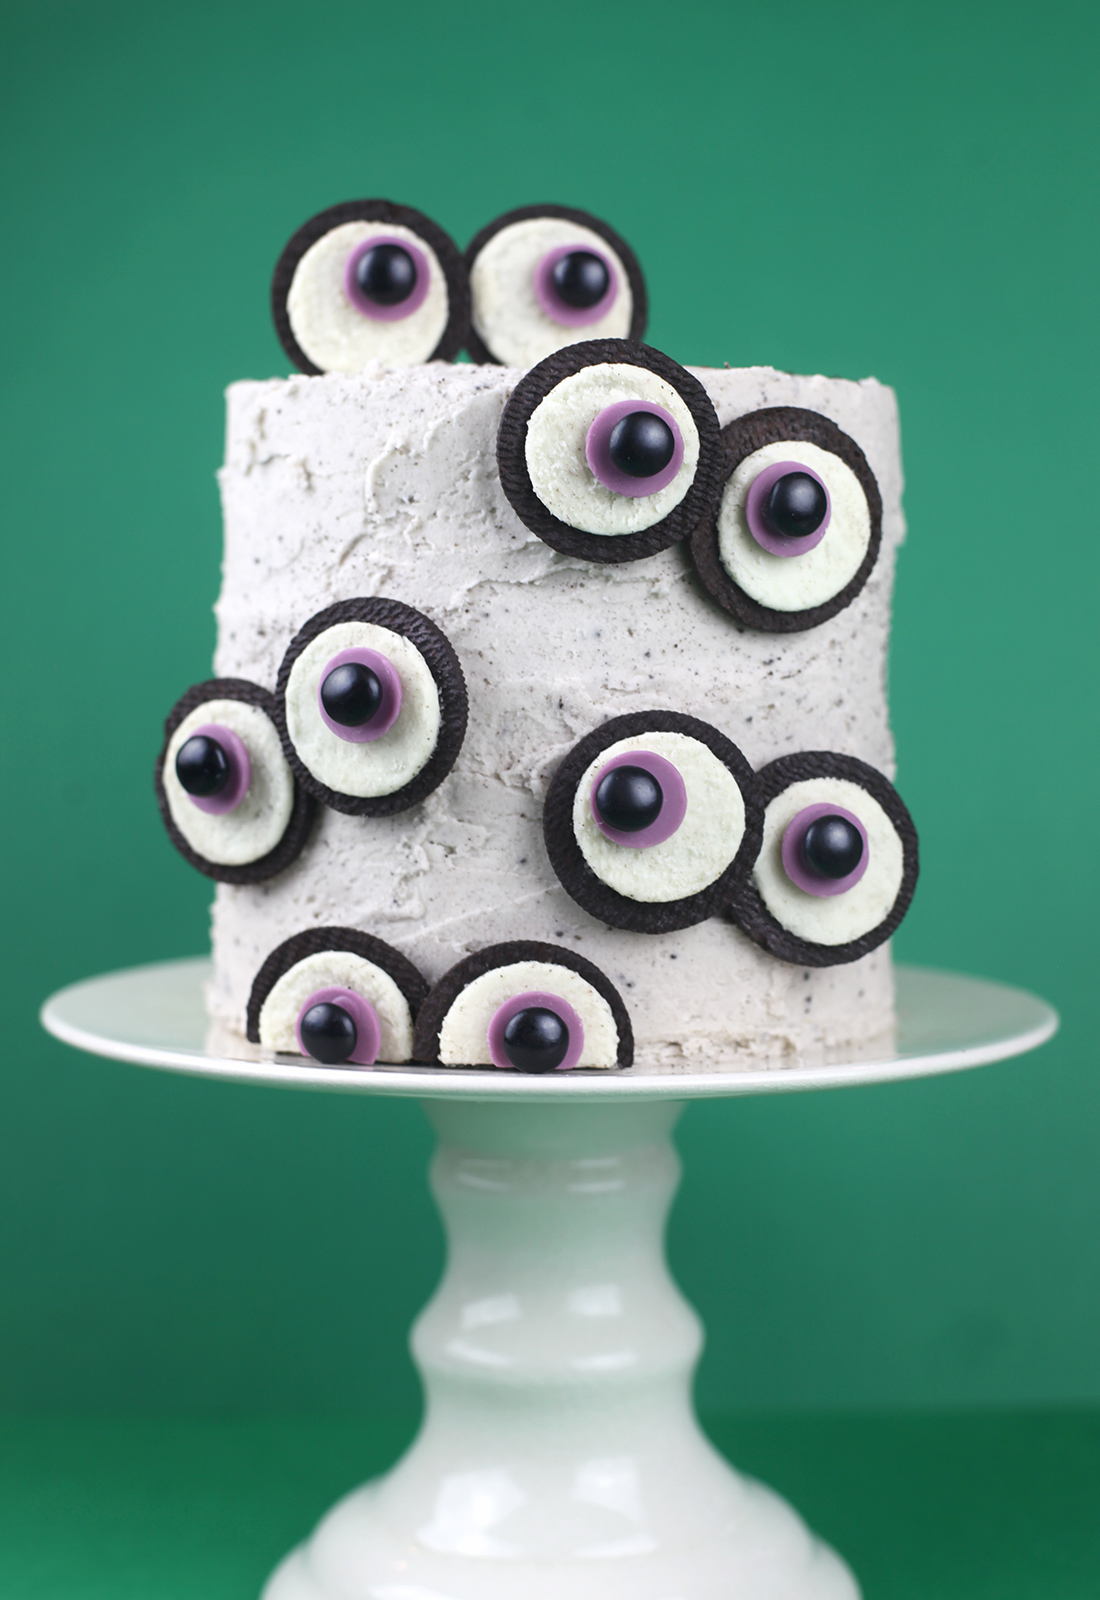
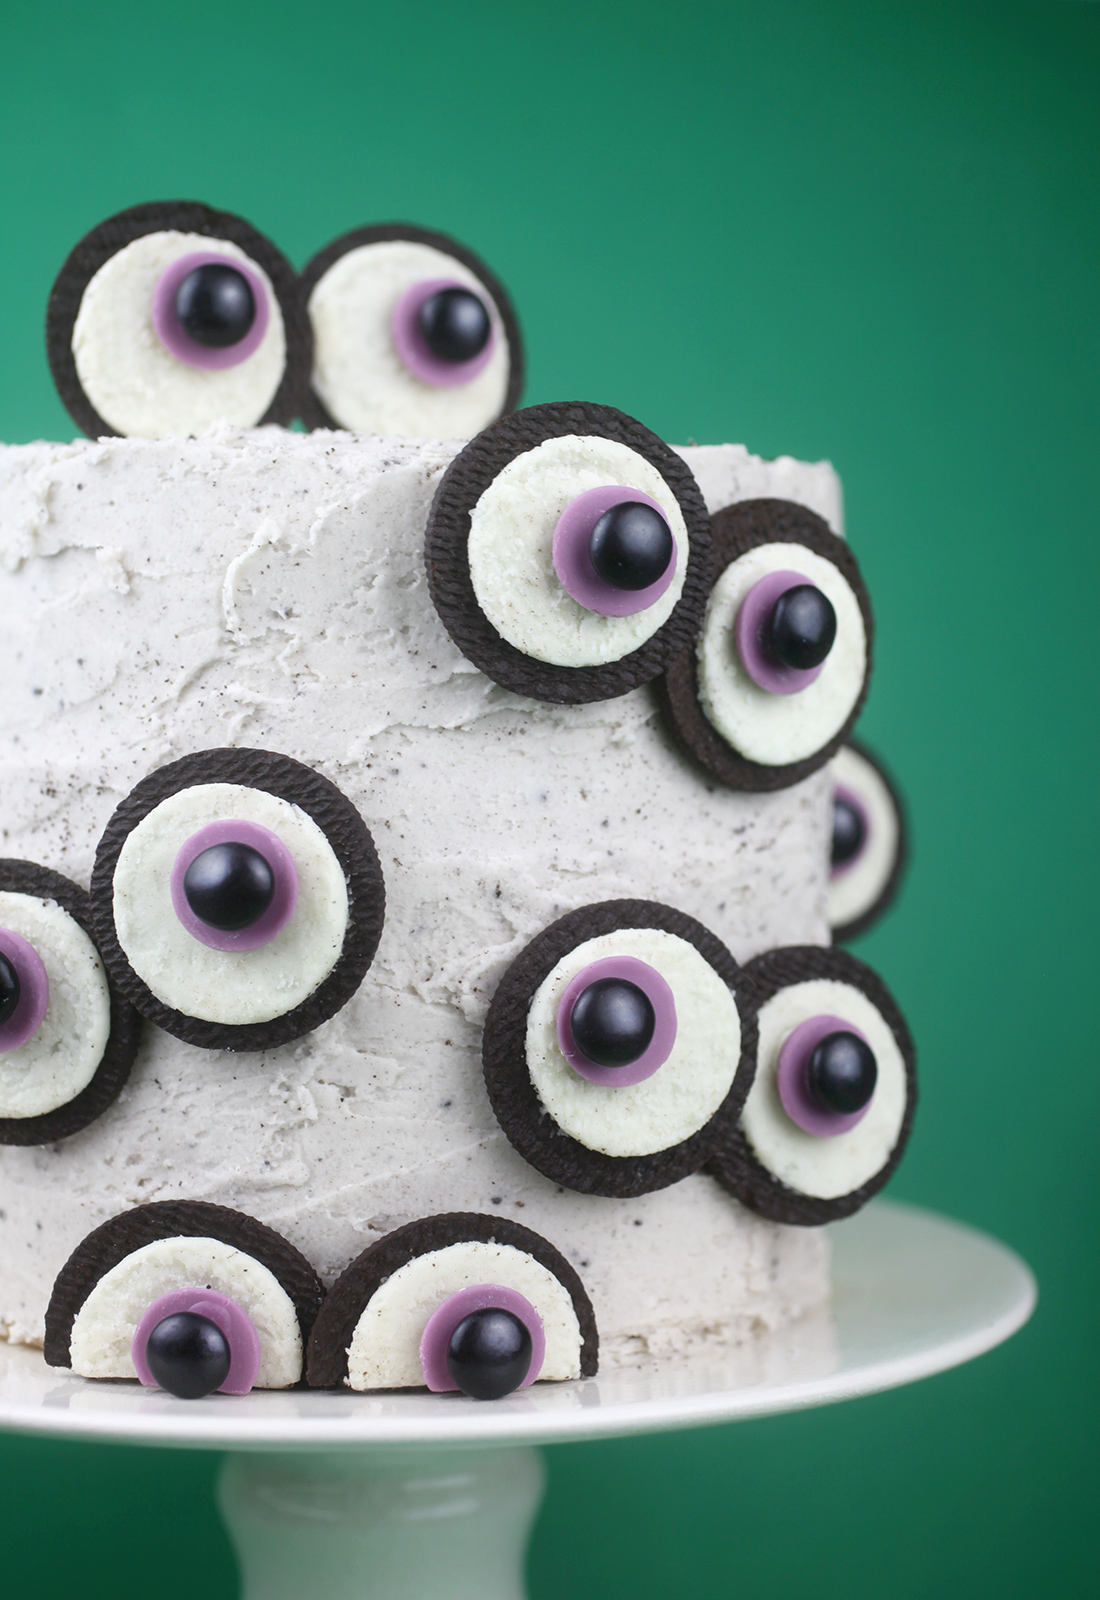
Halloween may be my favorite time of the year to make treats. I love combining spooky and cute and serving it up as something sweet to eat. And this easy cake covers it all.
Check out my Halloween section for more frightfully fun ideas to trick out your treats.
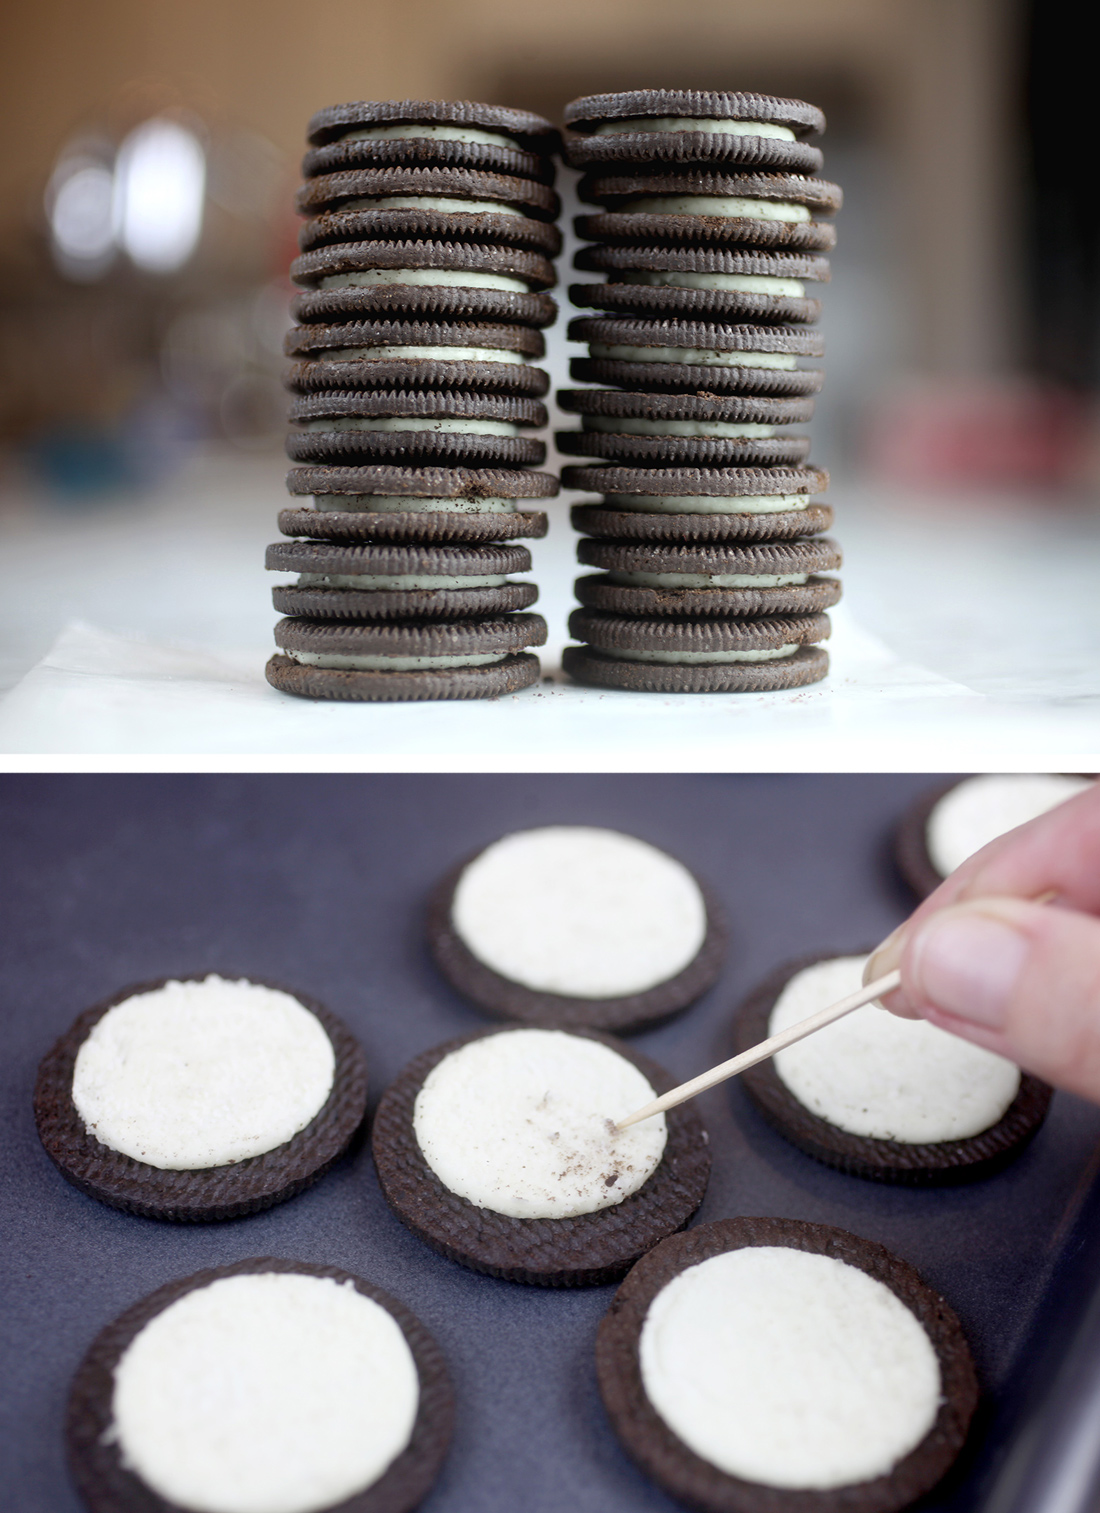
Oreos are the stars when it comes to making this cake come to life. Separate the cookies and creme carefully because they tend to pull apart with some of the creme center attached to each cookie wafer. I probably ruined more cookies than I was able to separate cleanly, so think about buying a family pack to give yourself extra chances. And, I’m sure you can find a happy home for any mess-ups. ; )
To separate, very gently twist the cookie wafers back and forth in tiny movements to try to keep the creme attached to one of the wafers. When successfully separated, you may still need to clean them up. Use a toothpick to gently scrape off any residual crumbs from the surface.
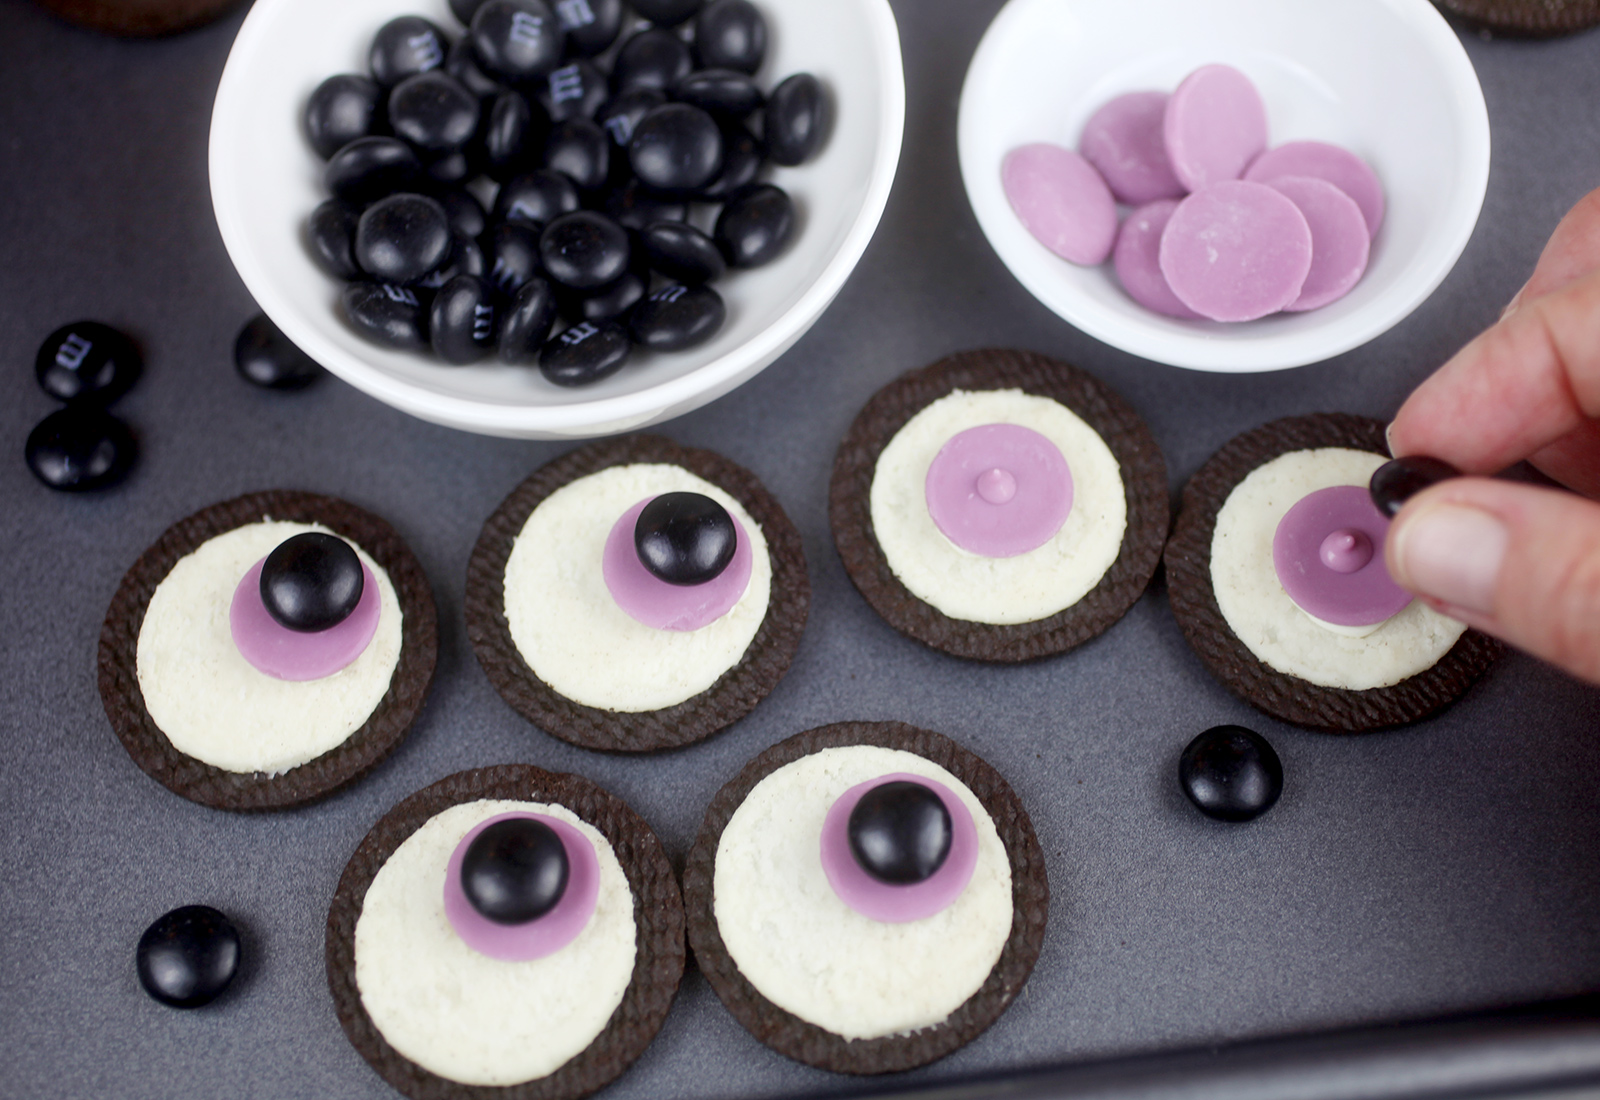
Eye Candy! To turn these Oreos into eyes, you can use purple candy wafers and black M&M’s. Easy!! Green or orange candy wafers would be cute, too.
Gently press a candy wafer into the creme with the flat side facing up. Add a dot of white candy coating to the underside when you attach if you want to make them extra secure. Then, melt some of the purple candy wafers to attach the M&M’s. You’ll just need a small dot of melted candy coating to “glue” the two together.
Look how cute!
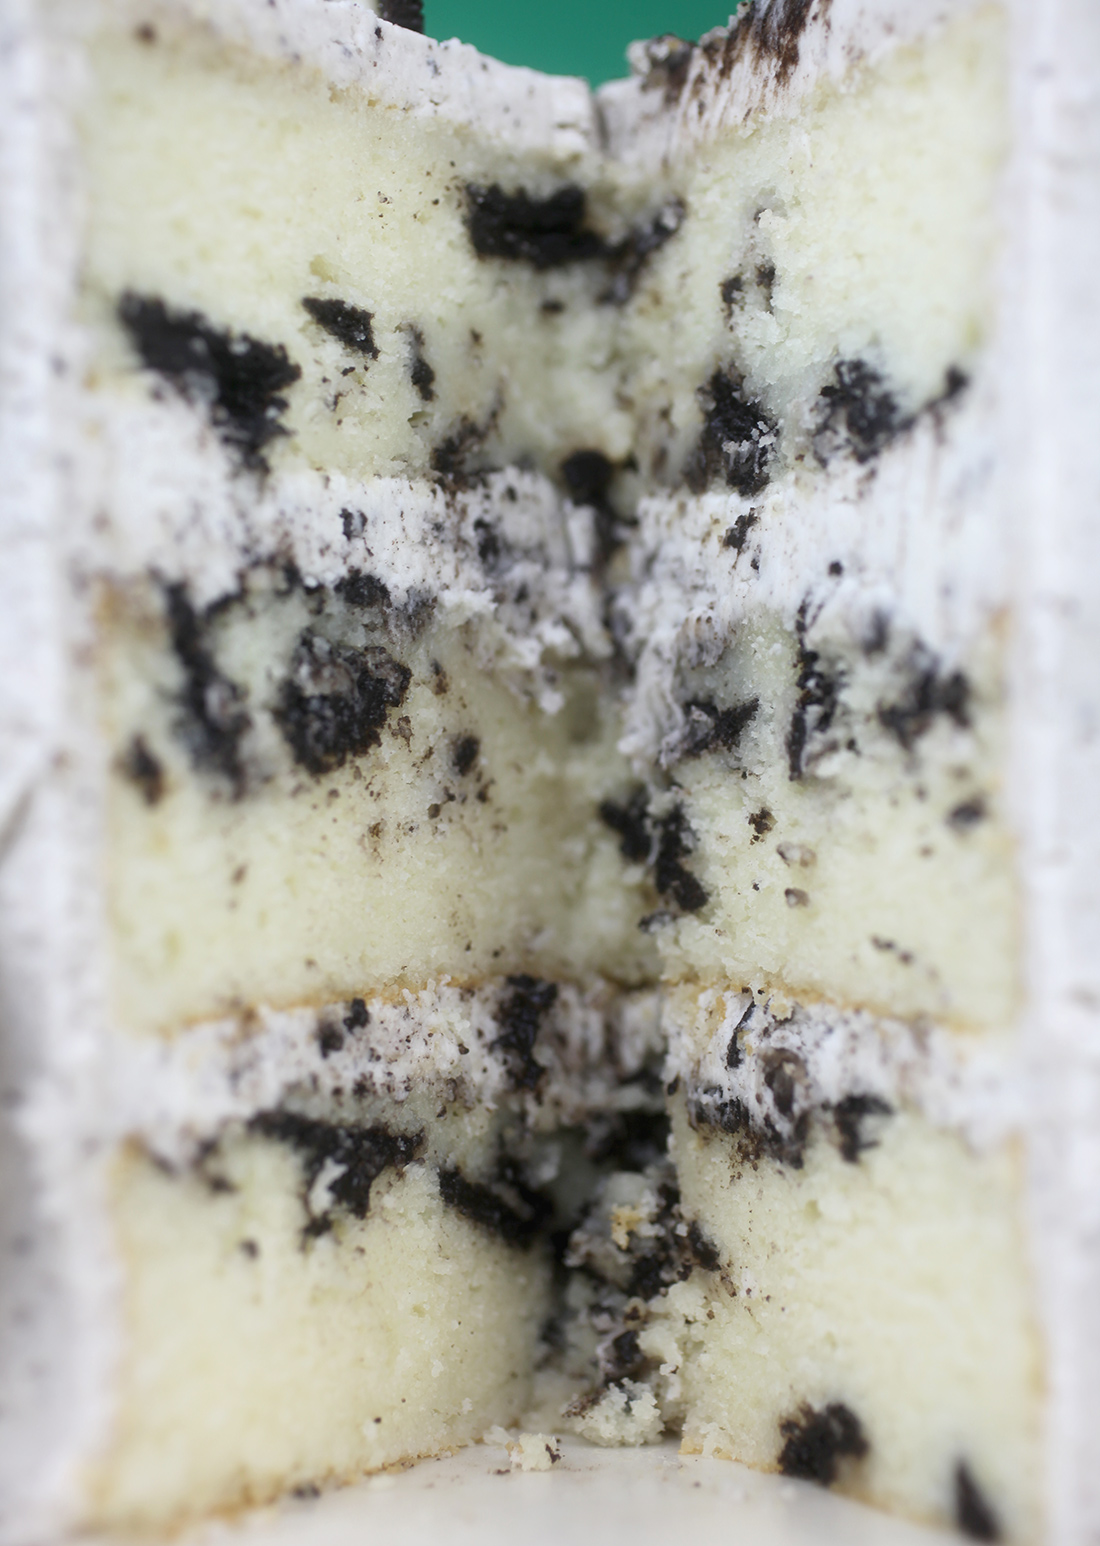
But that’s not all! The cake itself is stuffed with Oreo cookies and the frosting is speckled with crumbs, too. Let me show you!
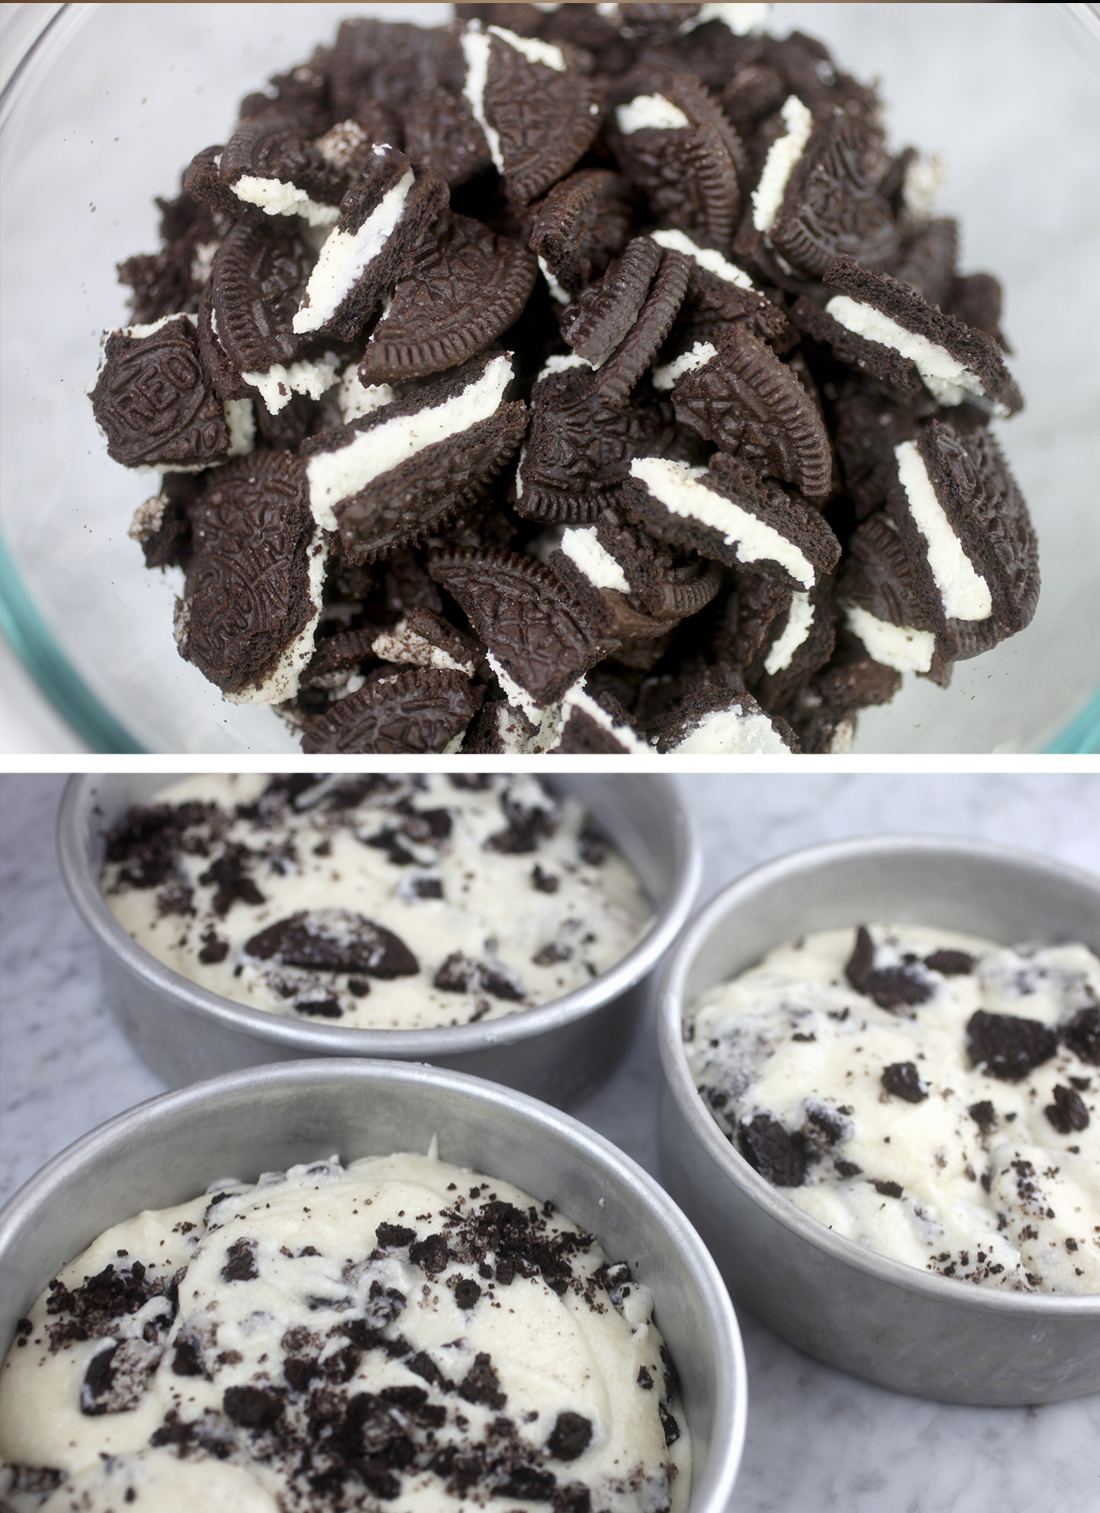
I broke the cookies into small pieces instead of using a food processor so there would be a lot less tiny crumbs that could turn the cake batter too gray.
I went with 6-inch pans so the cake could be taller – with three layers – and plenty of room for all the eyes.
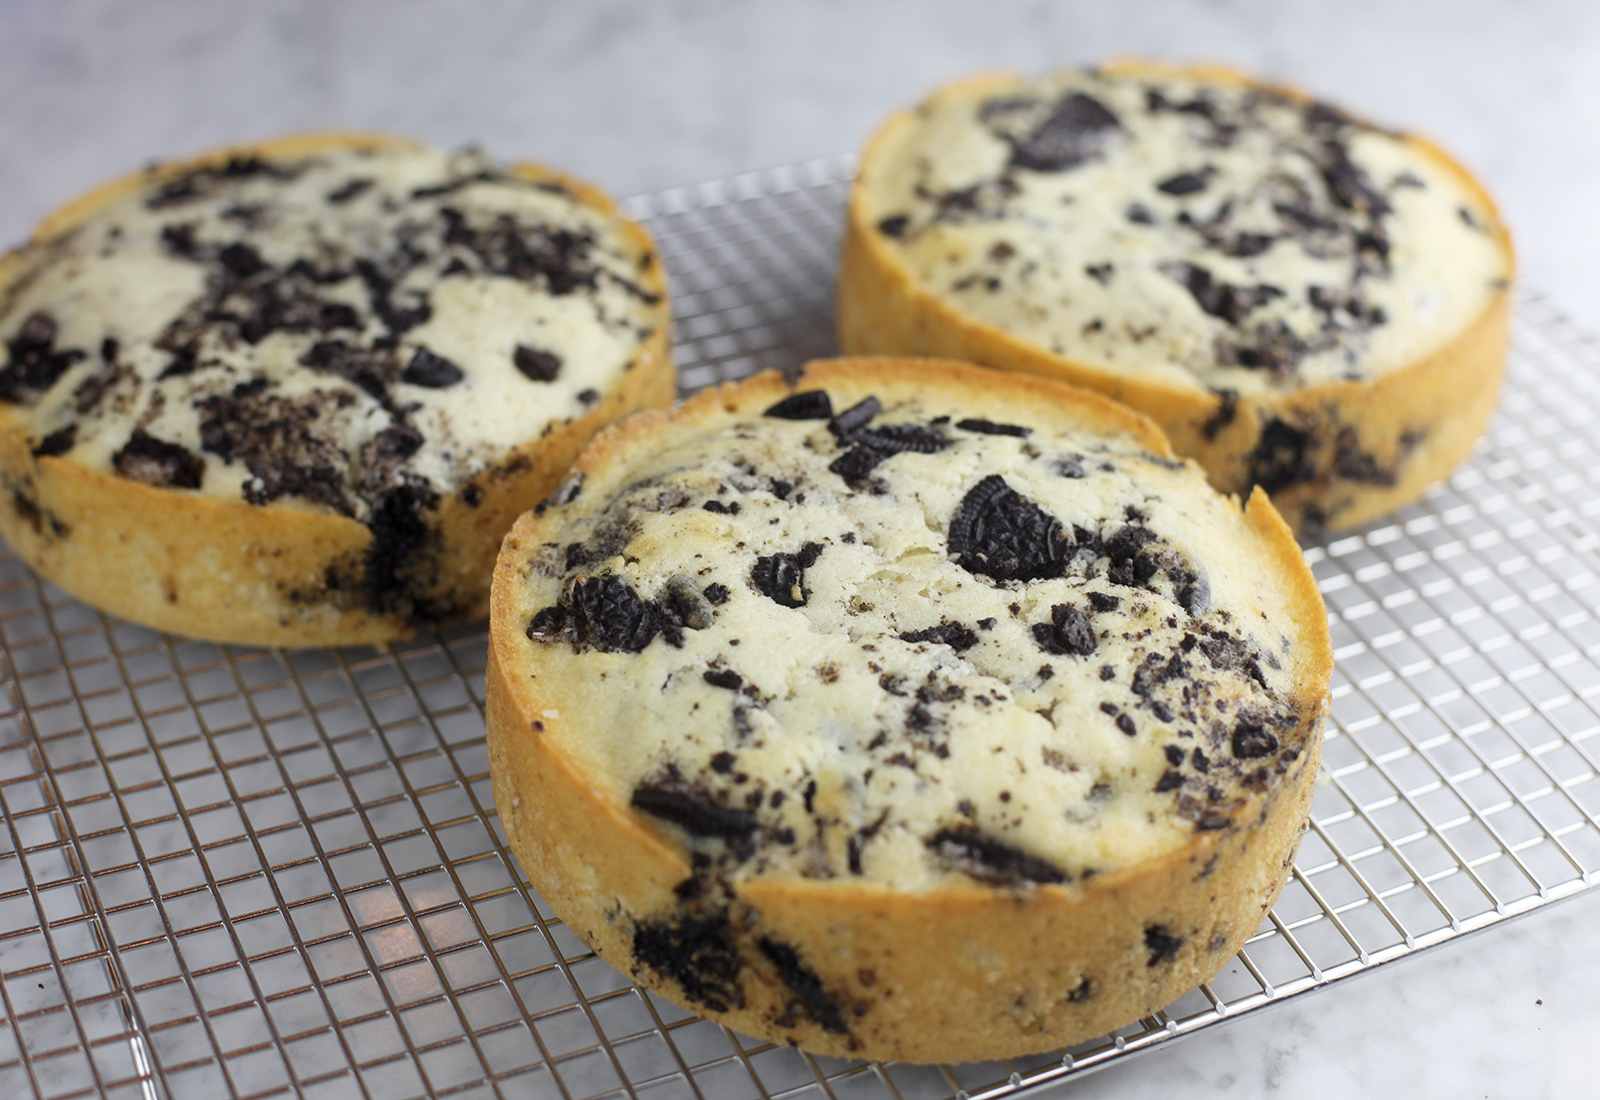
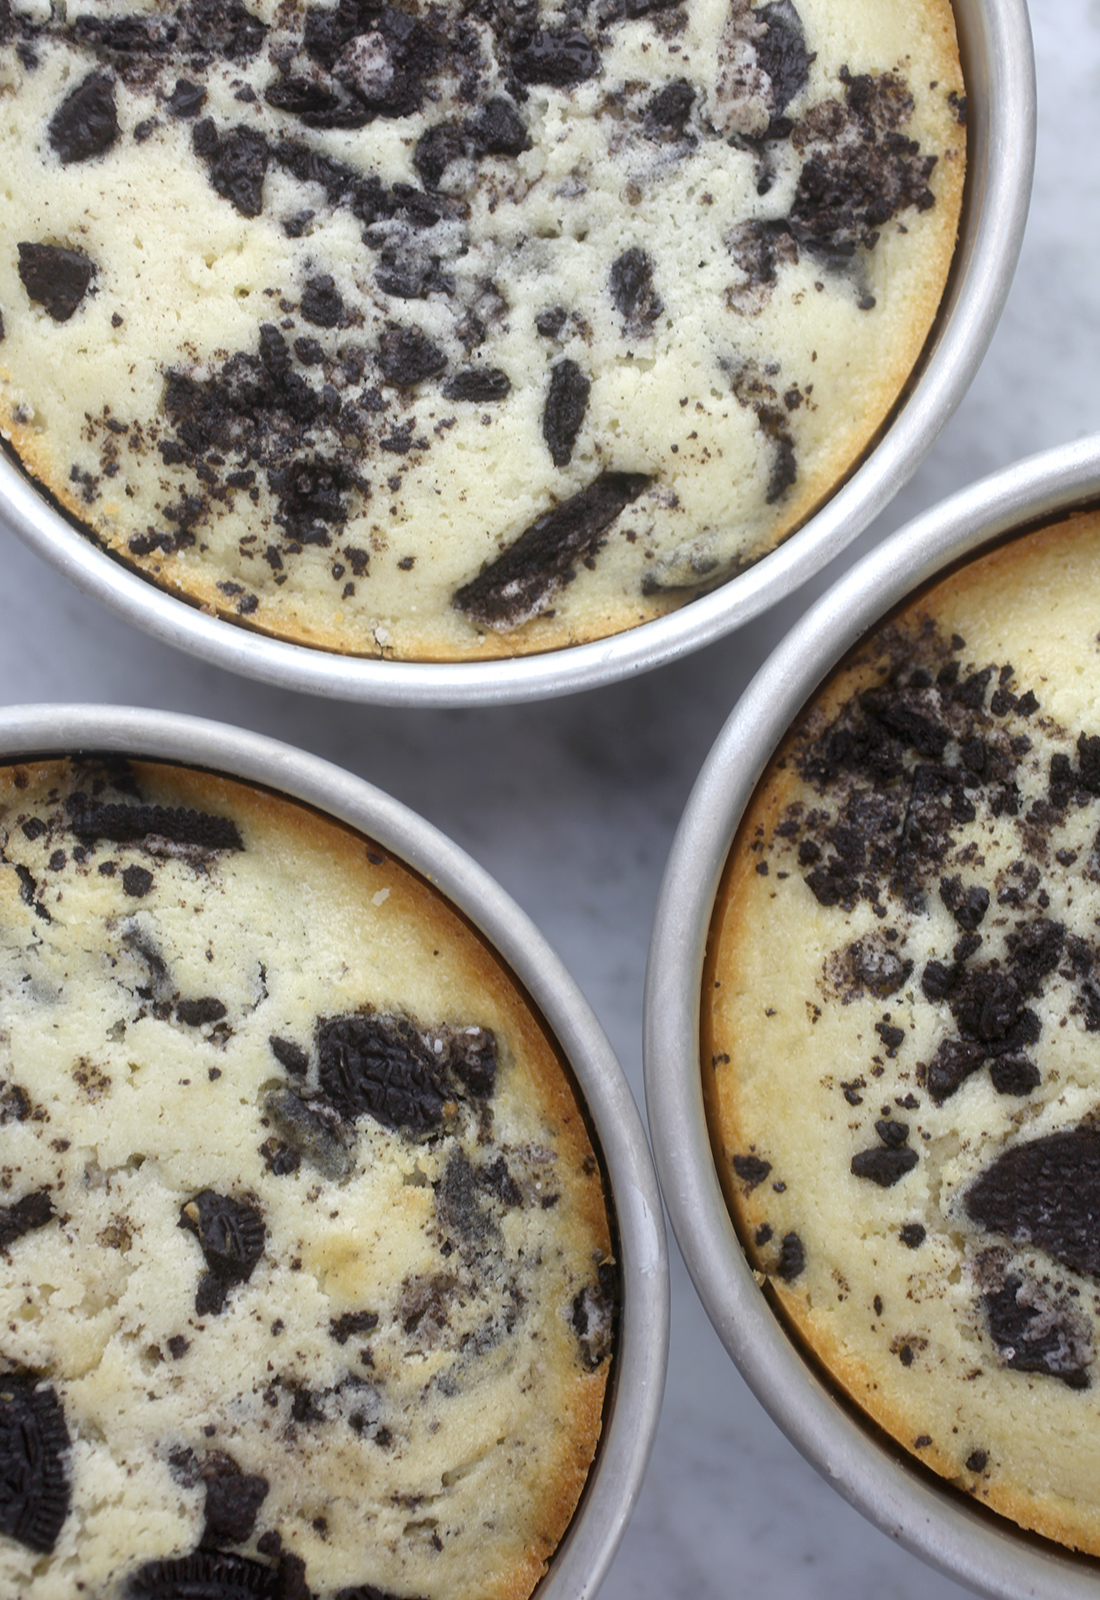
Looking good!
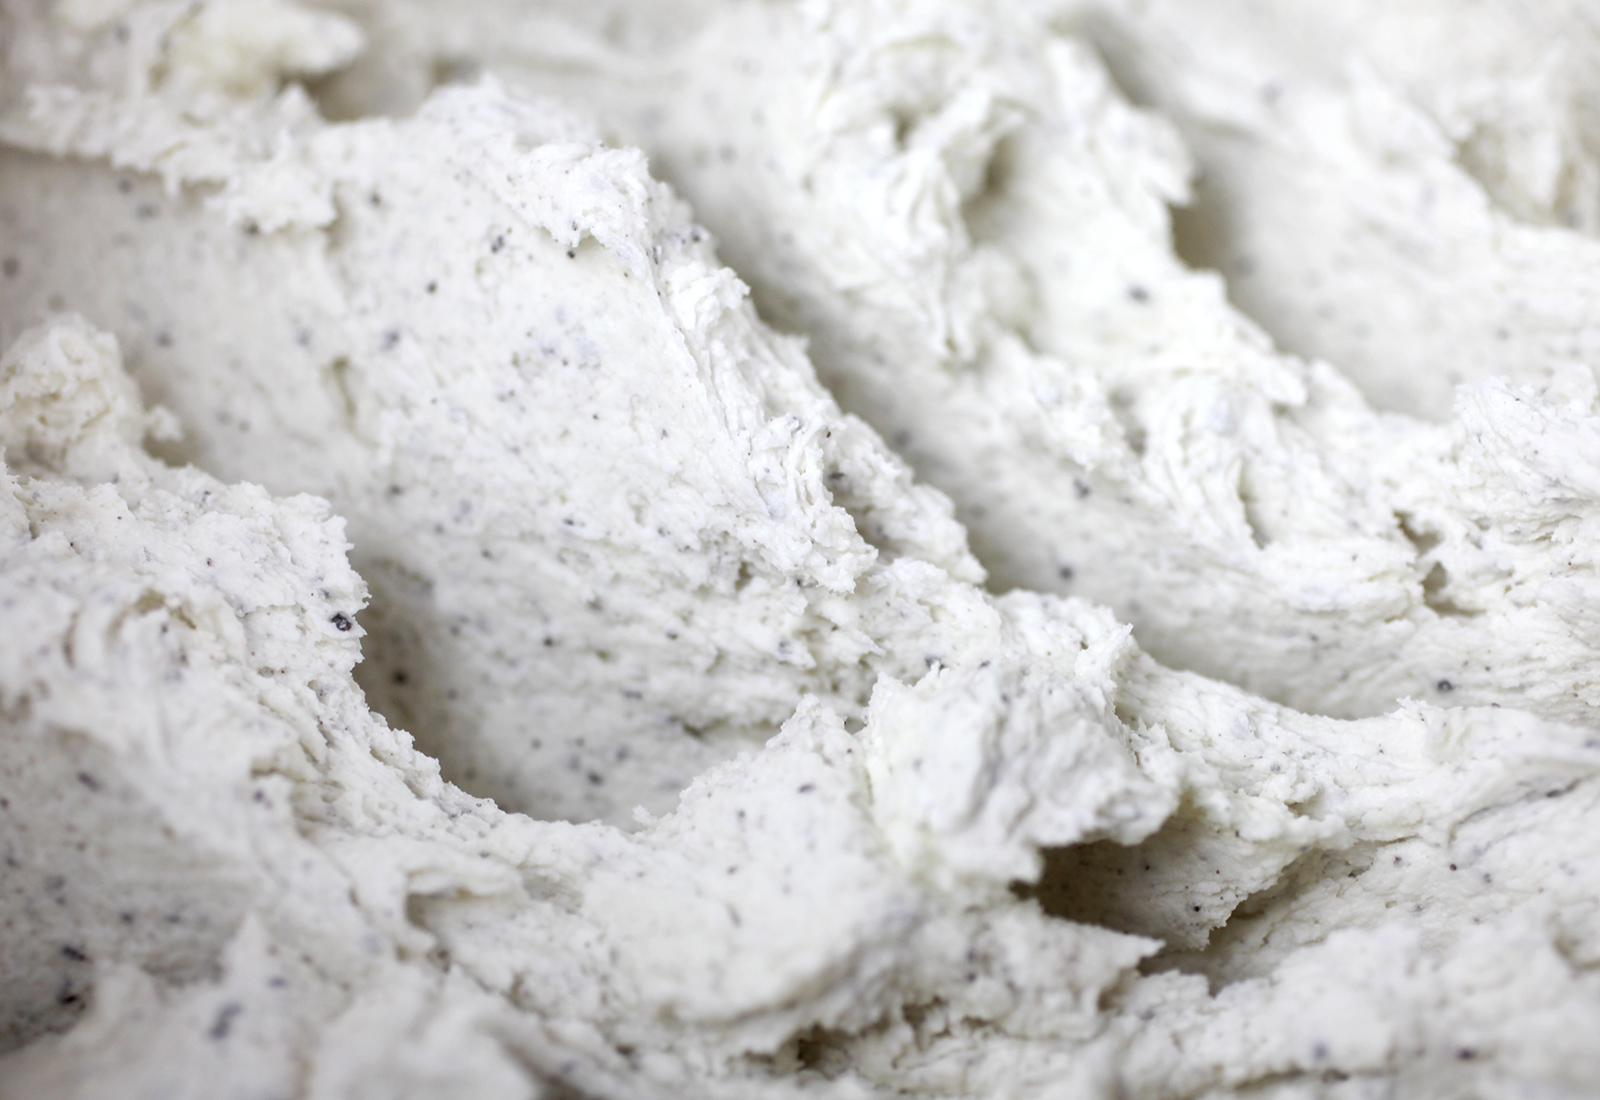
Umm, looking even better! I mixed about 2 Tablespoons of fine cookie crumbs (using a food processor here) with the buttercream for a speckled look.
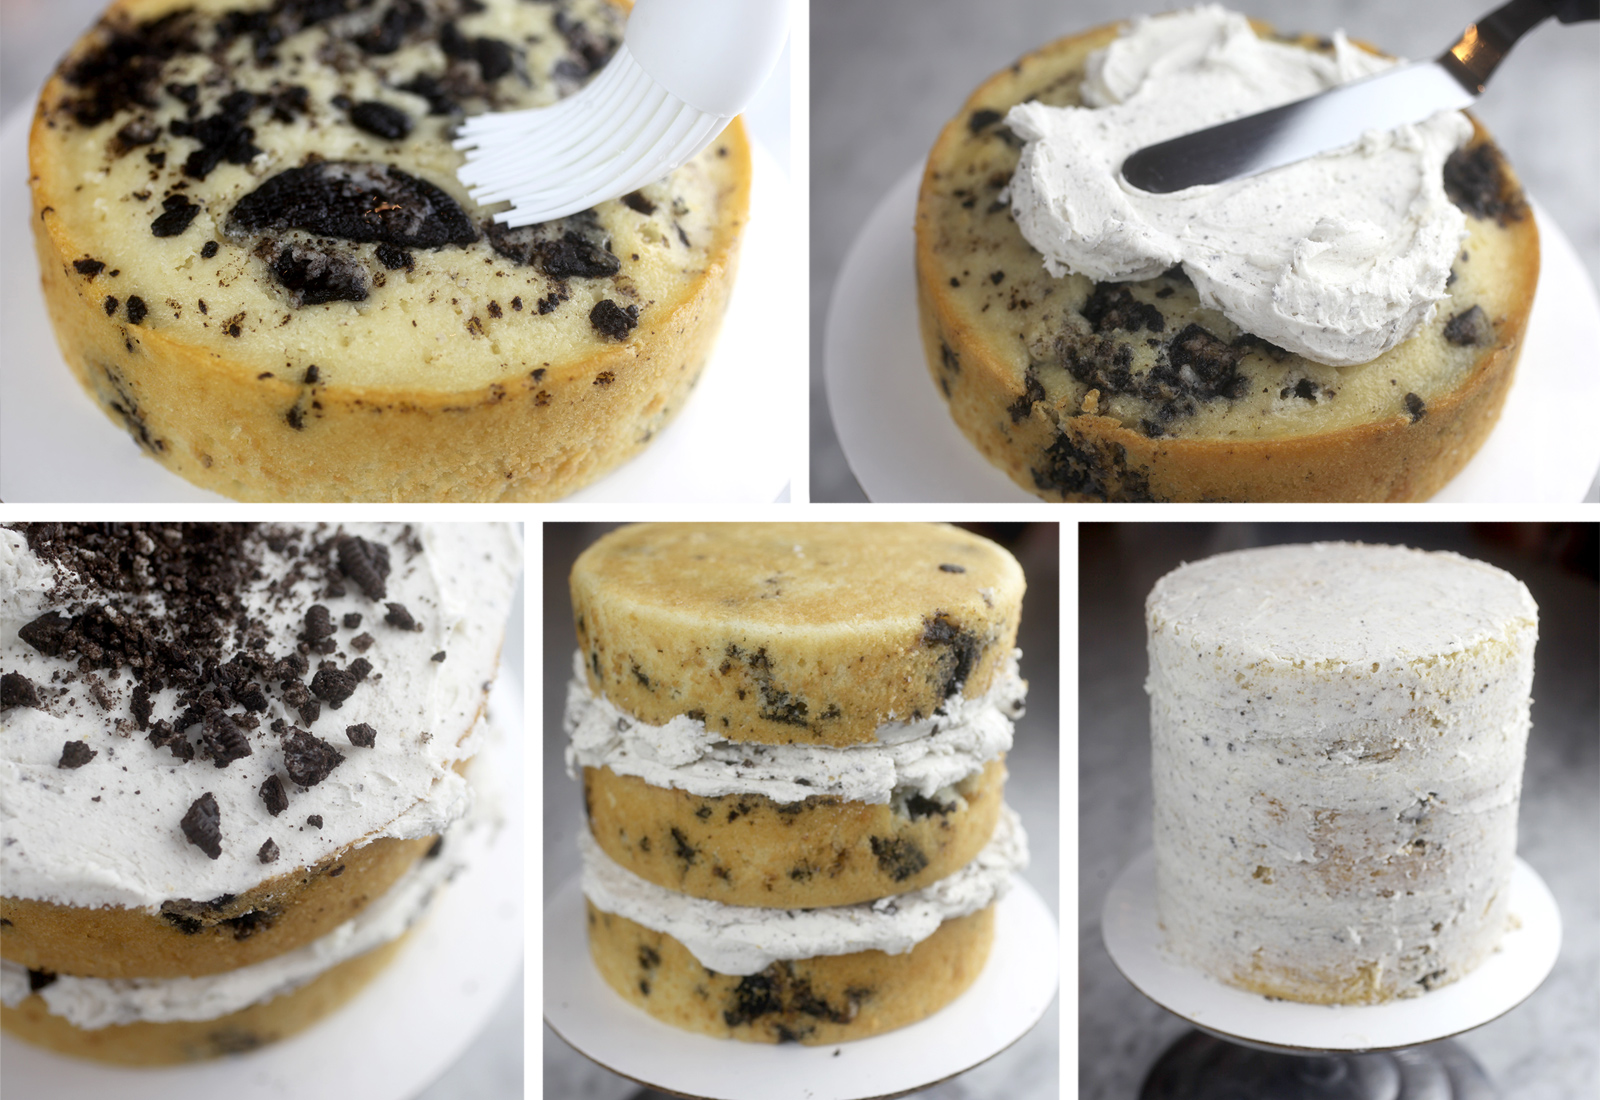
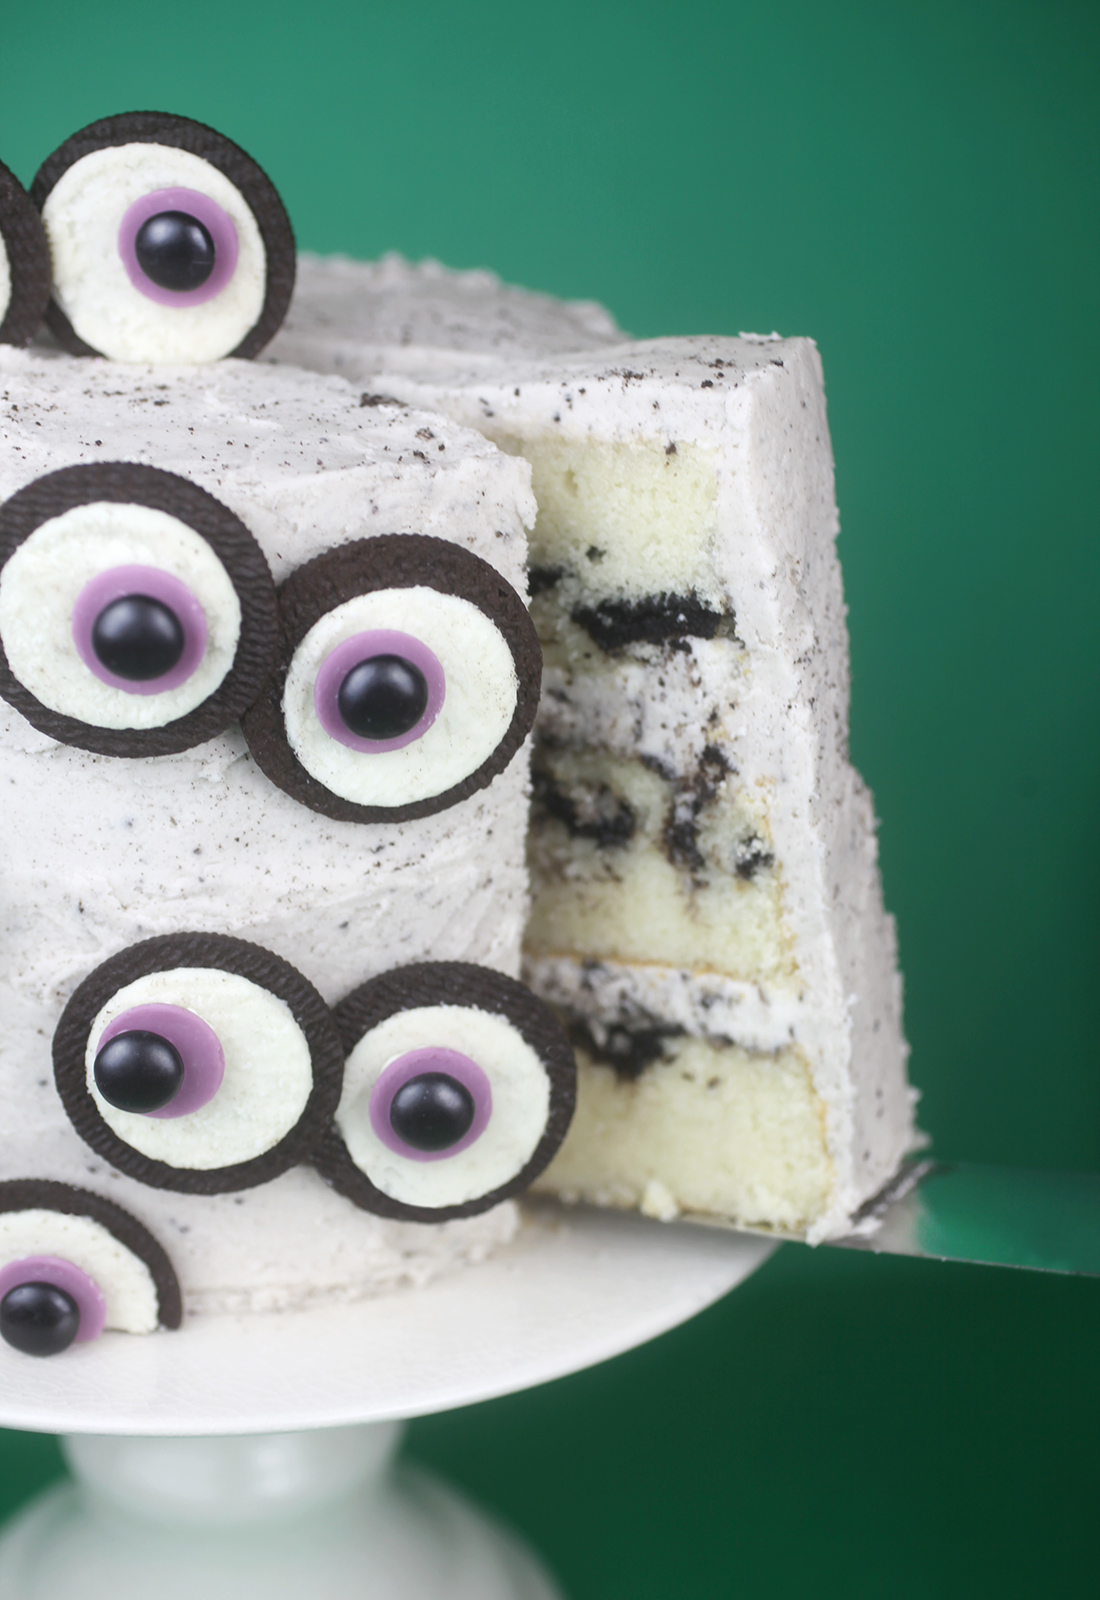
Assemble the cake layers: Apply simple syrup to the top of each cake layer. Then apply a thick layer of buttercream and sprinkle with more cookie crumbs if you desire. Once assembled apply a crumb coat or thin layer of frosting to the outside of the cake to catch any excess cake cake crumbs. Place in the fridge until firm and then generously apply the rest of your buttercream to the sides and top.
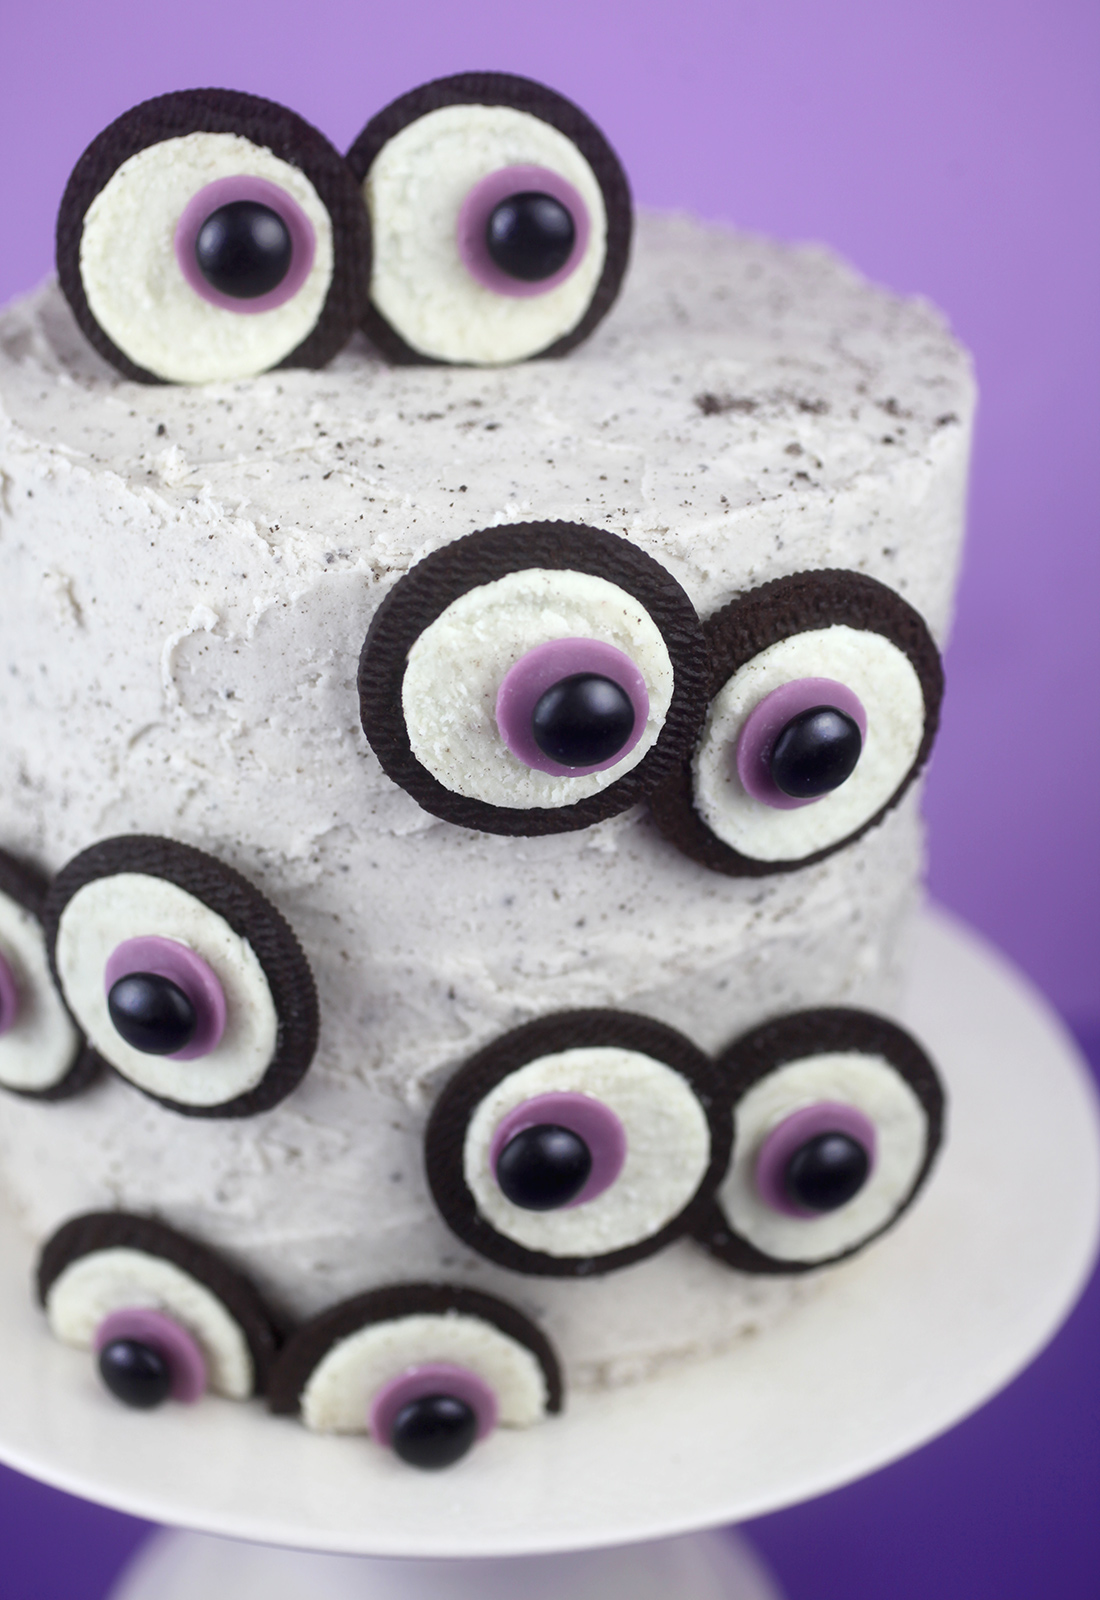
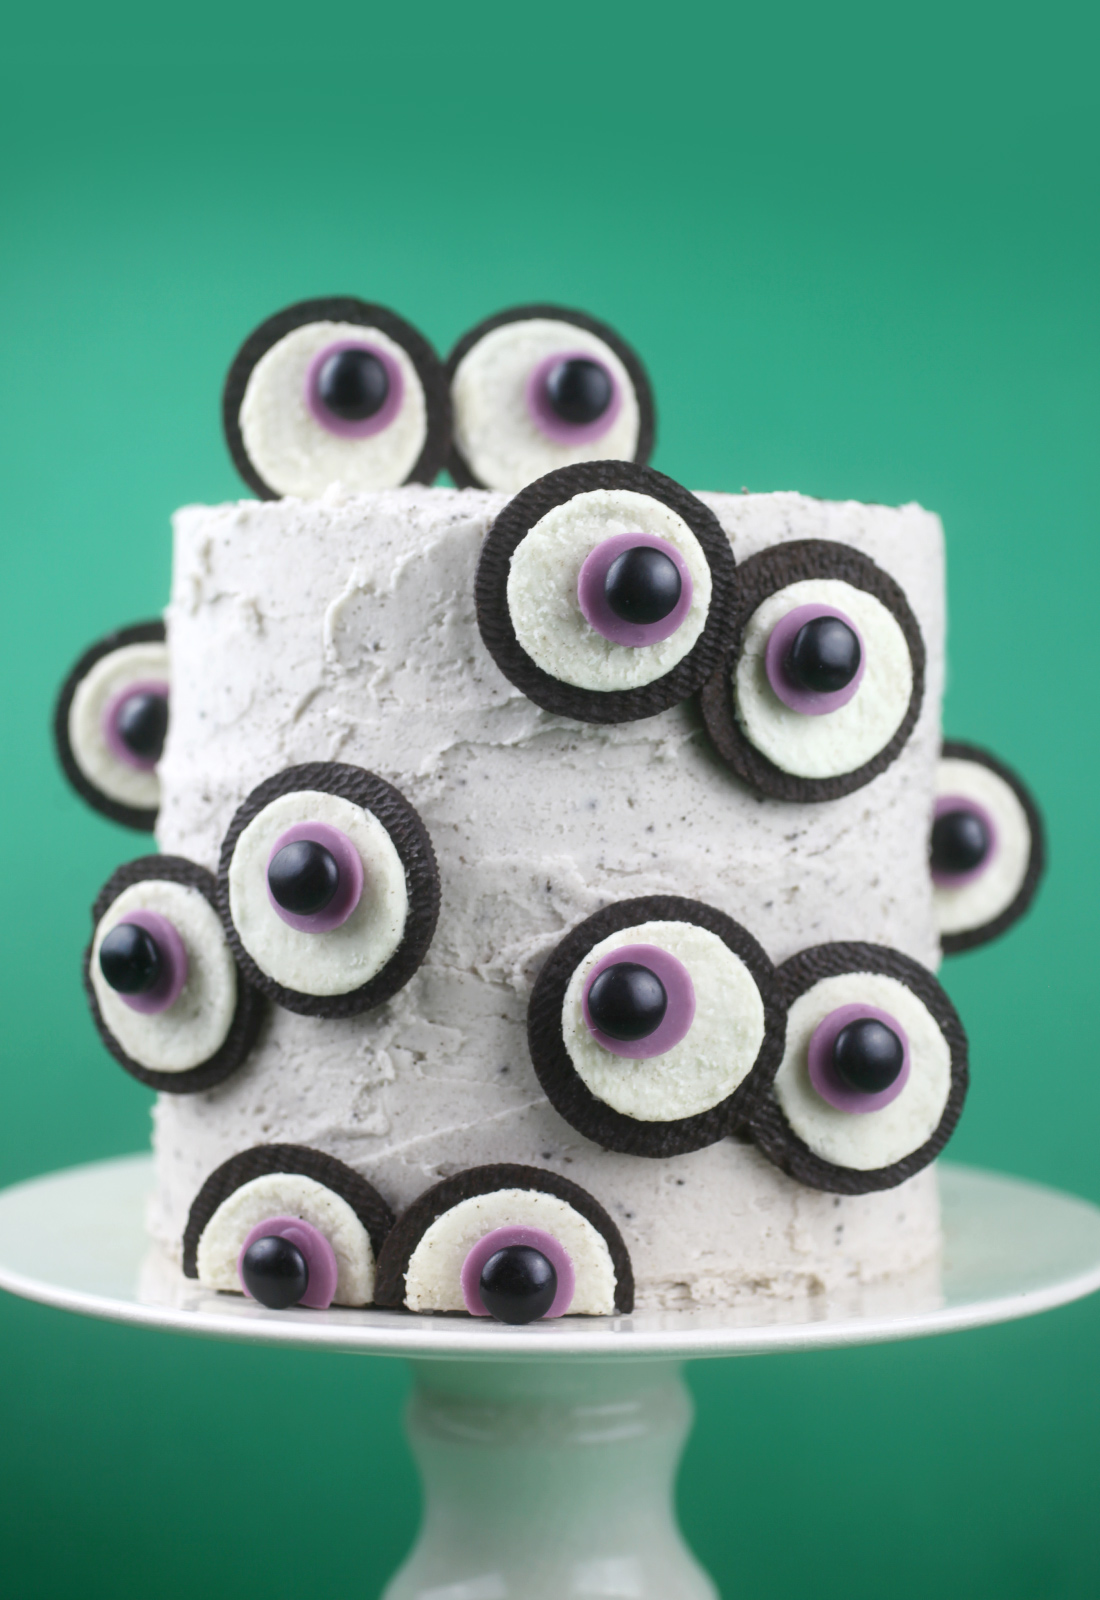
Now start attaching your cookies. Use a little leftover frosting to attach each cookie to the surface of the cake.
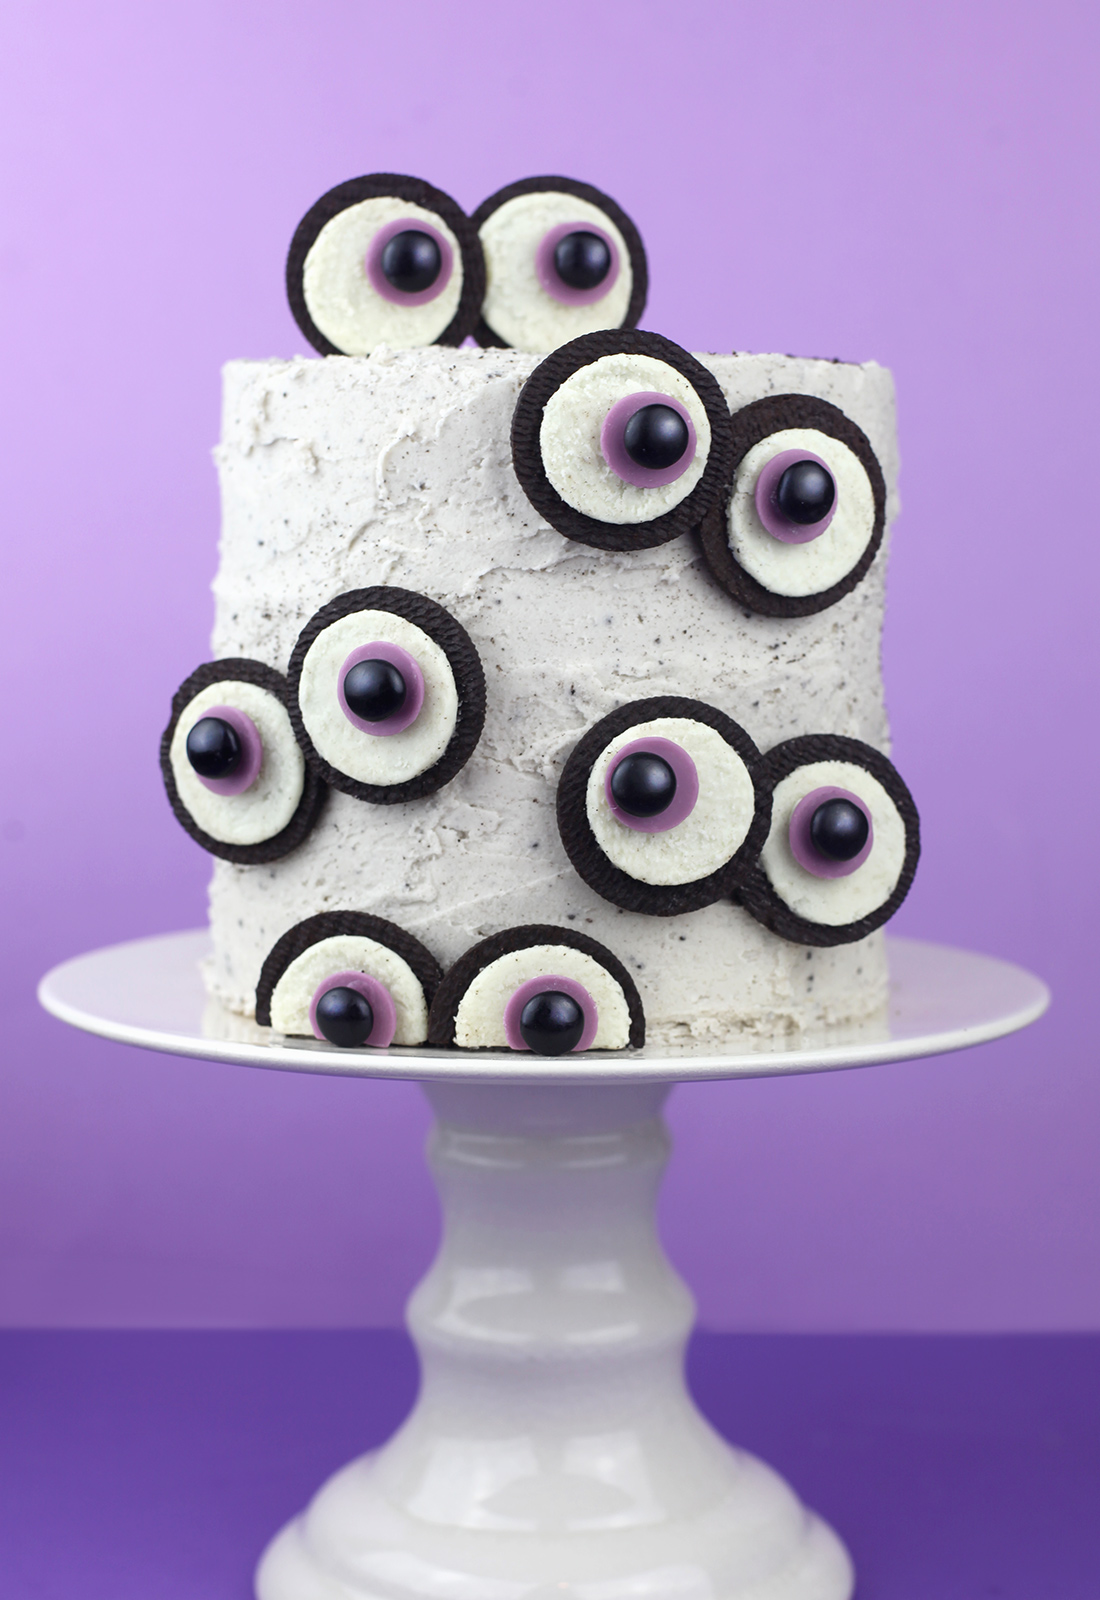
Eye love it!
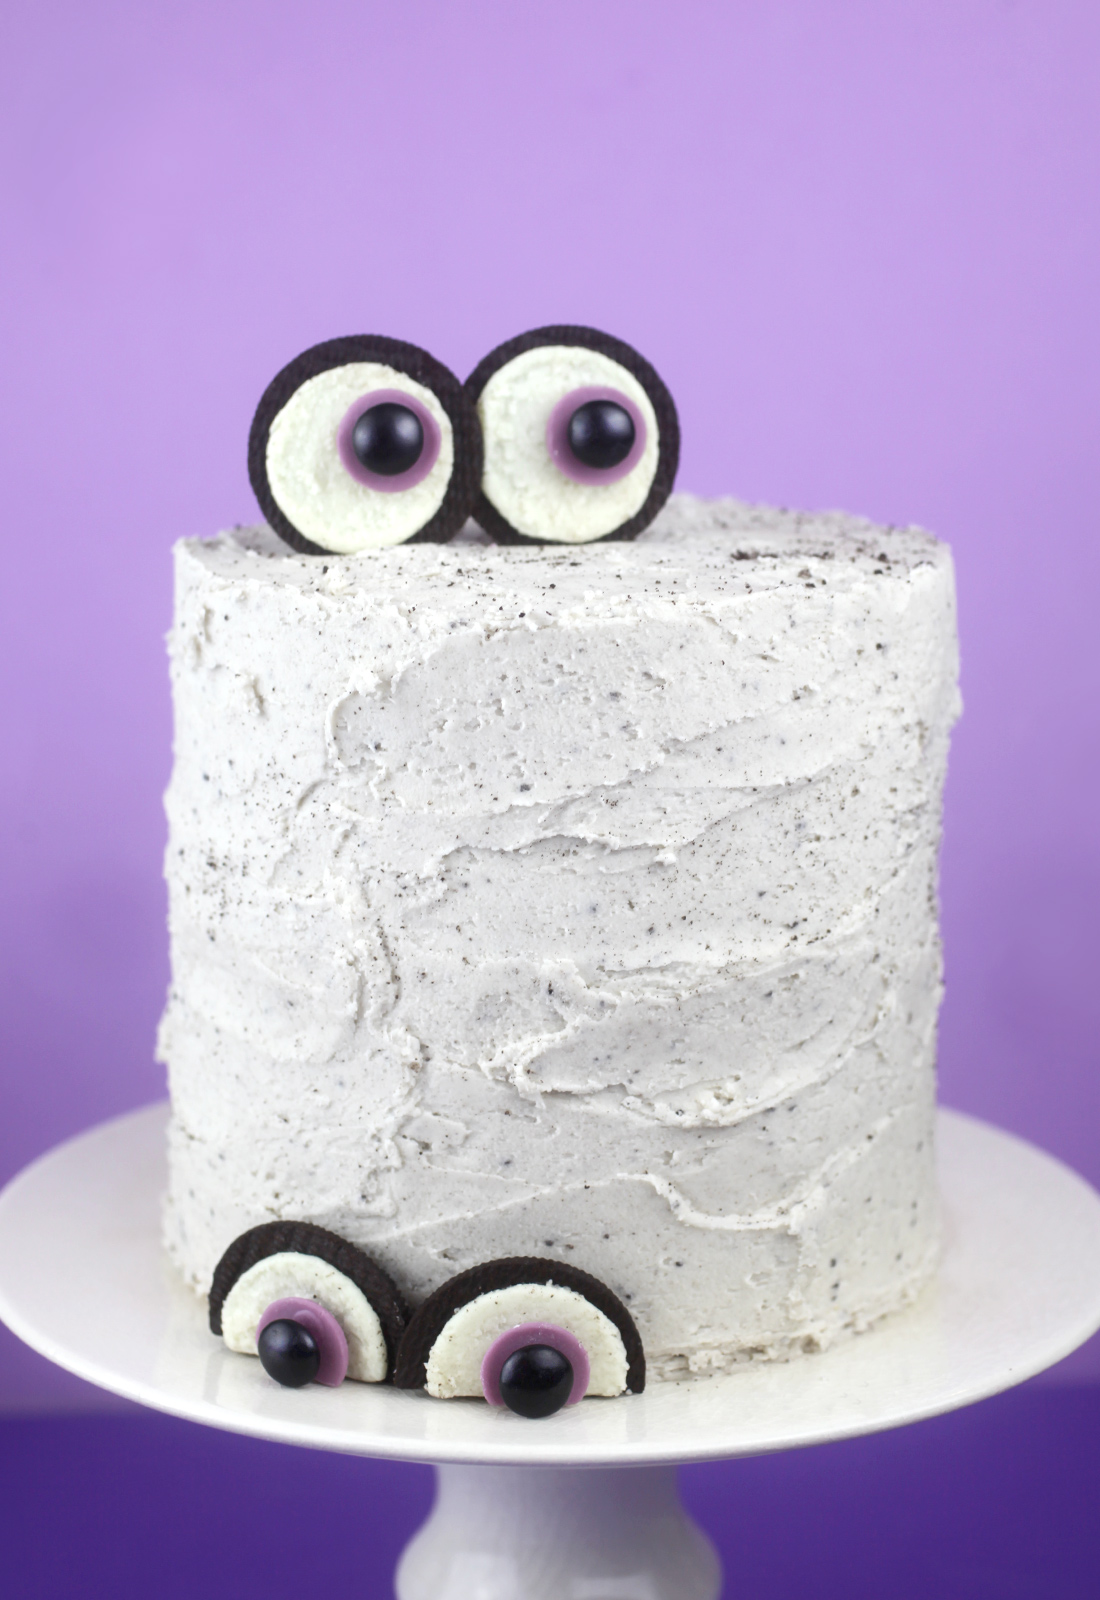
And if you want, add a few eyes to the sides, too. Just press the cookies directly into the cake. The only thing about adding eyes this way is that you would only want to display your cake from the front.
Otherwise you could attach all the cookies flat to the cake if you were to view it from any direction.
As a member of affiliate programs, this site may earn commissions from qualifying purchases made though affiliate links.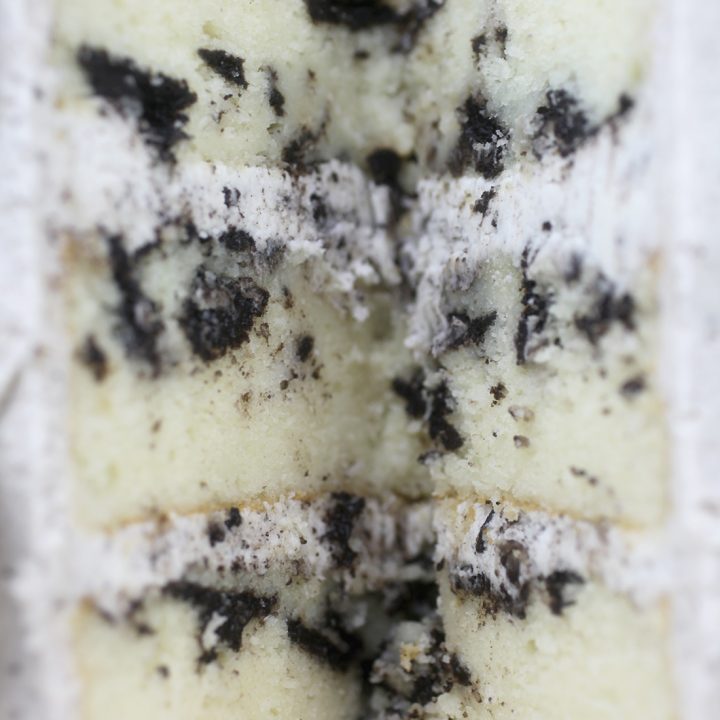
Oreo Cake
Ingredients
Instructions
Notes
Recommended Products


I love how simple and clear your instructions are for this! I honestly feel like I can do it.
Thanks Stephanie!
how amazing is that eyeball cake looks like staring you to have to either, lol this is the perfect recipe to have on this Halloween, thanks Angie
I think I’ll WARM the cookie first, so it’ll separate with ease. Just a thought.
Definitely worth trying!
Very cute! Does this recipe use 6×2” or 6×3” round pans?
Hi Christine – I used 6 X 2 pans. You can also bake this in two 8 x 2 pans if you like.
“Eye” think this is so cute — and it looks delicious!
Thanks – Eye like you!
Oh that is too funny, and perfect for Halloween. XD
Thank you Mindy!
Is the simple syrup for taste or does it serve a different purpose? Just curious as I’ve never heard to that before. Thanks!
Hi Kim – I like to use it to help keep cakes moist. It’s not required though.
I think if you took a sharp knife and ran it along one side of the cookie it would separate. Maybe refrigerate the cookies before hand?
I didn’t try that but I did try chilling them in the fridge and twisting them with no success. Maybe chilling and using the knife would work better. Going to try that next time.
Cutest Halloween cake ever!
Thank you so much!