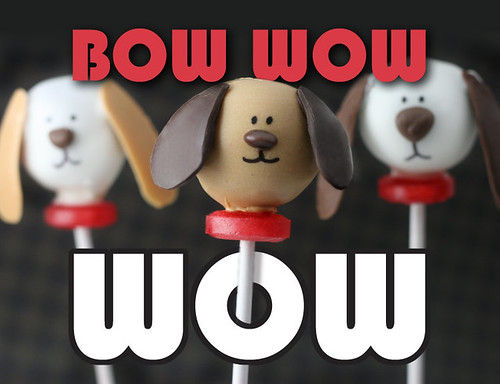
Check out these cute little canine cake pops that are sure to make your kids beg for more.
Here’s what you’ll need to decorate:
Cake pops
Chocolate candy melts![]()
White candy melts![]()
Peanut butter candy melts![]()
Candy writers![]() (dark brown, white)
(dark brown, white)
Edible ink pen![]()
Sharpie
Plastic spoons
Squeeze Bottle
Mini M&M’s
Life Savers candies

Cake Pops (process described here)
- They can be dipped in chocolate, white or peanut butter candy coating for variations.
- These were made with chocolate cake and cream cheese frosting.
Make the ears
- Draw an elongated tear drop shape on the back of a plastic spoon with a Sharpie.
- Turn the spoon over.
- Trace the shape with a candy writer or either use a squeeze bottle filled with melted candy coating.
- Fill the inside of the ear shape with candy coating.
- Place in the freezer for a few minutes to set.
- Remove and pop the ears off the spoon and store in a safe place until ready to use. These can even be made the night before.
Now for the noses
- Cut mini size m&m’s in half or
- Use a candy writer to draw your nose on wax paper and allow to dry until ready to use. These can also be made the night before.
Assemble:
- Use squeeze bottle or candy writer to “glue” the pieces on the pop.
- Place a drop of melted candy coating on the back of pre-made nose and place on pop.
- Draw the eyes and mouth using the edible ink pen.
- Use glue method to attach the ears and candies for the collars. Hold each for a few seconds until set.
- Allow the Puppy Pops to dry and serve. Be careful with them, though. Their ears will be fragile.