
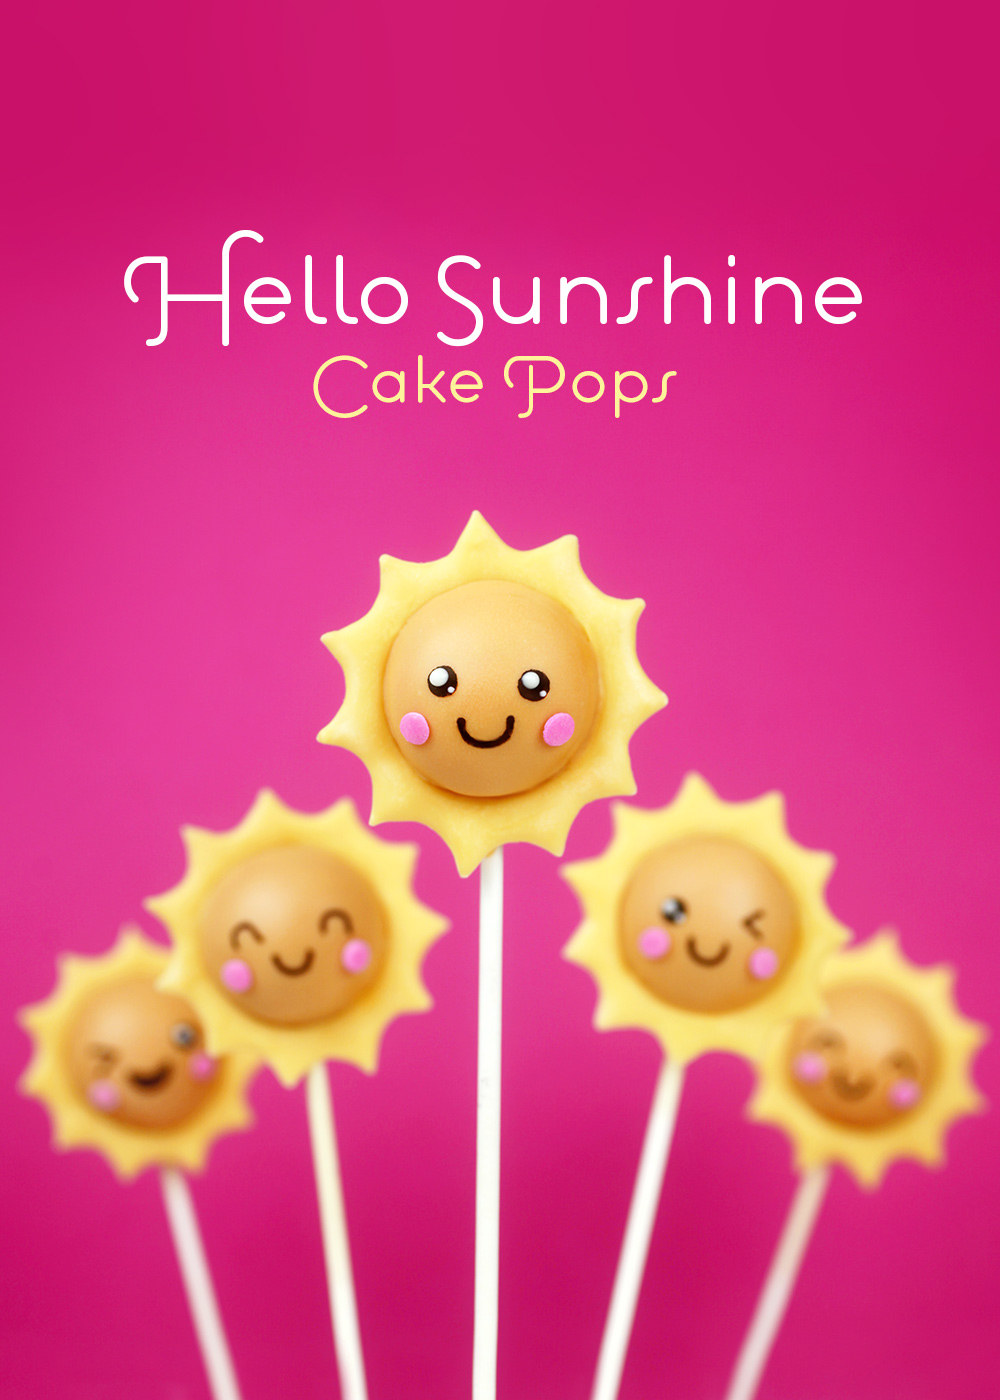
It’s a gonna be a bright, bright sun-shiny day for anyone that receives these super cute cake pops. They are just so cheery!!!
Now, I’m pretty sure these are my first sunny cake pops. You’d think I would have tackled them by now out of all the designs I’ve created over the years…… but really, there’s still a ton of designs I want to make.
And today it’s these sweet-faced little suns. The design was inspired by these cute weather illustrations I saw on Etsy. I think it was their happy little faces that got me.
Okay, let me shine a light on how I made the rays. I knew I needed to make a ring of light to match the illustration. I just needed to figure out how best to make it work.
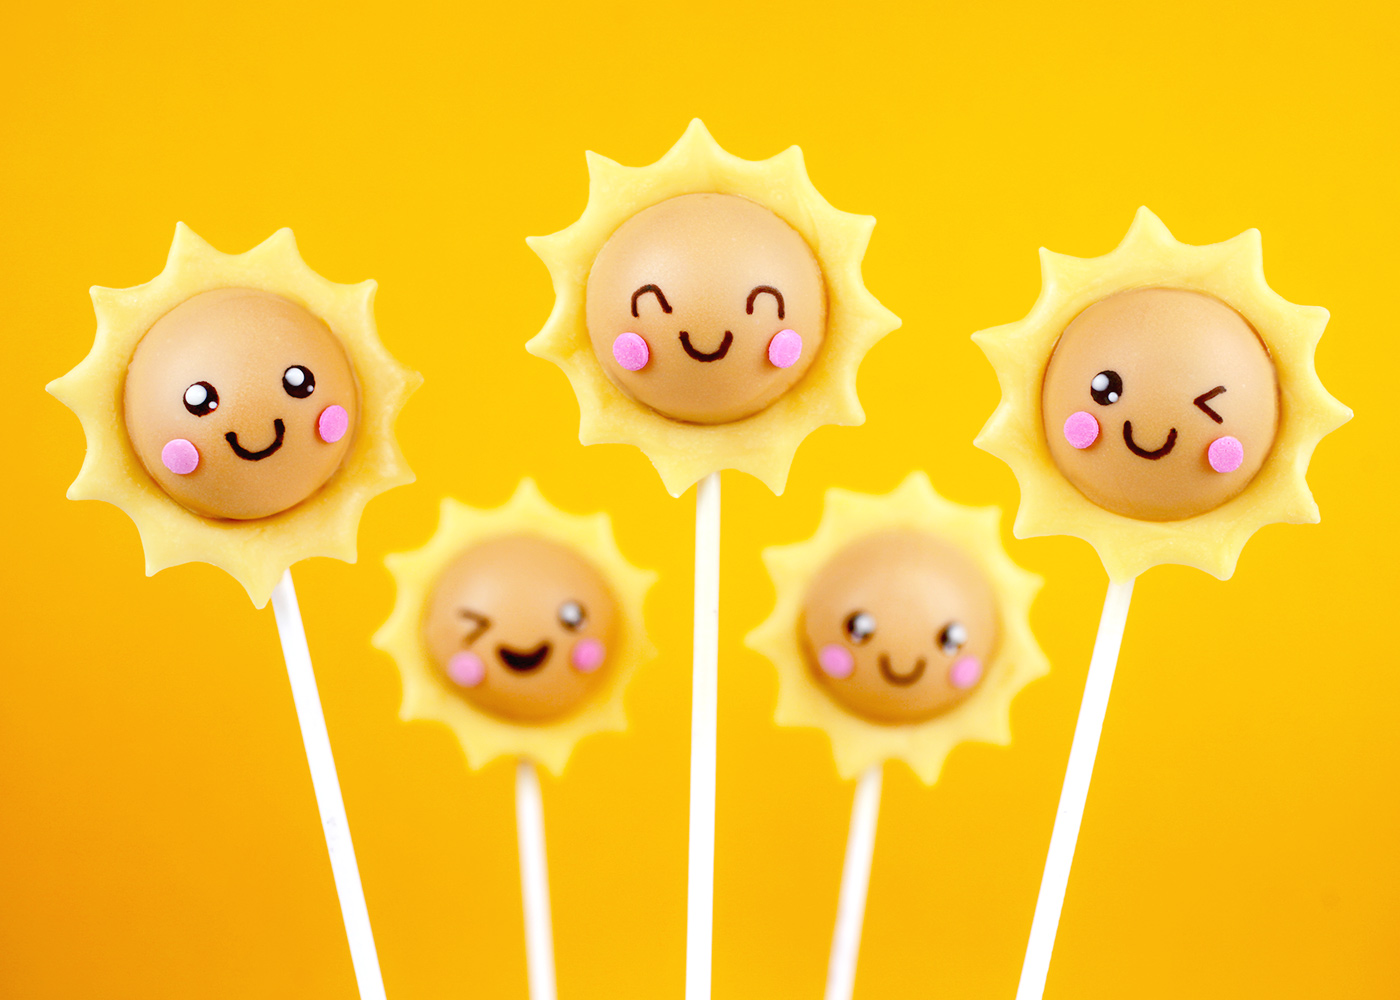
Here’s what I came up with.
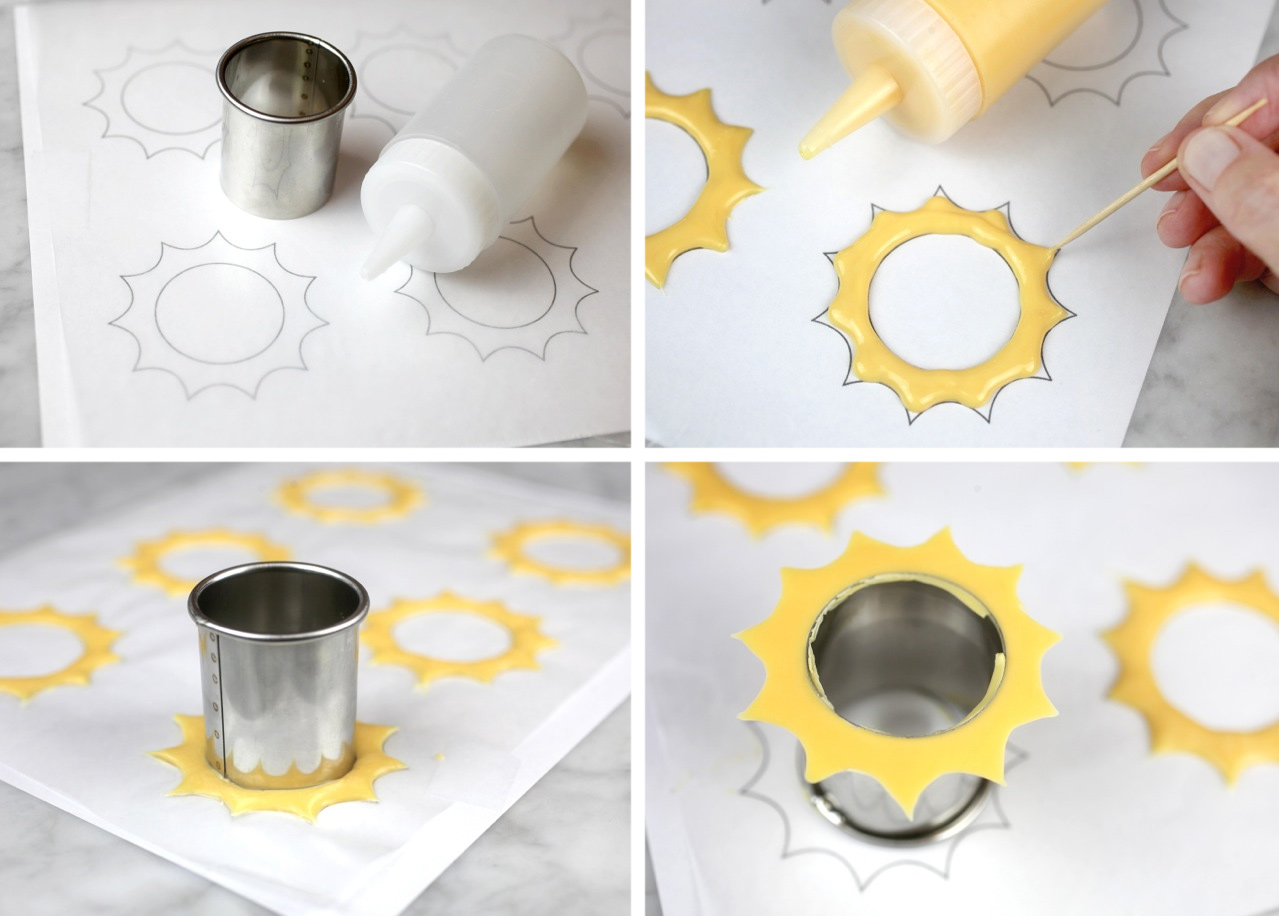
I found a 1.5-inch metal cutter and used this as my starting point.
Then I made a template based on the cutter. (Here it is if you want to give these a go.)
- First tape a piece of wax paper to the top of your template.
- Then fill a squeeze bottle with melted and smooth yellow candy coating and carefully pipe a ring inside the lines. Use a toothpick to pull and coerce the coating into the pointed tips. You are basically coloring within the lines using melted candy coating.
- Let the rings dry and then use the same cutter to very gently remove any excess coating that overflowed into the center. You want a round shape to fit over your round cake pops.
- Gently twist the sharp edge of the cutter in position and it will cut through the candy.
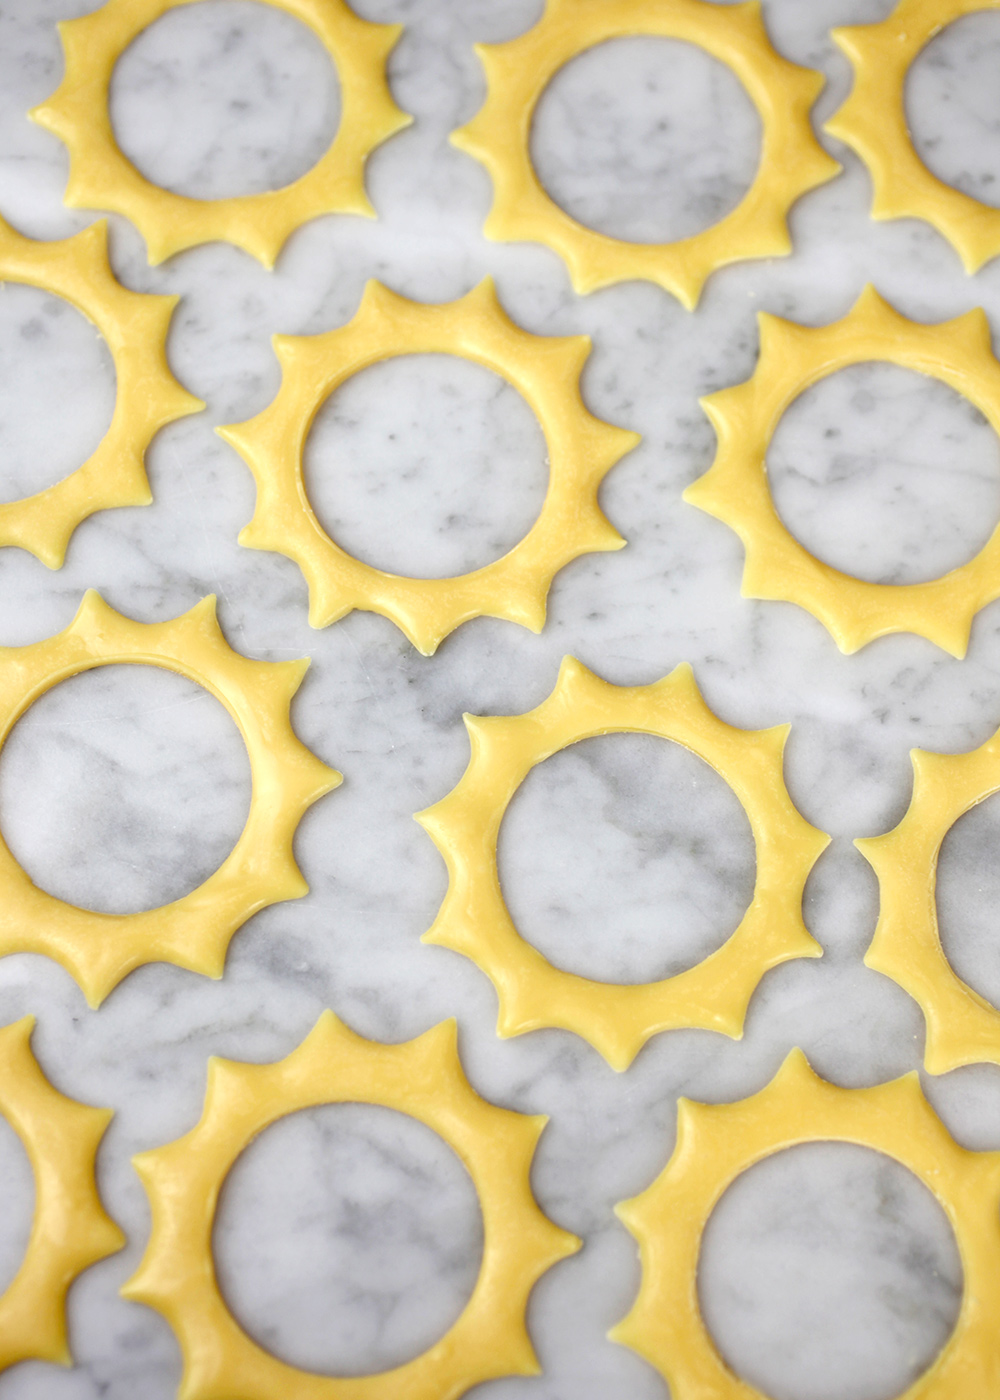
And voila. Rays ready to shine.
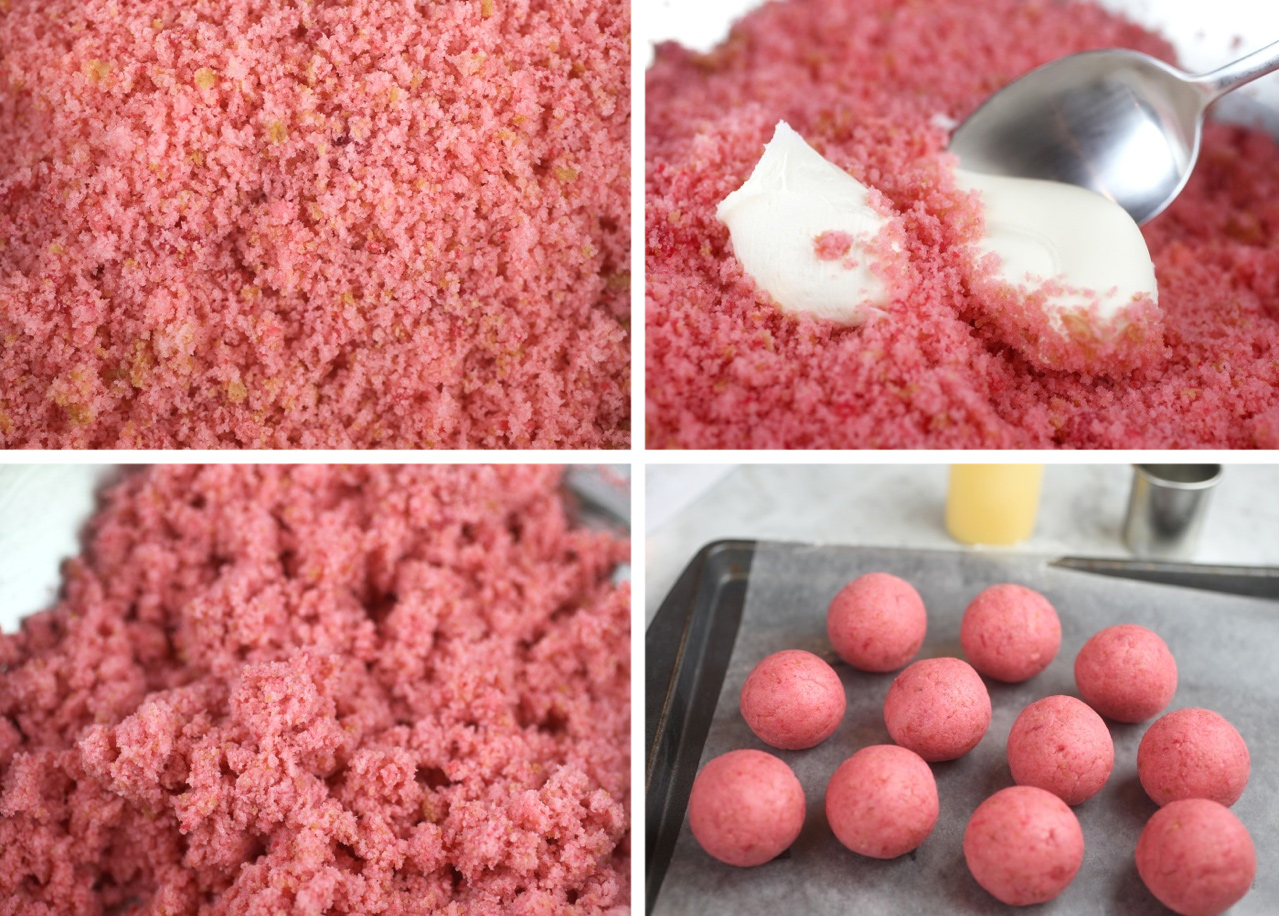
I went with strawberry cake for these… Crumbled, mixed with frosting and rolled into balls.
Here are my full basic cake pop instructions if you need them.
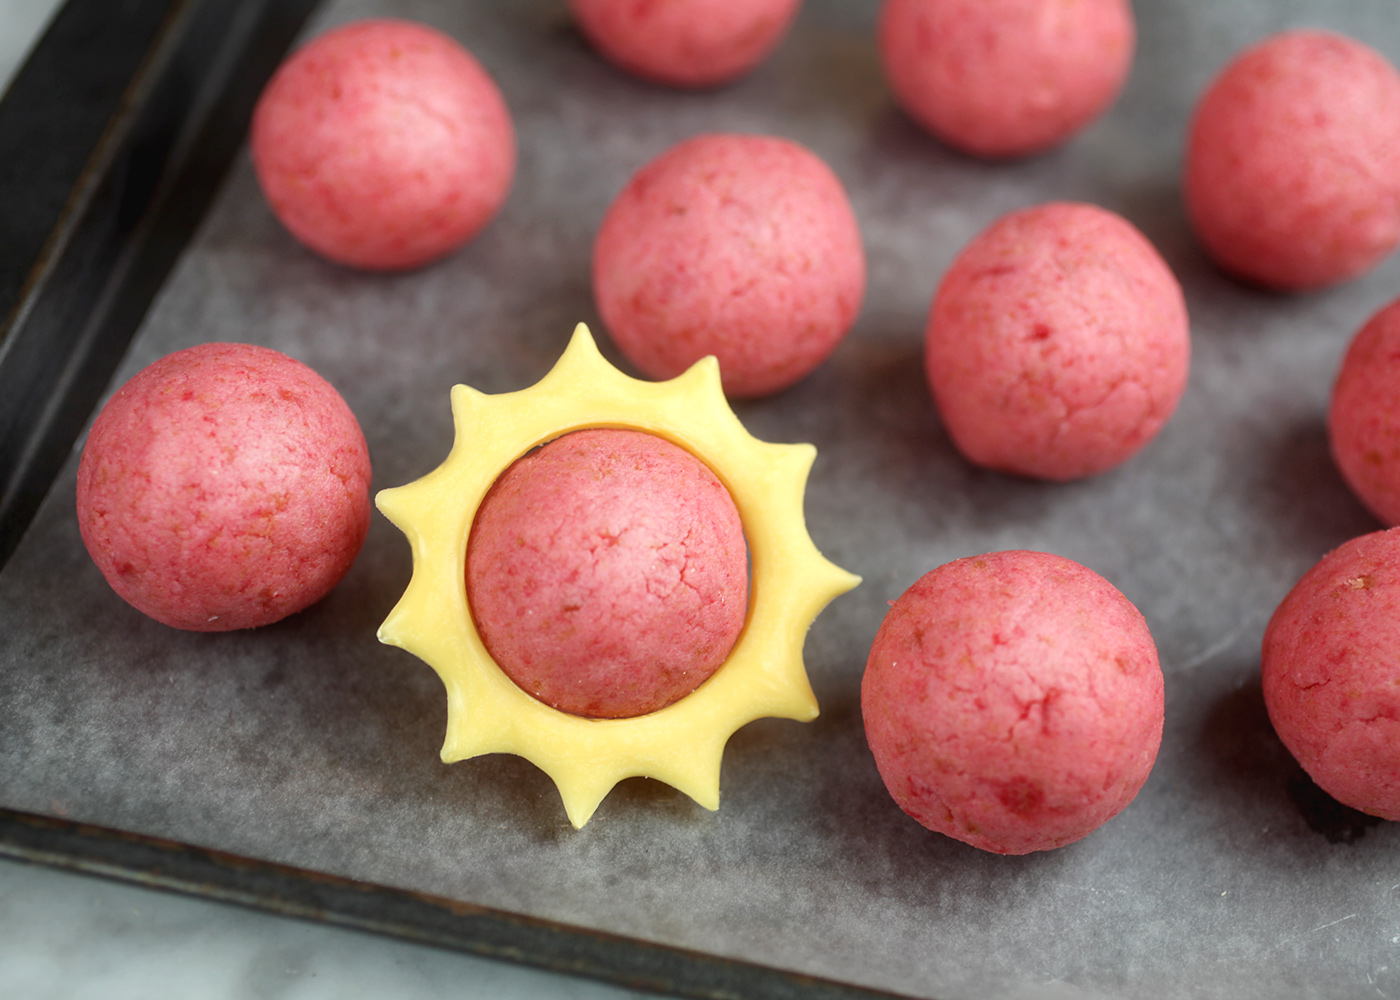
I made the rays first to use as a guide for my cake pop size. You want the balls to be just slightly smaller in diameter than the opening of the rays so that when you dip them in coating and place the rays on top, the coating attaches to the sides and acts like a glue.
I thought about adding the rays to already dipped and dried cake pops, but they would have had to be attached after the fact and the opening could have had gaps or just seemed stuck on instead of one seamless sun.
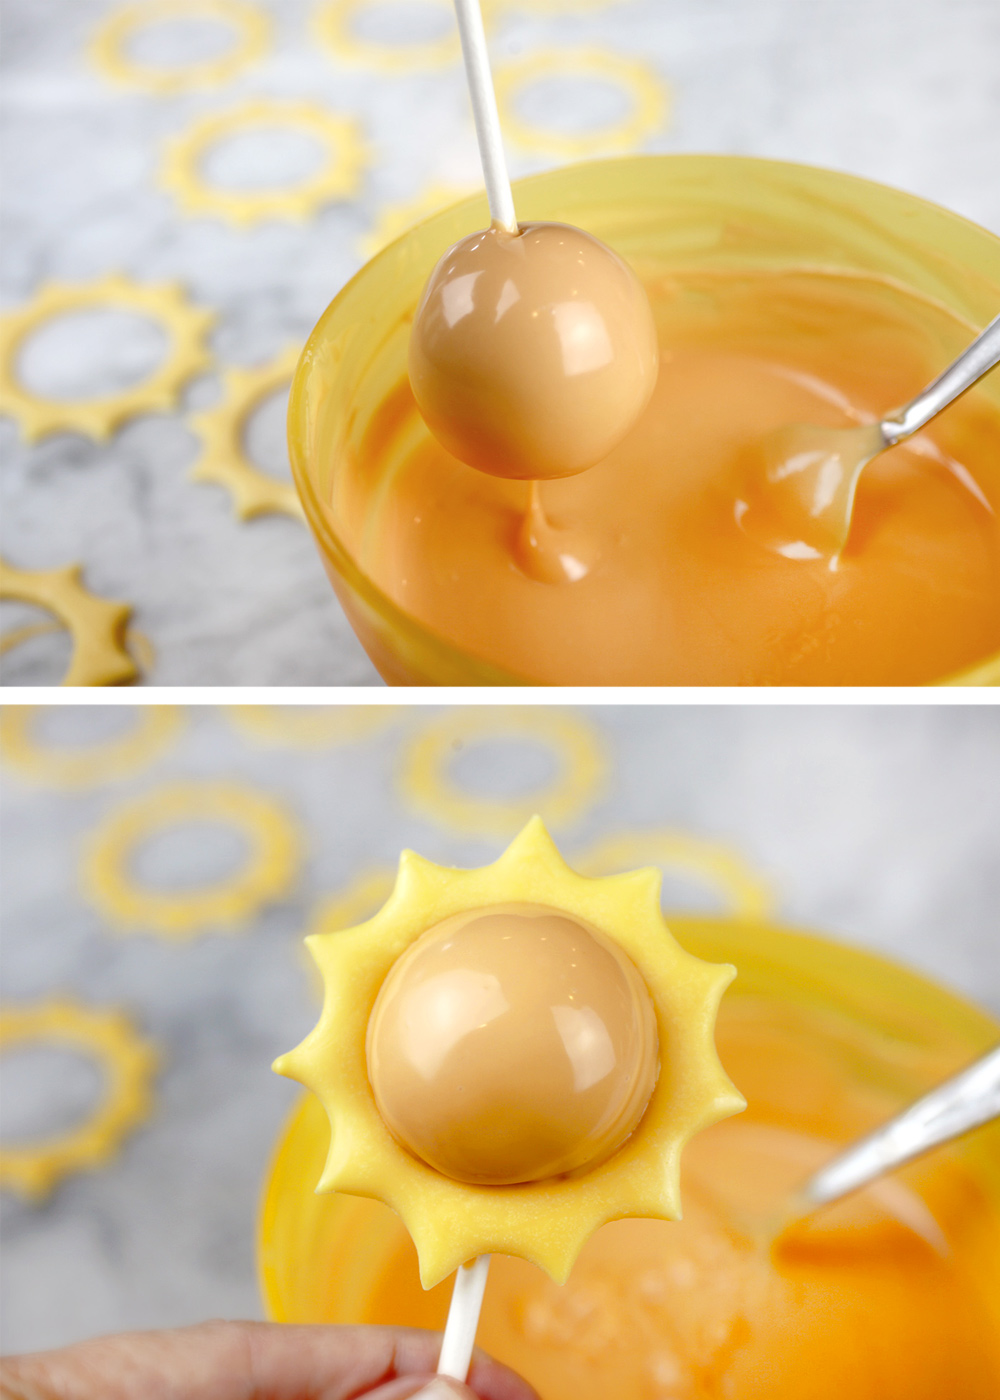
- Dip the end of a lollipop stick into melted coating and then into a chilled cake ball. (see my basic instructions for tips)
- Dip into melted and fluid candy coating that is a shade darker than your rays. You can use orange or just add a little bit of red candy coating to the yellow you are already using.
- Let any excess coating fall off and back into the bowl and while the coating is still wet, quickly place a ring of rays over the pop so that the sides of the cake ball touch the inside opening of the rays.
- Let dry completely.
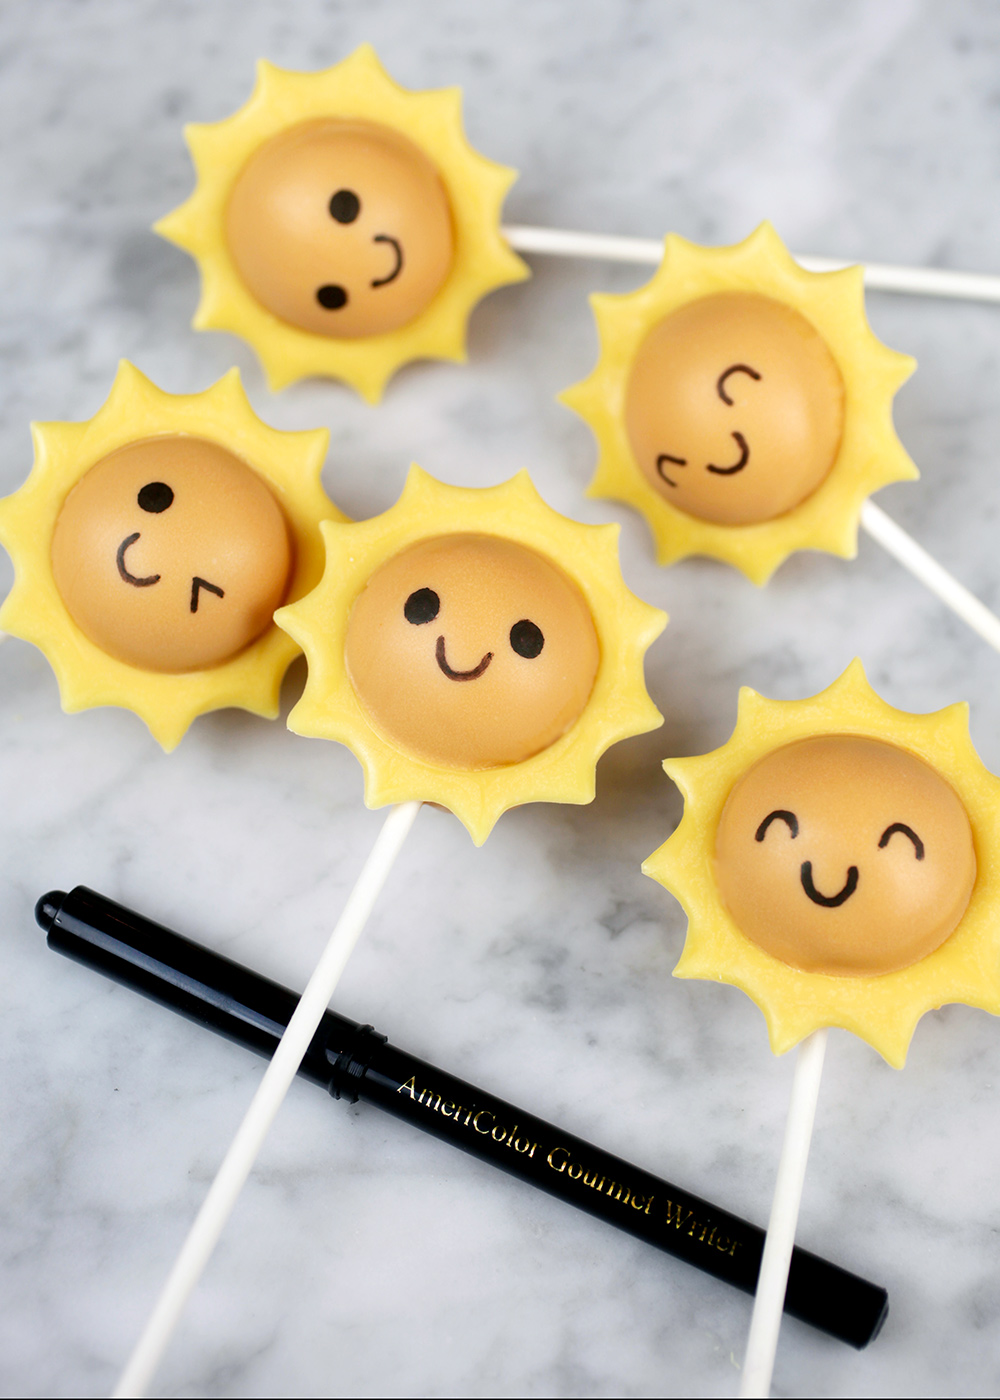
Faces next. Use a black edible ink writing pen to draw little smiles and eyes like above.
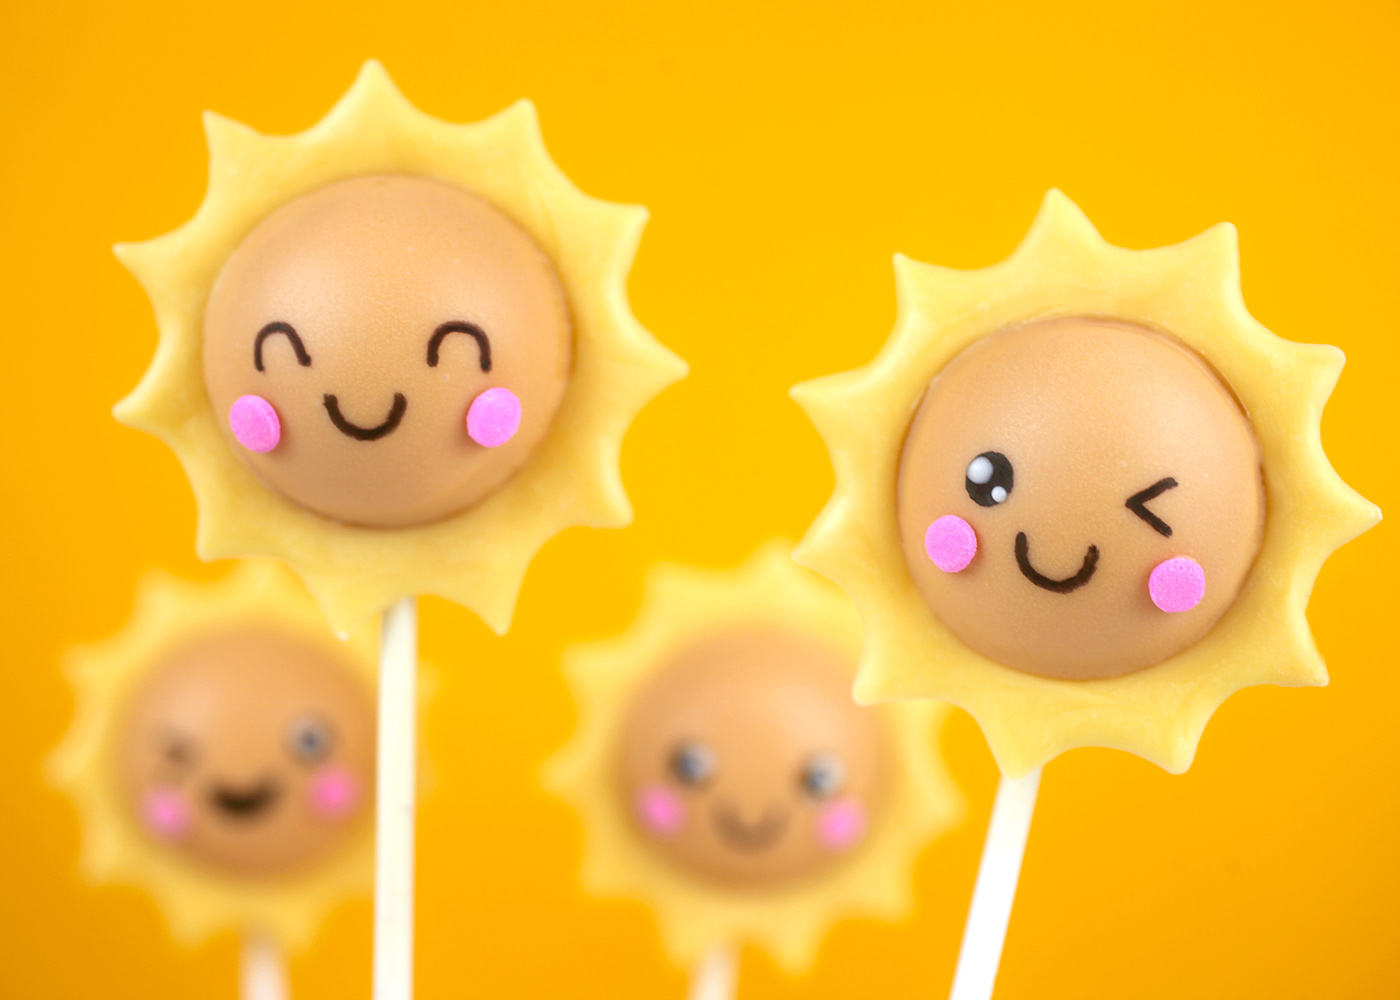
Dot the eyes with melted white candy coating using a toothpick. (It really finishes the look and adds personality) Then attach two pink confetti sprinkles in place using melted candy coating as glue.
And that’s it.
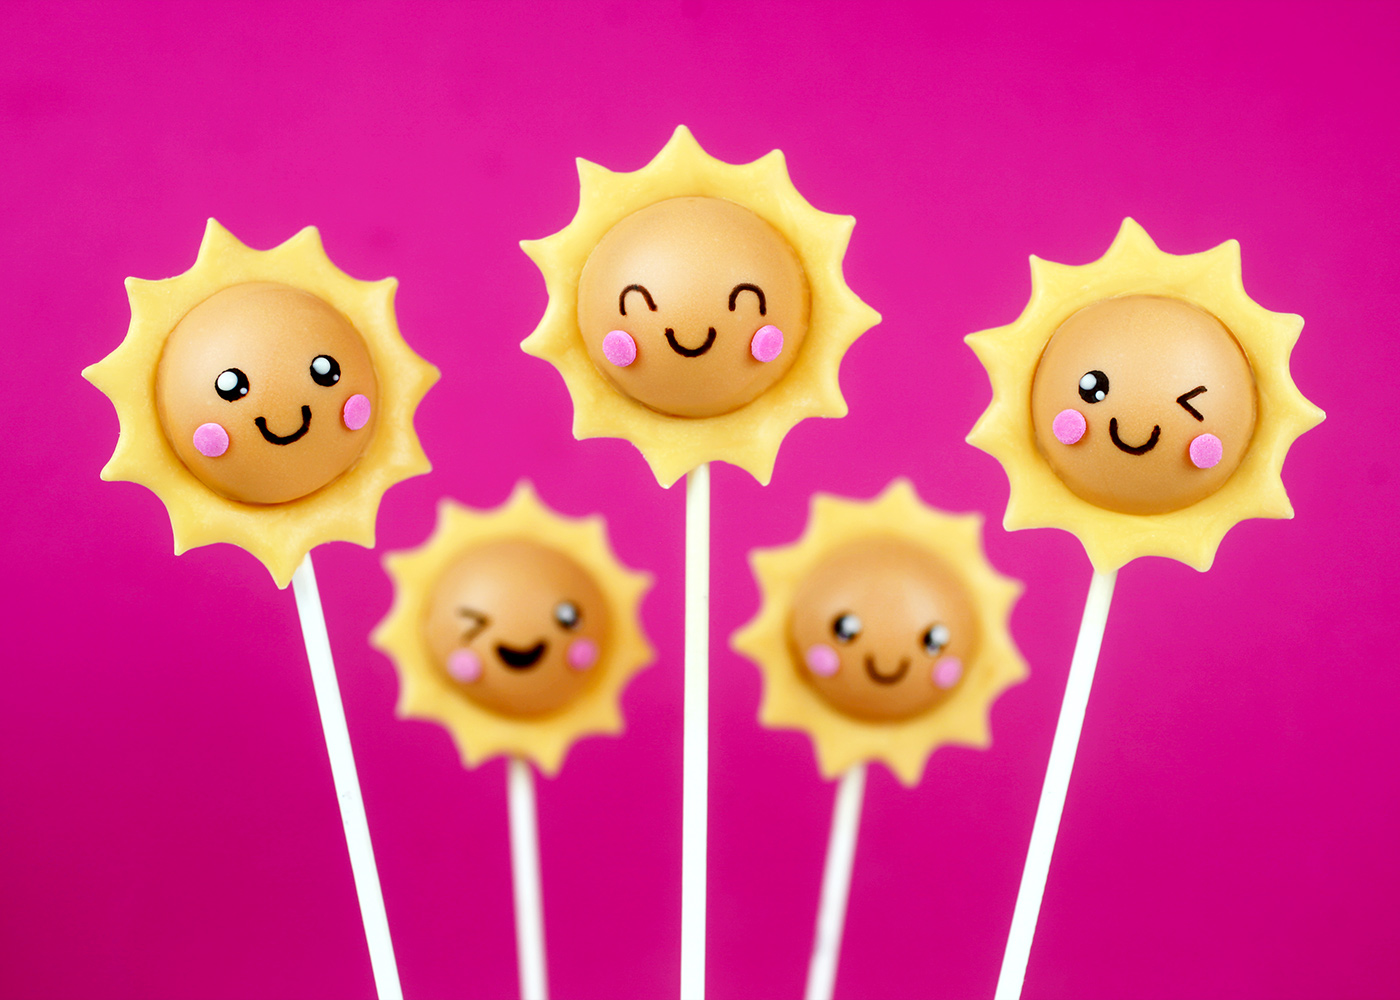
Enjoy and I hope these brighten your day!















These Hello Sunshine Cake Pops look so bright, cheerful, and perfect for a fun celebration.
I love the sunny design and the idea of making such cute treats for guests!
If I film the wax-paper template, a transcript will help me revisit the toothpick step.
The 1.5-inch cutter is clever; I used a smaller one for mini pops.
Hello Sunshine Cake Pops sound like a cheerful and colorful treat, perfect for parties, celebrations, or a fun baking project.
The bright decoration and bite-sized format make them especially appealing for both kids and adults.
As a beginner, cardboard may work too, so I will try the cutter next.
I love how you used a 1.5?inch metal cutter to shape the sun?ray candy coating around the strawberry cake pop balls, and the bright, sunny faces really make the treats feel like a little burst of sunshine.
The wax-paper ray template is clever; I will try it before piping the candy coating.
These sunshine cake pops are absolutely adorable and radiate so much cheer! I especially love how you turned a cute Etsy illustration into such a fun project with the metal?cutter tip—thanks for sharing your creative process!
The Etsy weather-illustration faces plus the 1.5-inch cutter ring for the rays is why these are the first sunny pops, not just yellow balls. One stand shot just hides the template rays. I take one photo and cut it into a numbered grid so each sun keeps a face. That’s why we built ImageSplit: one photo, numbered cells in the browser, nothing uploaded.
Could chilling the cake balls before dipping make it easier to place the ray ring while the coating is still fluid? I agree that timing matters, but the rings may still soften if the cake balls are warm; do you chill the rings as well?
That 1.5-inch cutter trick is clever; keep the ring cool for a cleaner fit!
These sunshine cake pops are absolutely adorable! I love how you created the rays with that clever template technique — such a happy little treat to brighten anyone’s day.
The surprising part for me is that the rays are not cut from a ready-made decoration: you pipe a yellow candy-coating ring inside a 1.5-inch cutter template, then use a toothpick to pull the coating into pointed tips and trim the center with the same cutter. When coordinating a batch, would you have one person pipe and another remove overflow after the rings dry, or does that risk the delicate rays? I would test that handoff on one small tray next.
Hello Sunshine Cake Pops sound like a fun and cheerful treat, especially for parties or celebrations. I’d love to know which flavors and decorations work best for making them at home.
The small step of using a 1.5-inch cutter to trim overflow from the candy-coating ring is easy to miss, but it makes the rays fit the round pop consistently. I’d be slightly cautious about relying on a hand-cut template: when several people prepare a batch, a shared live preview of the instructions would make that detail easier to keep aligned and export for reference. If the cutter and template are standardized first, this looks repeatable.
These sunshine cake pops are absolutely delightful—perfect for brightening someone’s day! The cheerful design inspired by those Etsy illustrations really captures the playful spirit, and I love the clever tip about using a metal cutter and yellow icing for the rays. Can’t wait to try these sweet-faced little suns; they’re such a fun way to spread a little joy!
Hey how did you du the candy melt, is there a recipe
These are adorable! What do you use to dye your candy melts and what color specifically did you use for your suns and rays? Thank you!
Hello,
I clicked on the template for the sun’s rays and nothing happened. Is there a way to have it emailed to me. My daughter’s first birthday is sun theme and I would love to make these.
Hi Angie.
I came here from your Beach ball Cakepops because I love Summer. These look really amazing. I hope I can manage these same round shapes as you. Would you please mention me on a few others like this?
Thanks
How do you manage to get perfectly round balls?? Amazing!
Soooooooooo cute ! Oh I love these!!
I tried 2 times to make these and my rings melt once placed on the cakepops. What am I doing wrong?
It just sounds like your coating is still too warm when you are attaching. You can also try freezing the rings some, so they would take longer to melt next to they coated cake ball.
You are amazingly detailed. Loved the fact that you even showed which edible marker pen you used.
Your cake pops always look too pretty to eat!
Strawberry is the perfect cake for these — I know that pink will look awesome with the yellow surrounding it! Perfect summer treat!
Oh my these are the cutest little cake pops, going to give them a try today for a bake sale for my grand daughters softball team. I hope I get it correctly done and they look as cute as yours.
These are too adorable ????
Aww, my emojis won’t show <3 <3 <3
Your darling creations, always put me in a good mood!
Oh I love these!! Thanks as usual, Angie, for your beautiful creations!
Another sweet & cute creation! Love it so much<3
Super cute!
So stinkin’ adorable!!!
So cute! Should I eat or keep it?
You are my sunshine …….. cutest ever and looks like one I could not make. Love them!
I love these cute little rays of sunshine! When I first see your creations, my first thought … how in the world is she going to make this one? You always come up with a great way that is easy for people like me to create! Thank you for sharing your creativity!
How adorable :D NY has not had much sun lately, these are what I needed to see.
So cute. A little sunshine always brightens ones day. Fun and creative!
Oh m, these are absolutely adorable!