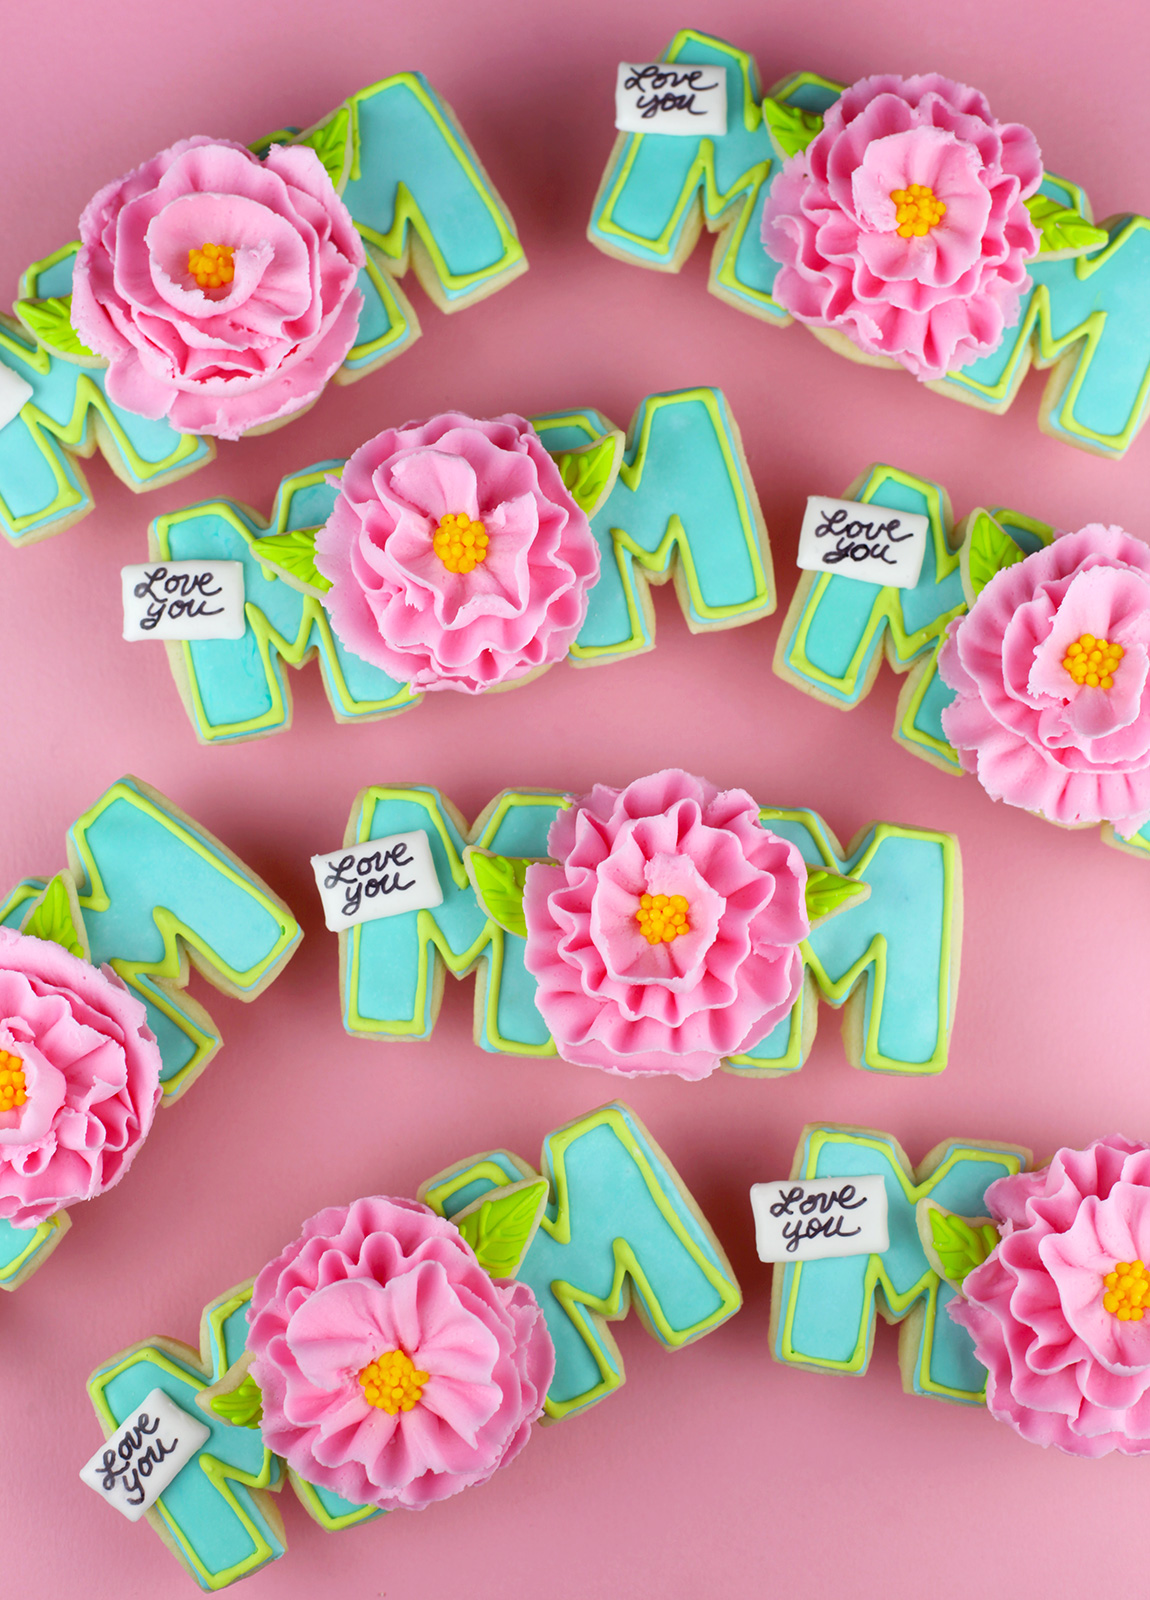
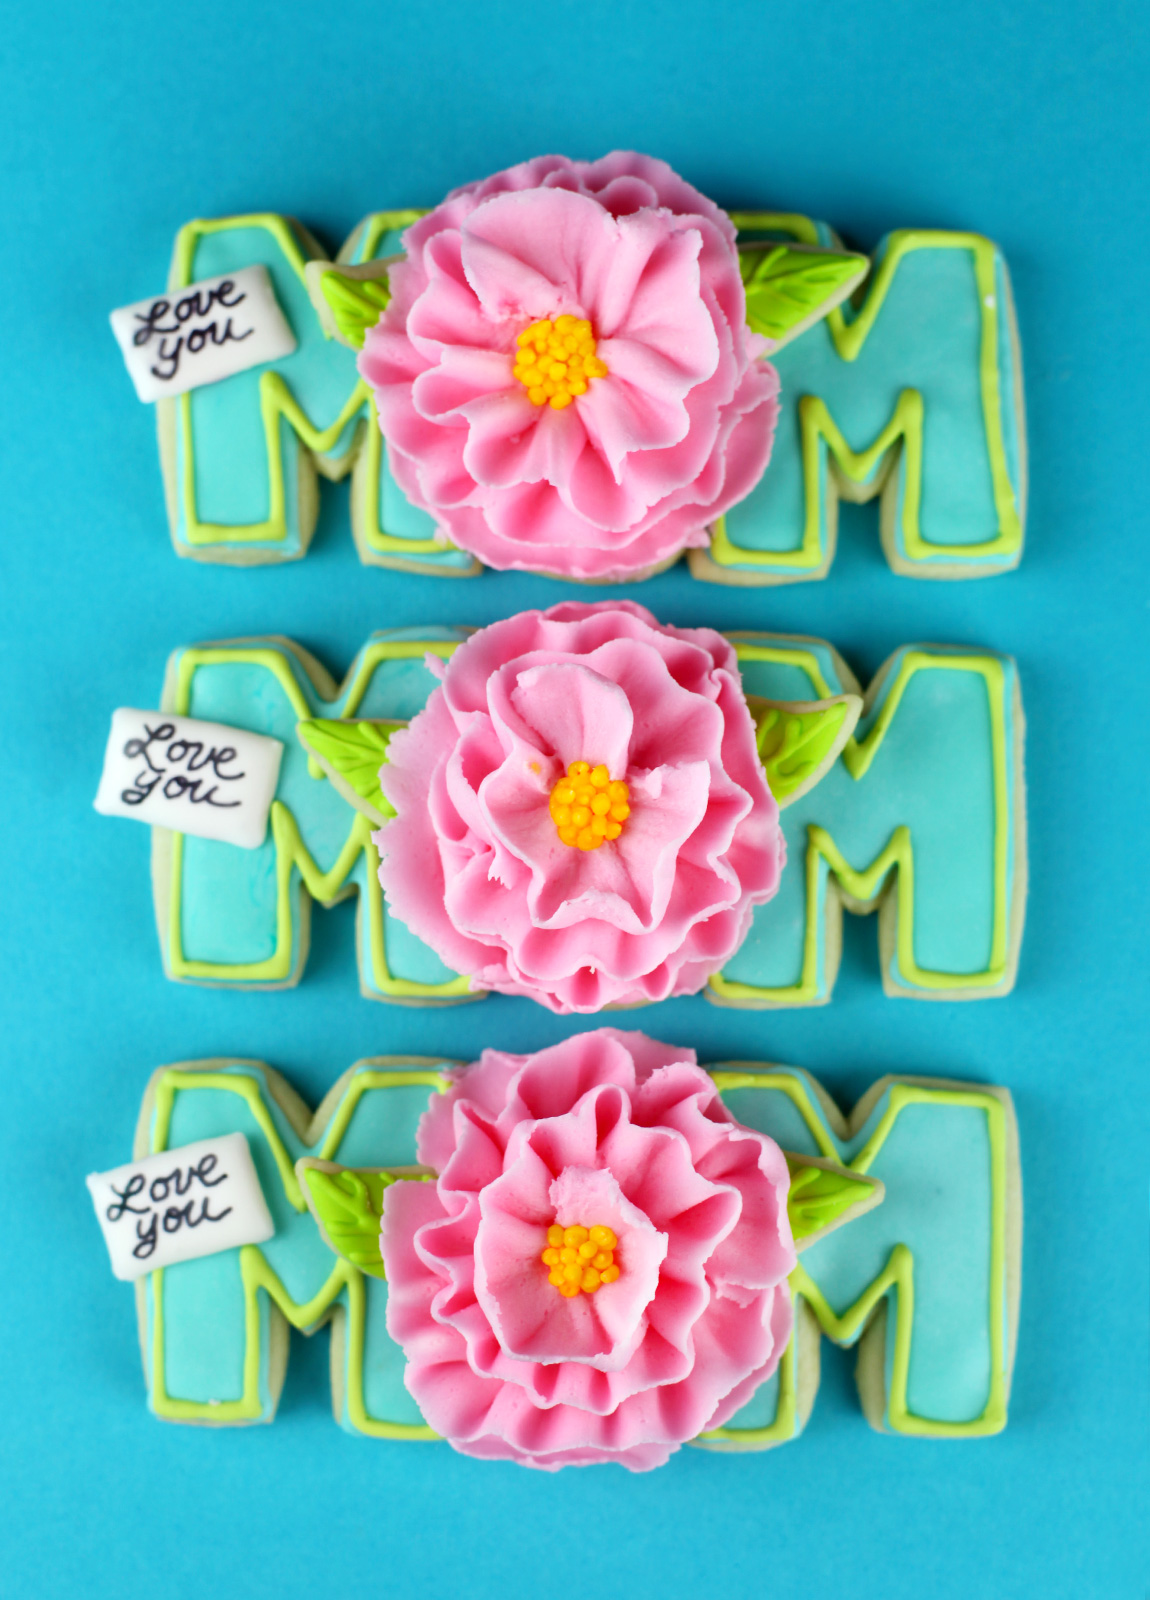
Cookies made for Mom! These pretties serve up the best of both worlds when it comes to decorated sugar cookies… letters layered in royal icing and flowers made of blossoming buttercream. I am thrilled with how they turned out and I think my mom will love them, too.
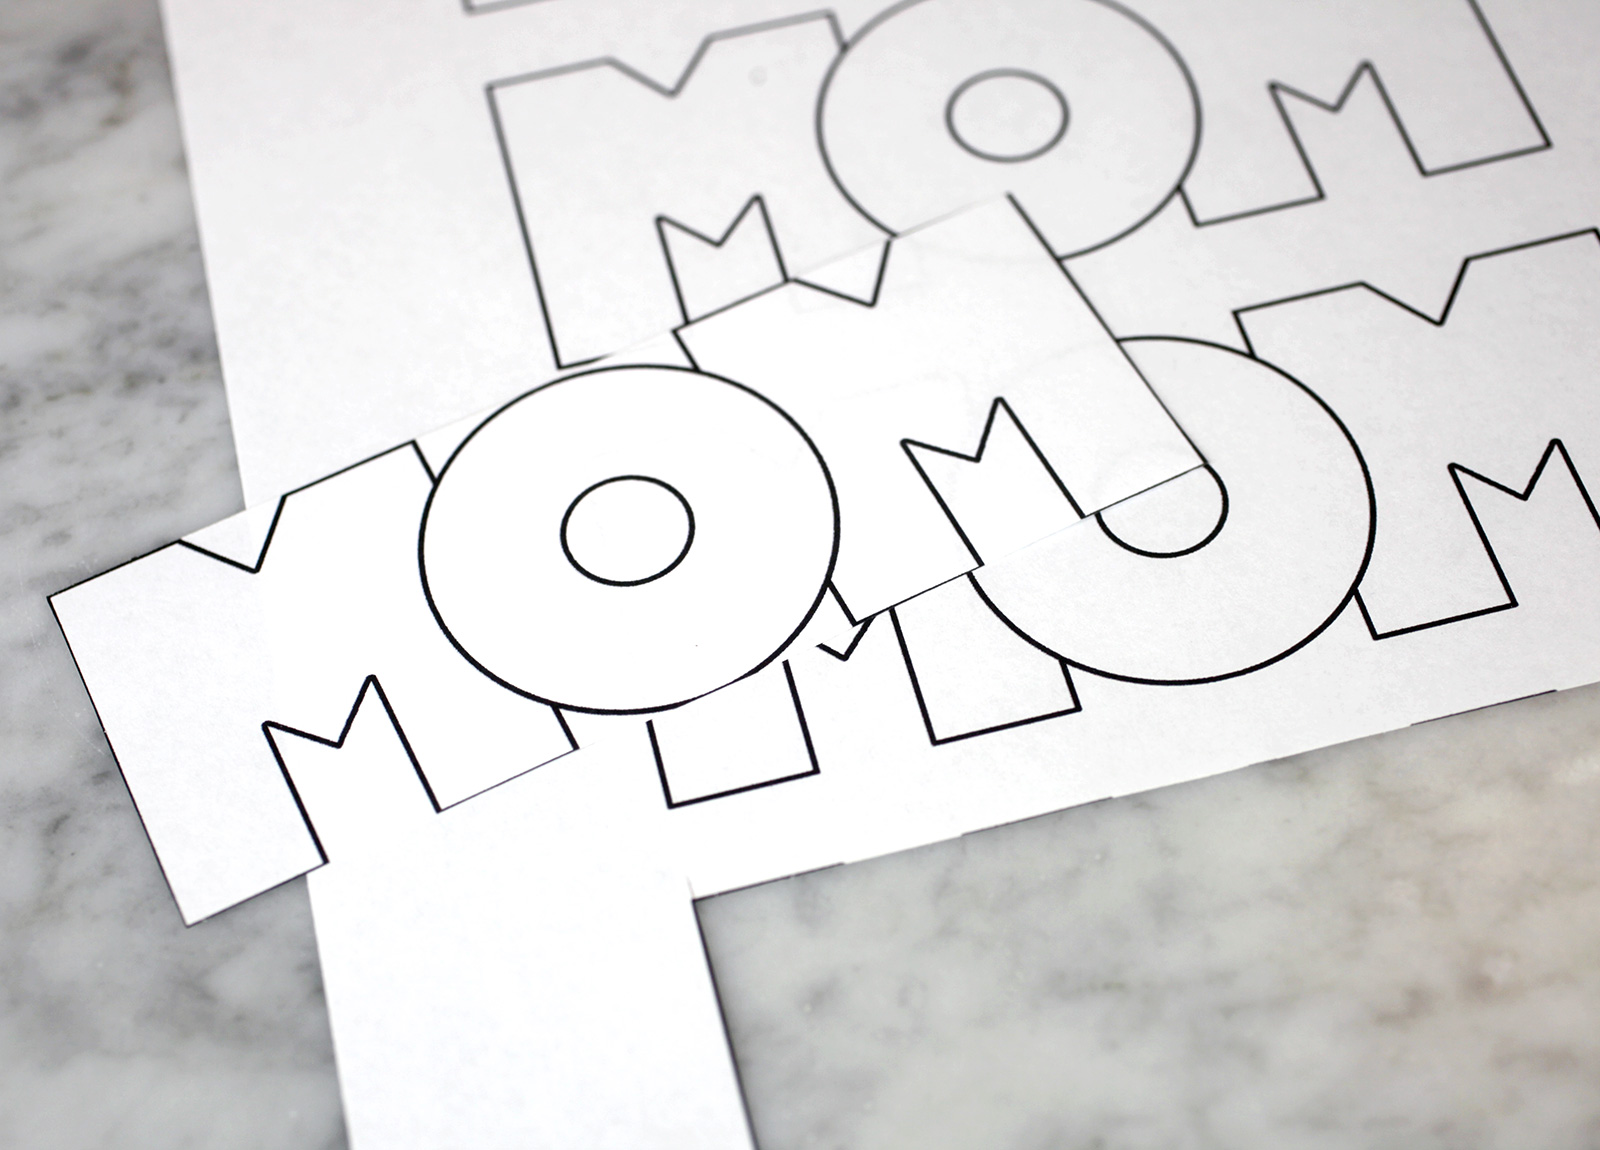
I do have individual letter cookie cutters, but they were really too big for what I wanted to do. So, I made my own template for “MOM,” making sure the letters stayed in a workable and compact rectangular shape with the “O” overlapping the two “M”s.
Here is a pdf if you would like to make these cookies, too.
For the sugar cookies and royal icing, I used this recipe by my friend Bridget of Bake at 350. It’s my go to sugar cookie recipe for decorating and I love it.
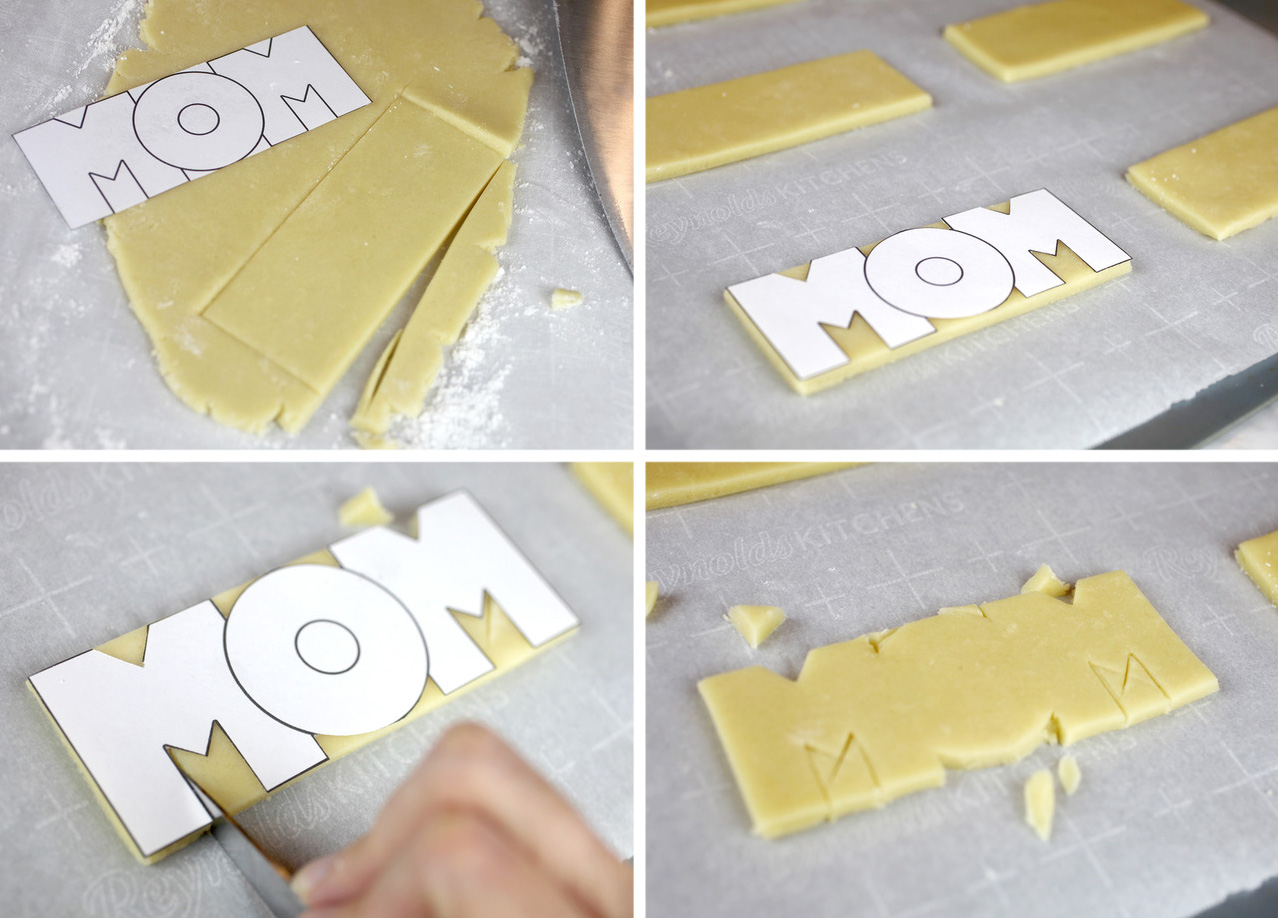
Make the dough, and roll it so it’s about 1/4 inch thick.
- Print and cut out the basic rectangular shape of the “MOM” from the pdf template.
- Use a large non-serrated knife to cut the rectangular shape out of cookie dough.
- Once the dough rectangles are cut out, use scissors to cut out the letters from the paper template.
- Then use a non-serrated knife to remove cookie dough from the rectangles to match the template.
- If you are going to add buttercream flowers, do not cut out the center of the O.
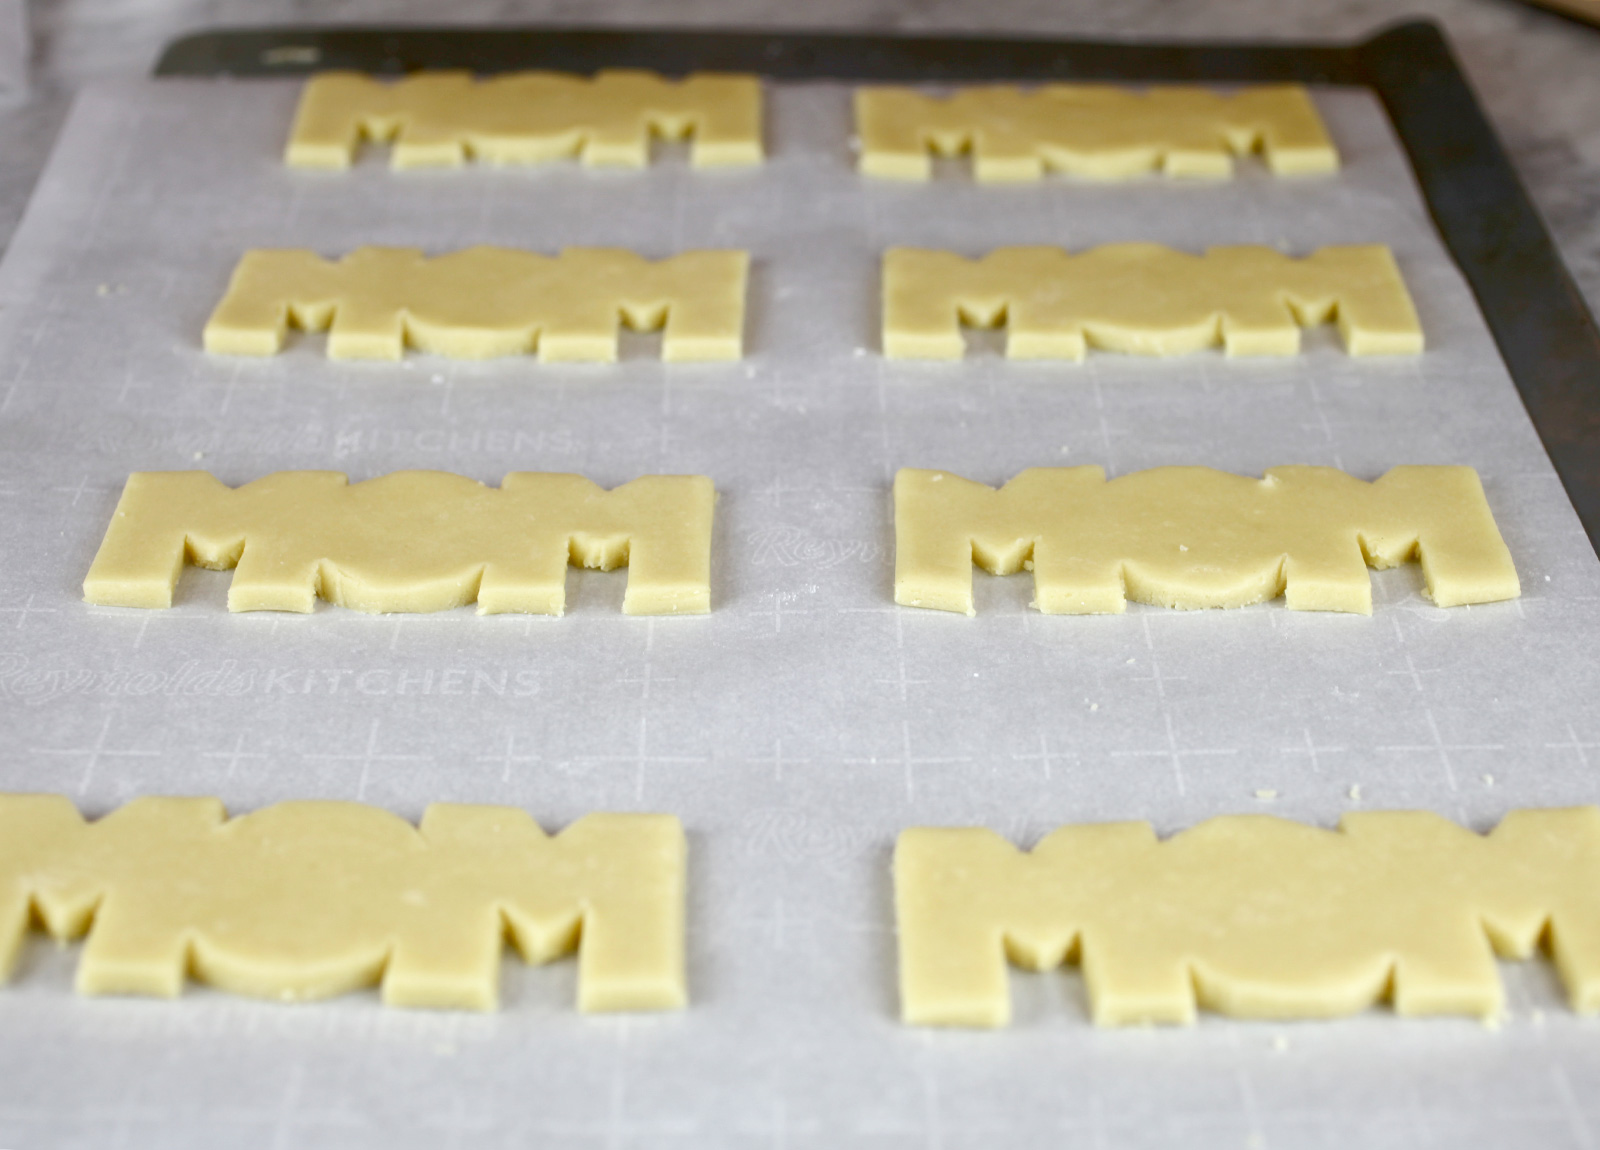
Place the rectangles several inches apart on a parchment paper-covered cookie sheet when cutting so you have enough room between shapes that you don’t mess up the other shapes.
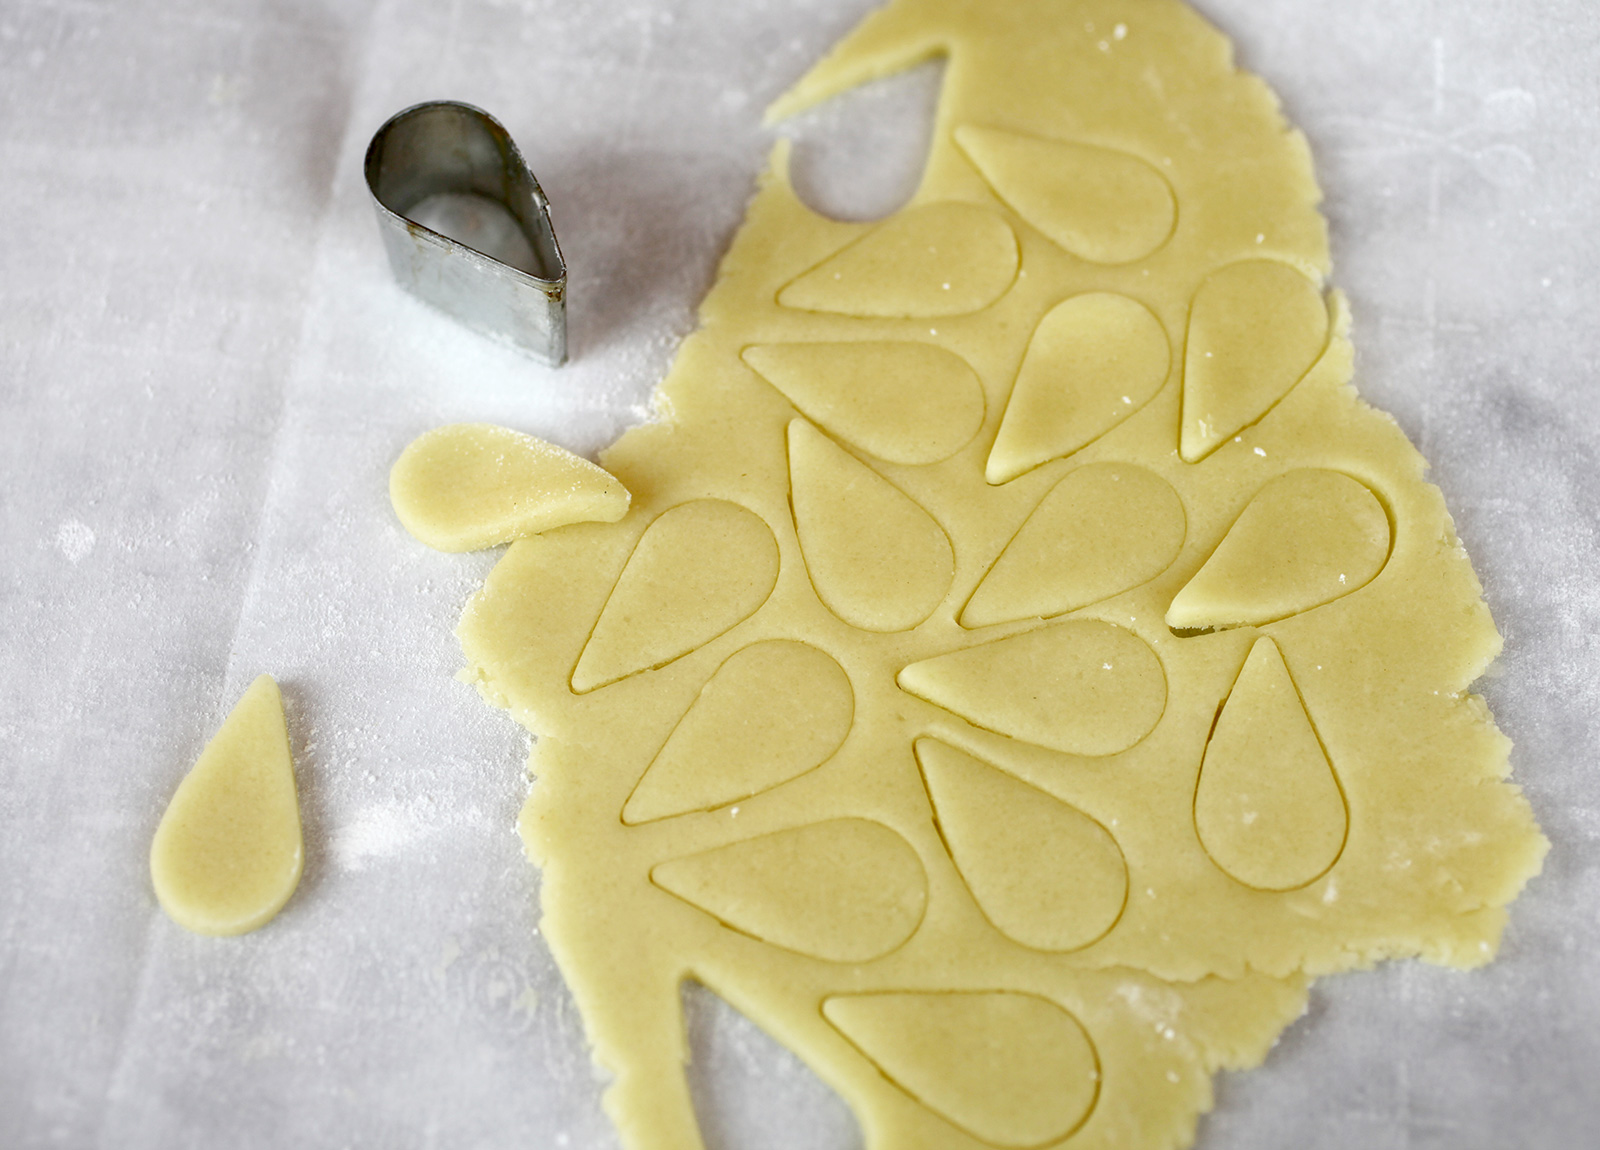
Use leftover cookie dough to cut out two leaves for each cookie. I had this small teardrop cutter, but you can also just hand cut out small triangles. you won’t really see the wide part so it’s not crucial that the bottoms are rounded. You will also want the leaves to be thinner than the words, so roll the dough out about 1/8 inch thick for the leaves.
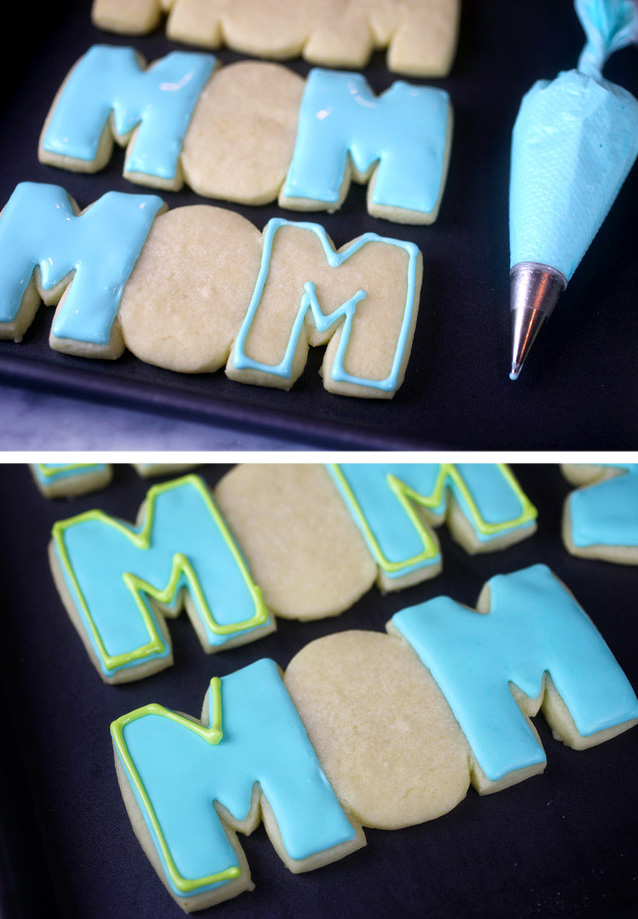
When the cookies are baked and cooled, pipe the Ms with royal icing. I used a consistency in between outline and flood to pipe the letters for a smooth finish.
My Ms were kind of wonky, so I also piped the letters with outline consistency royal icing in a second contrasting color to camouflage them with straight lines. Or as straight as I could make them with a #2 Wilton decorating tip.
SIDENOTE: If I did these again, I would also pipe the O with royal icing for more stability. Once the buttercream goes on, the cookies can absorb some of the moisture from the frosting, causing them to lose a little bit of strength if you were to pick them up by one of the Ms. So either pipe a thin layer of royal icing or transfer them using a spatula instead of picking them up by one of the sides. Hope that makes sense.
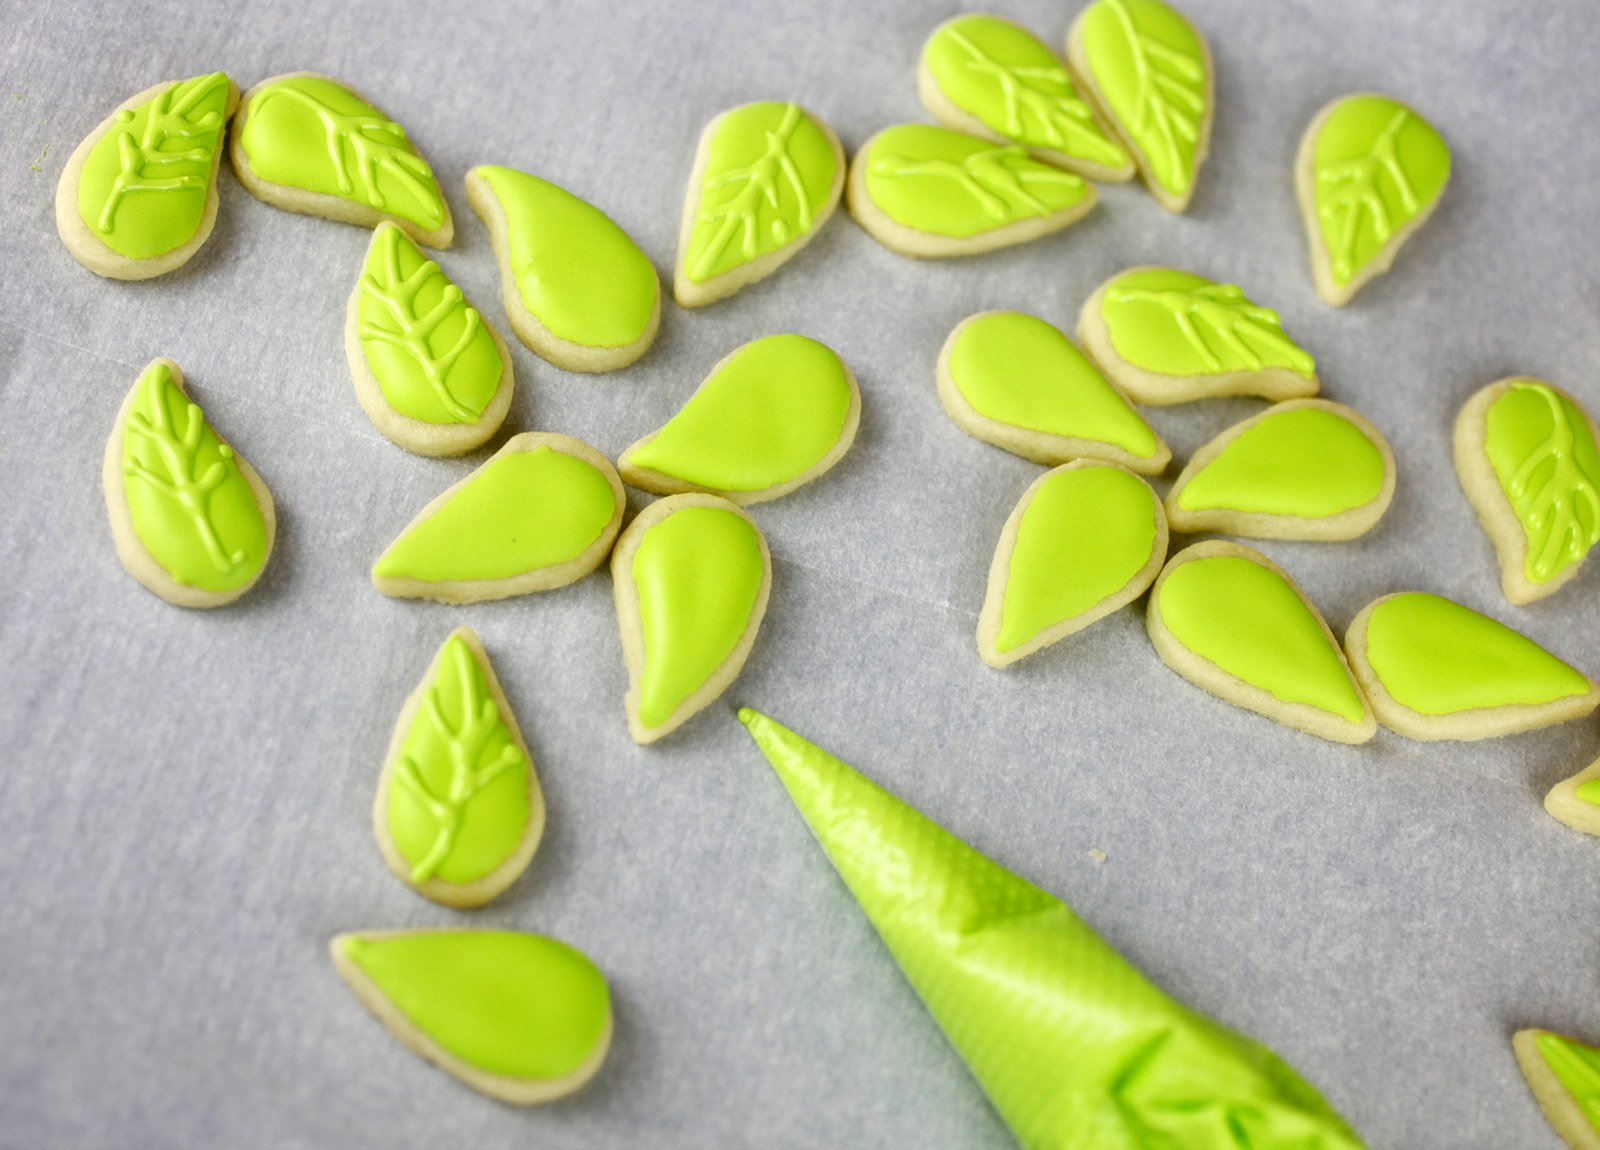
I used a light green tinted royal icing that I also used to pipe the leaves with.
Once the royal icing on the cookies is completely dry. (I would let them dry overnight.) It’s time to bring on the buttercream. You can use this basic buttercream recipe. It will be enough for about 10 cookie flowers.
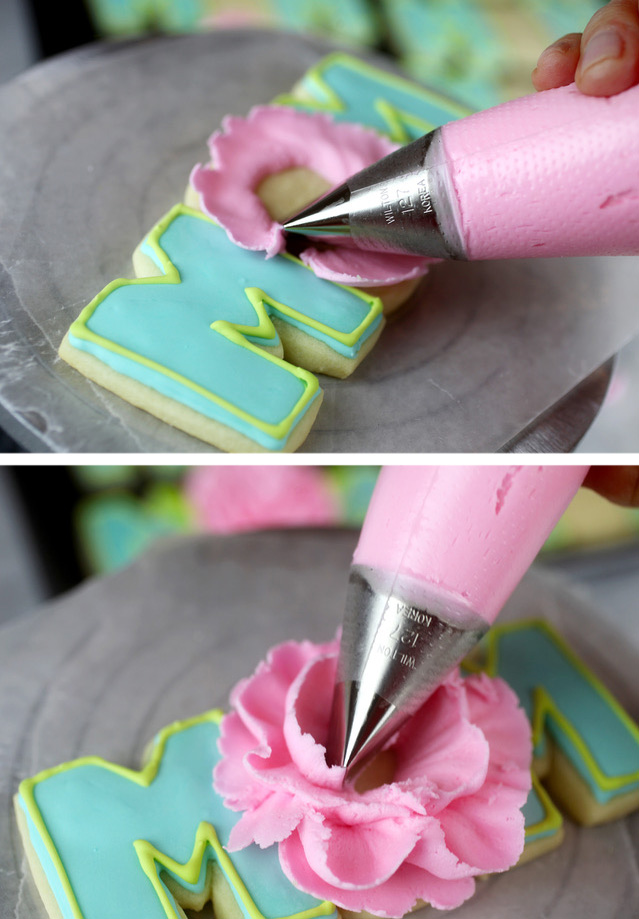
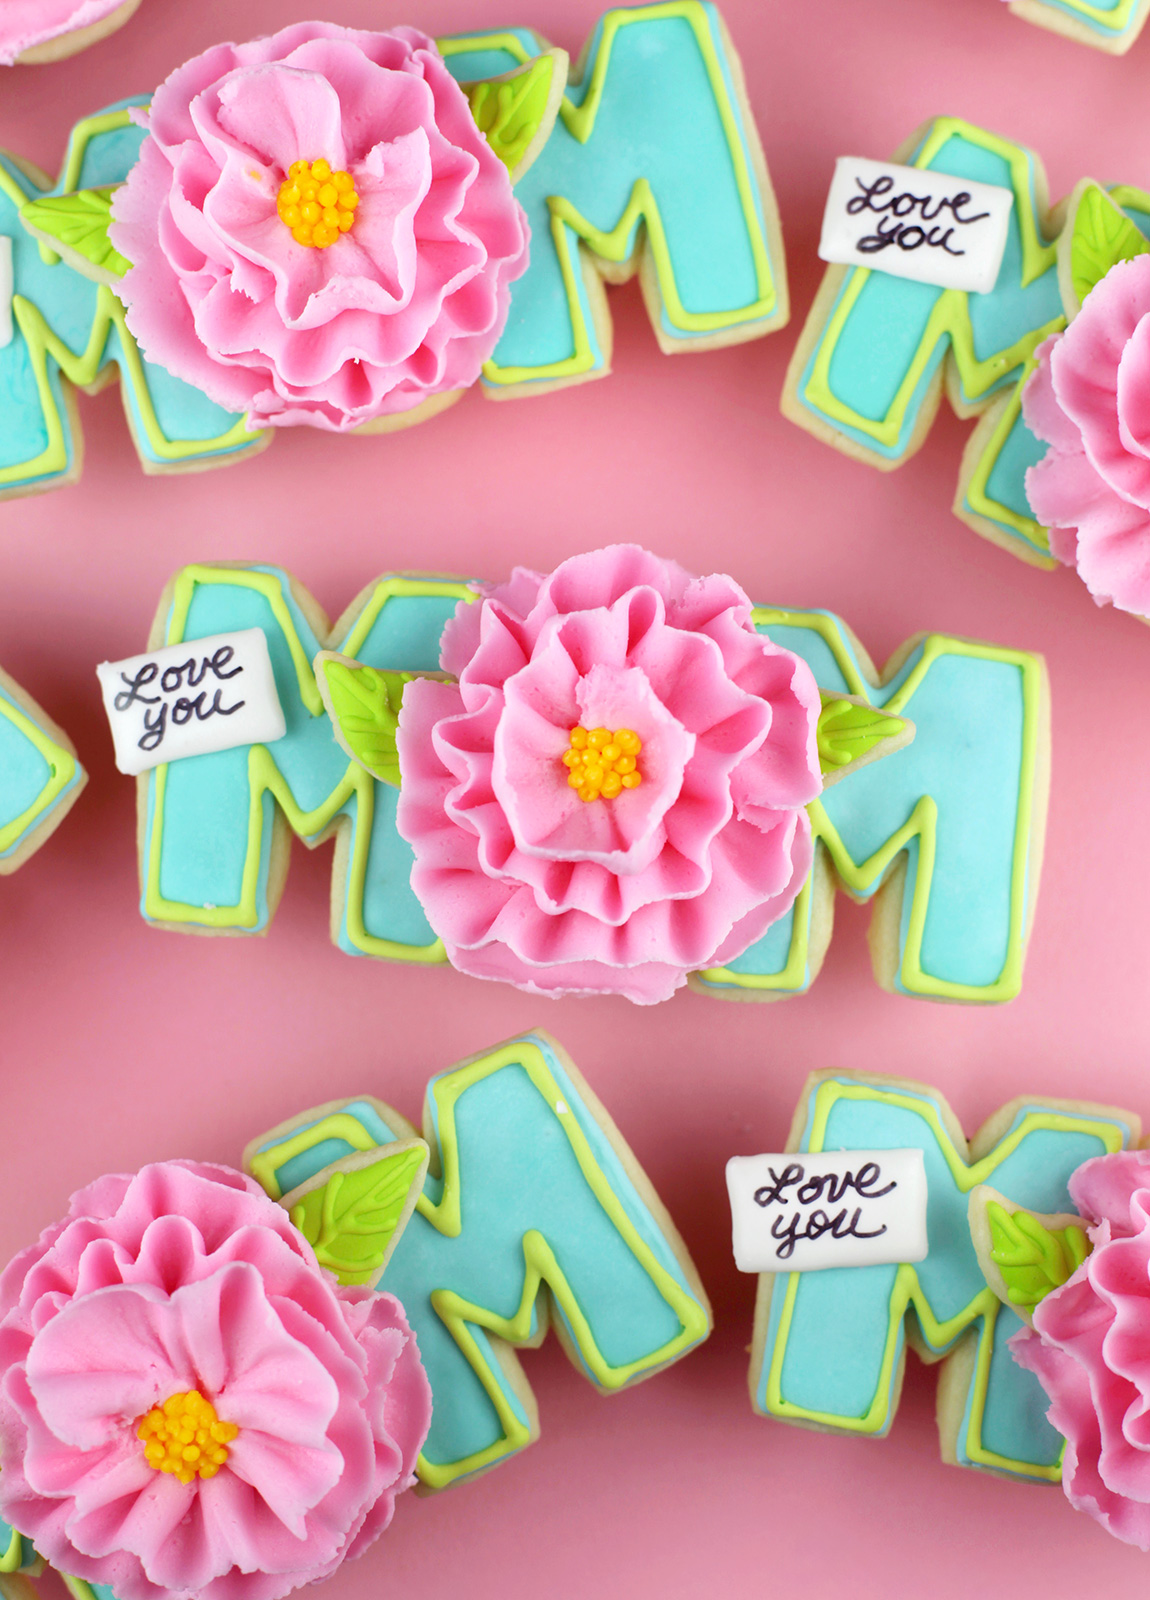
Using a #127 Wilton Tip with the wide part positioned at the bottom, pipe a circular shape on the cookie. Then continue piping in a circular shape making small waves for ruffles as you pipe towards the center of the circle, overlapping the layers as you go.
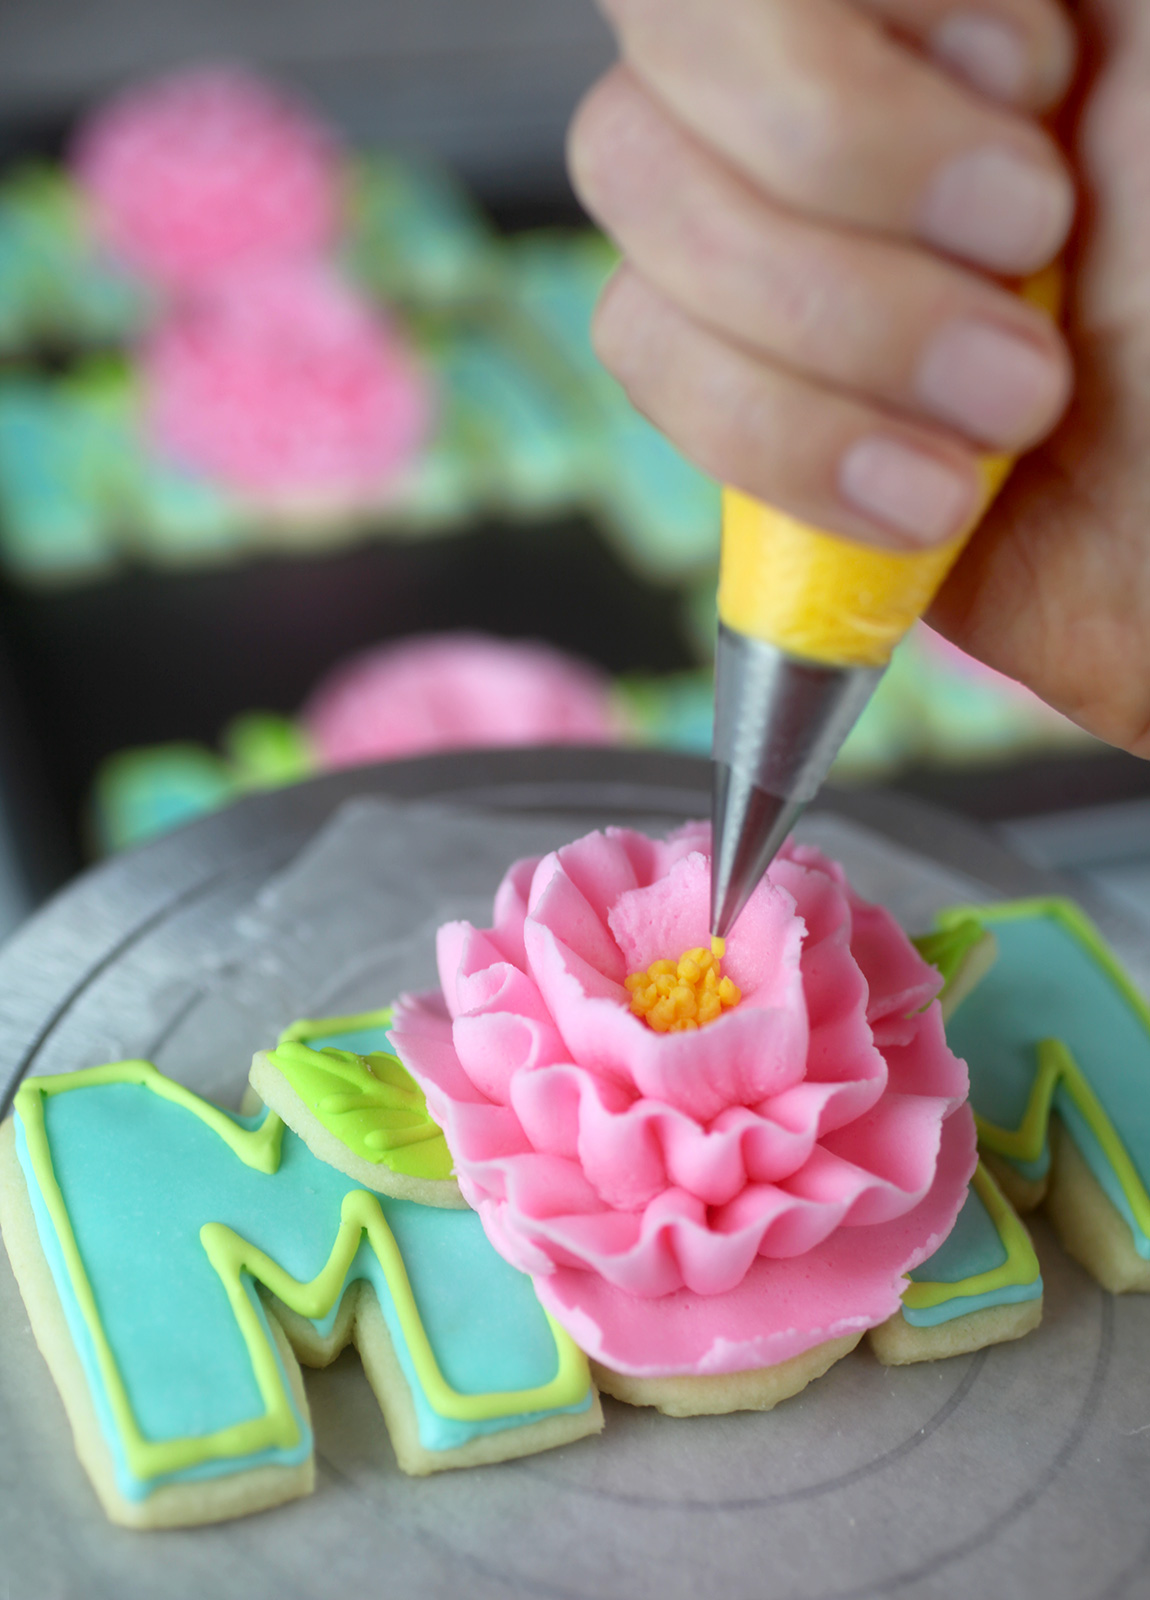
When you get to the center, pipe small dots of buttercream in yellow to finish off your floral look.
Gently insert the leaf cookies on either side of the flower. You can gently lift some of the frosting petals up using a toothpick to insert them. You can also break off the bottoms and gently press them into the flower to attach.
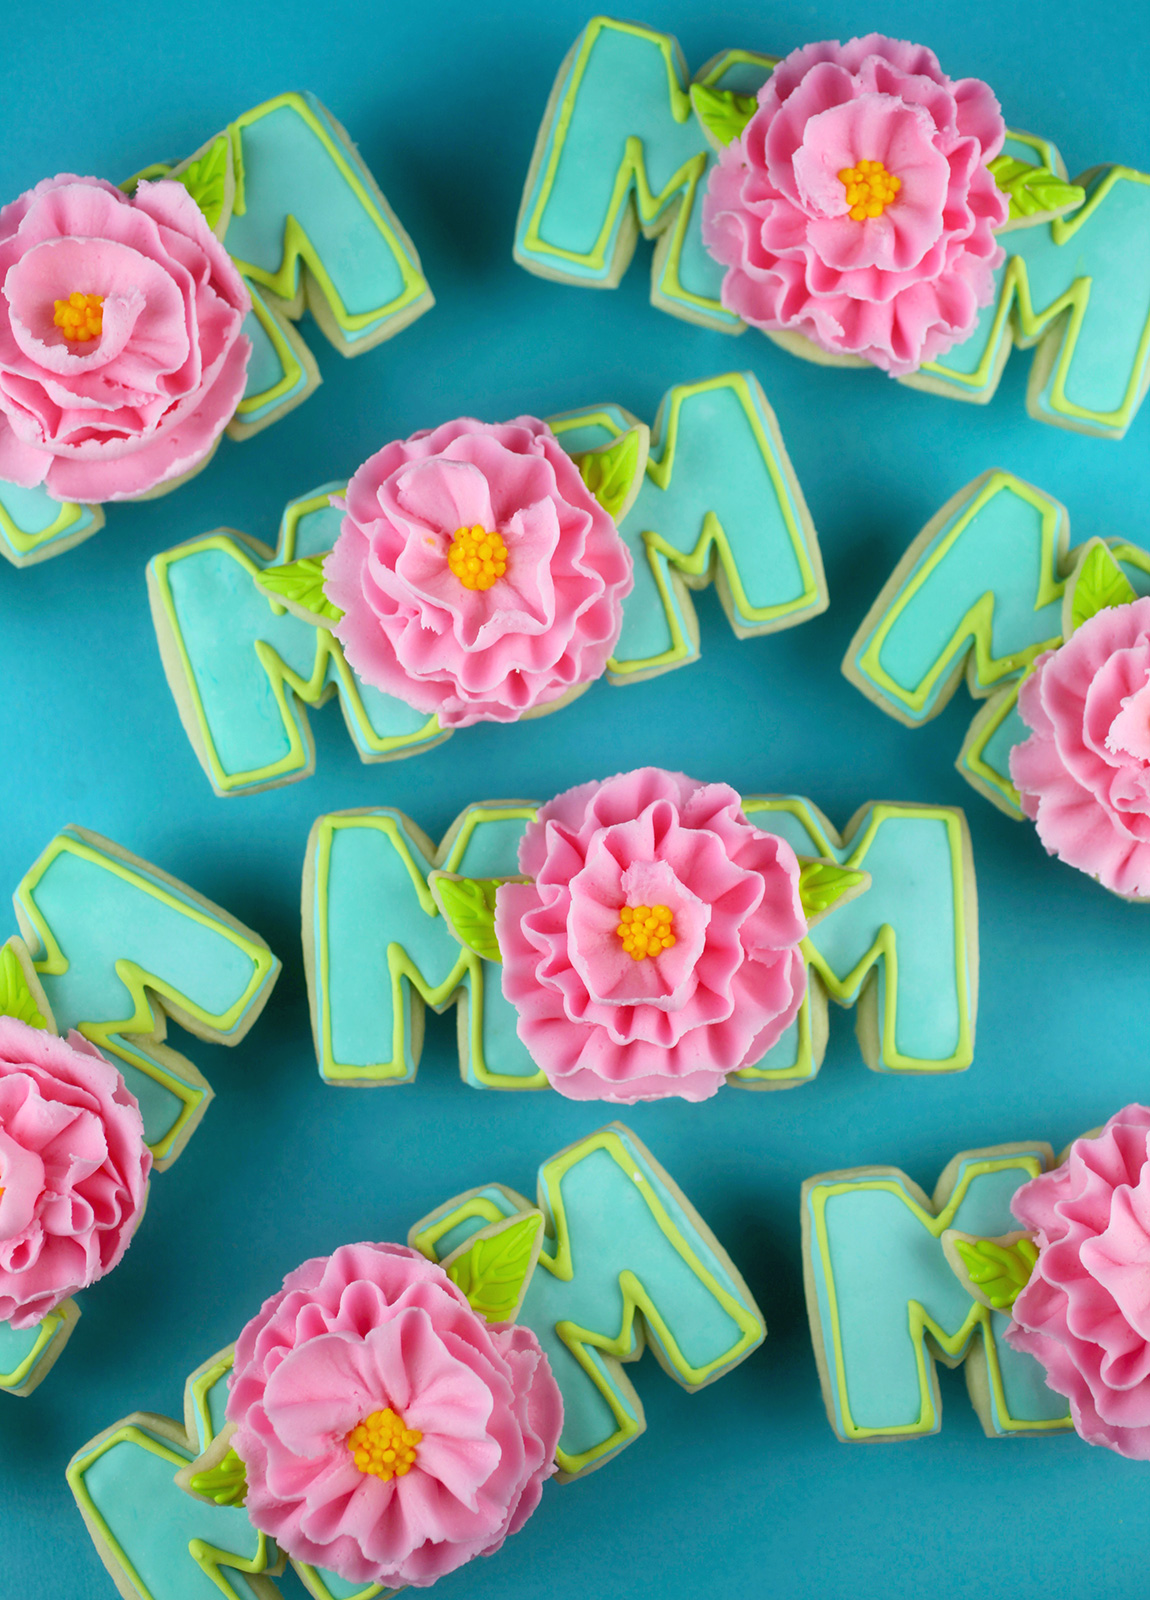
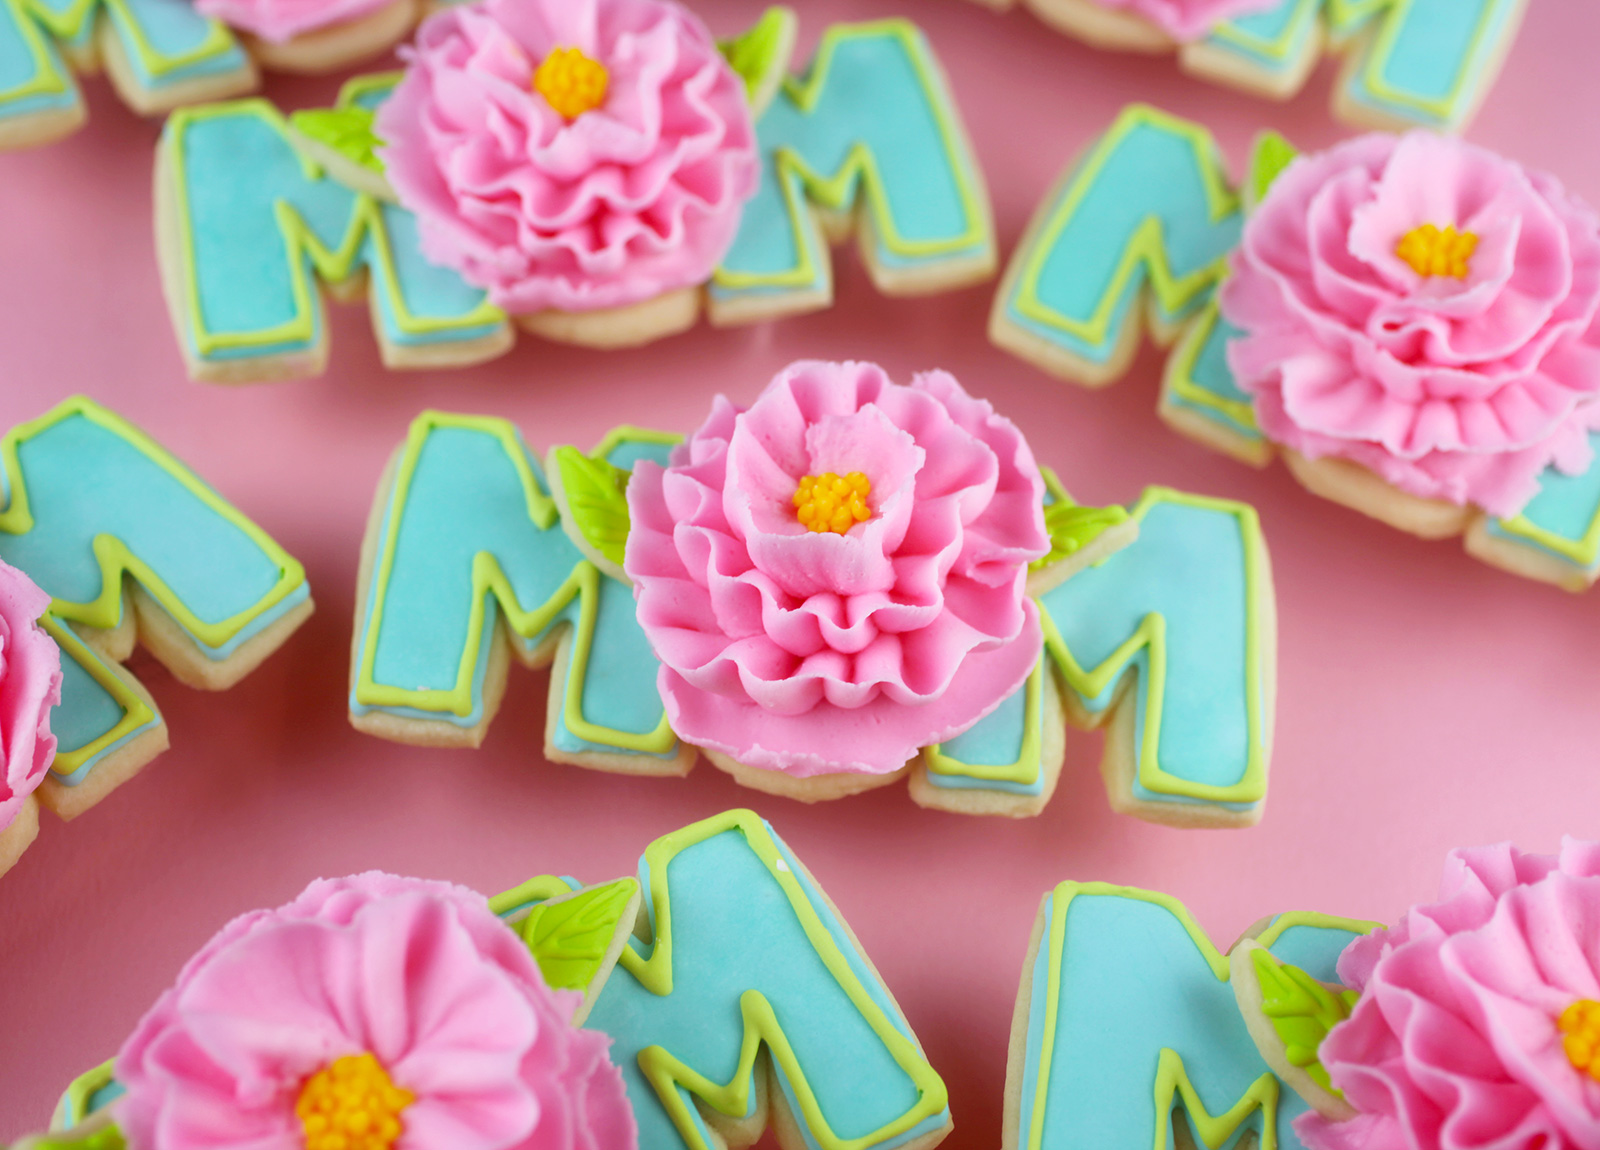
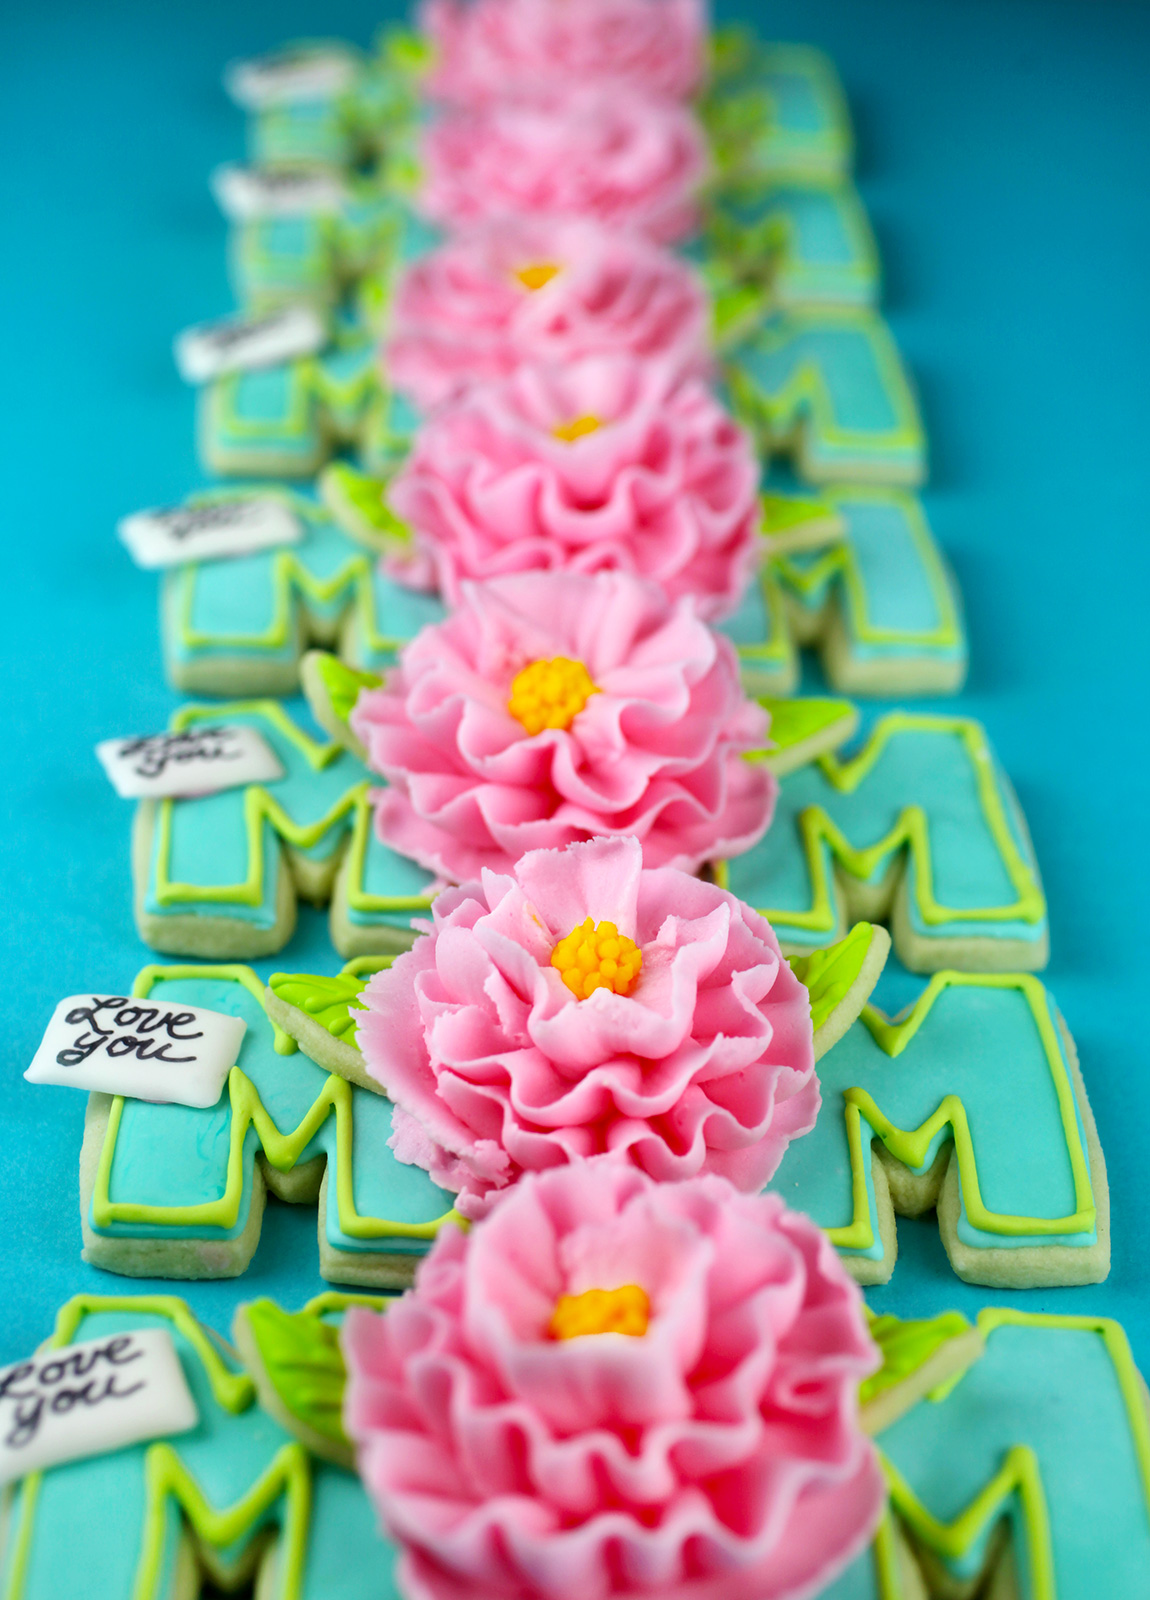
So lovely.
In my original concept for these cookies, I had wanted to pipe sweet sayings on the “M”. I quickly ditched that idea, because I felt pretty confident I would completely ruin my cookies. I’m really not great at piping so I try to work to my advantage when I can.
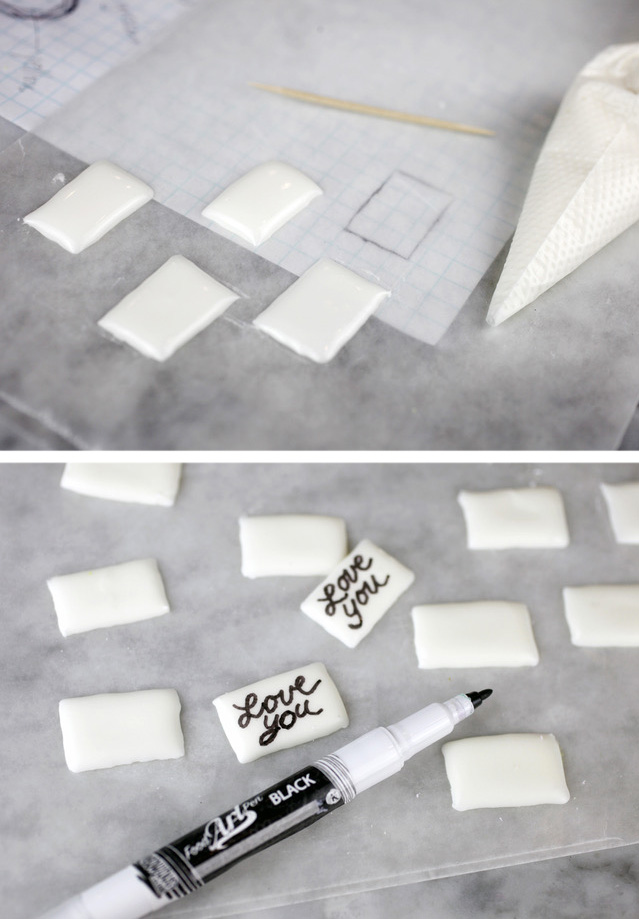
Instead, the night before, I also piped tiny rectangles of white royal icing on wax paper, using a drawing underneath as a guide. The great thing about this approach is I can mess up a message without messing up my cookies. Then when the flowers are finished, you can attach them to the cookies with leftover royal icing or even buttercream.
Let’s have a super quick recap.
- Print out and use the template.
- Bake and decorate delicious cookies with royal icing on day one.
- You’ll want to divide and tint the icing into three colors. One for the letters, one for the outline and leaves and one for the little notes.
- Save any leftover royal icing. You can use it to glue the cards on the second day.
- Day two, when everything is dry, make the buttercream and tint the majority of it for petals and the rest for the centers.
- Write sweet notes on the cards using a black edible ink writing pen and attach them to the cookies with royal icing.
You can also change up the messages.
You Rock MOM, You’re the best MOM. You’re a Hot MOM. Etc.
I just stuck with… Love You Mom!
Cause I do. So much.
Hope you enjoy!


Happy Mothers Day
That is so very sweet. Thanks for your time and effort to show us how to make a very sweet cookie for MOM.
perfect! Would love to know how you packaged these!
Wow you have awesome decorating skills. Your flower is gorgeous! Very unique cookie idea. I expect nothing less than amazing from you.
So beautiful. I bet your mom was very pleased.
Turn one of those cookies upside down and you will see what I think of these. WOW !!!!
Thank you Monica!
Of course your mom will LOVE these!
Those are stunning. Every mother who receives would probably be thrilled.
These are so precious!!!! Happy Mom’s Day Sandy Lou?
These are adorable! For the sugar cookie dough, what flavoring was used, peppermint? Thanks…
Happy Mother’s Day, Sandy! You are so loved.
Love you and the cookies. Btw, they were really good.