I’ve made a bunch of cake pops over the years. I like to challenge myself and see just how much I can make a tiny ball of candy covered cake look like something else and I usually skip over more simple ideas because I can visualize how I think they might turn out.
It’s the harder ones that excite me the most because I never really know if I can pull it off until that last detail is added and I set it down in a cake pop stand. I like the challenge of the unknown. But this weekend I went for a design that was made for cake pops.
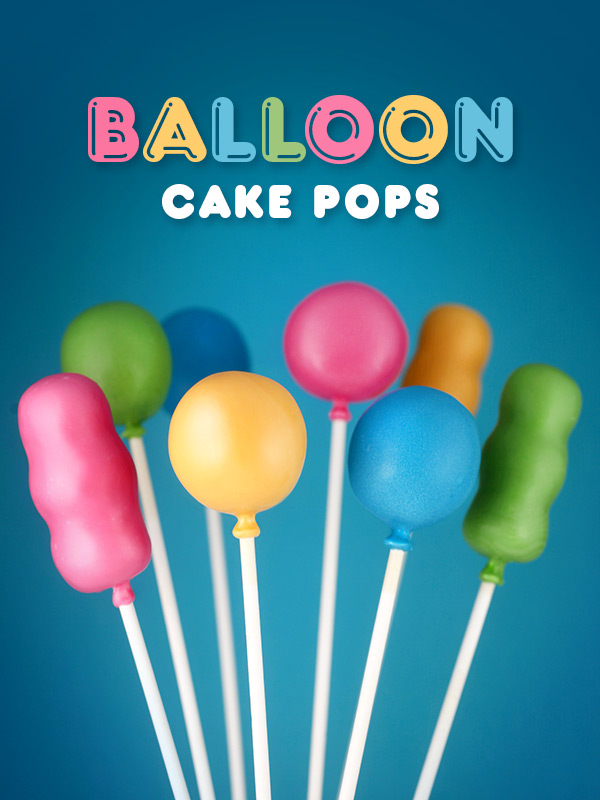
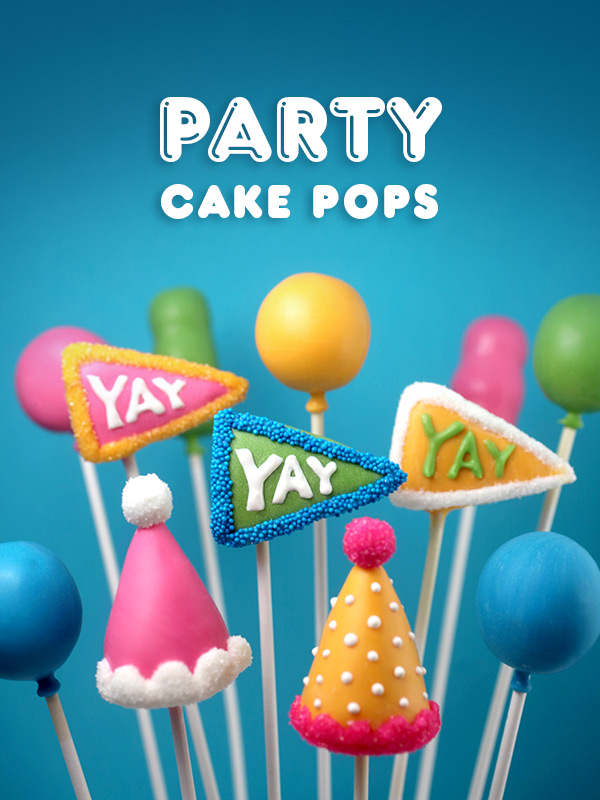
Party balloons!!! Round, bright colors and filled with cake instead of air … perfect! And my kind of pop.
Oh… And not a single candy was used to decorate them… and I love them! They really turned out cute.
I need to remember that the simple things can be just as sweet.
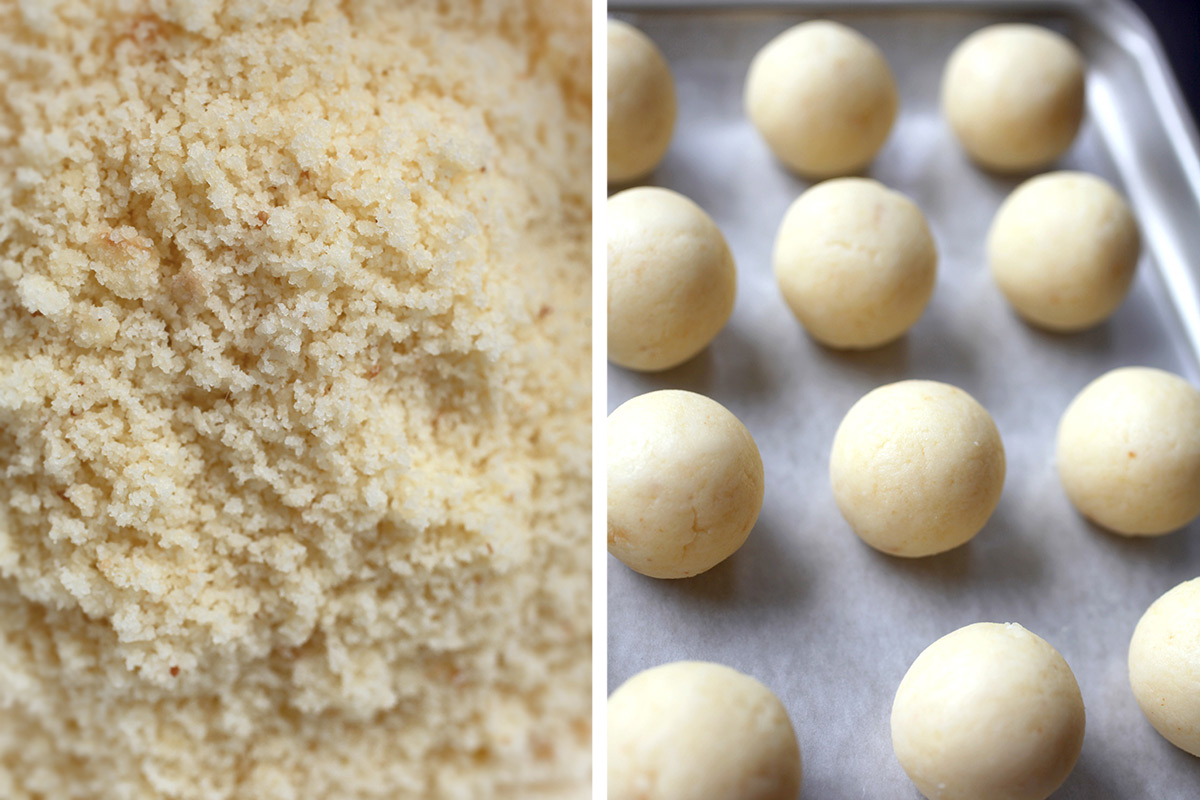
Crumbled cake mixed with frosting and rolled into balls. You know the drill.
And if you don’t, here are the basic how-to instructions to get you started.
I hand roll the cake and frosting into balls before I shape to make sure I use even amounts for each pop. Then after they are rolled, I shape them by hand.
But I didn’t just make round balloons.
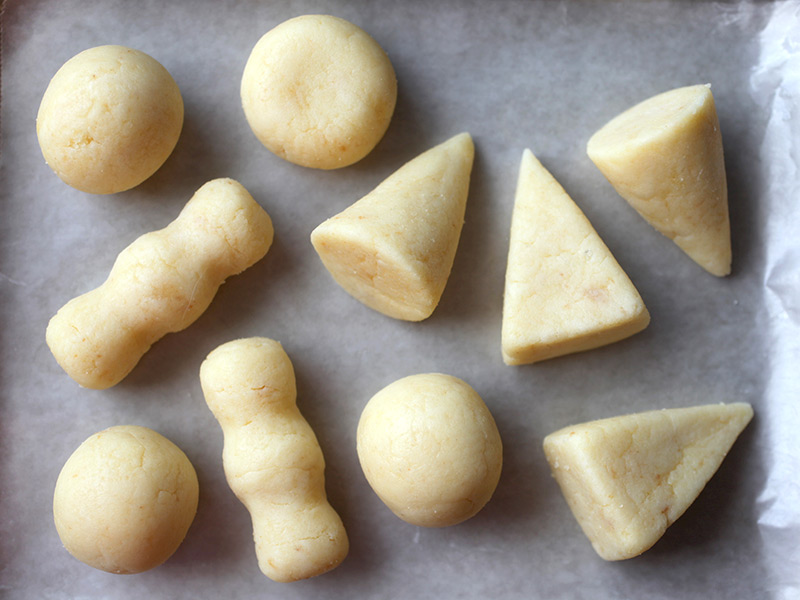
It’s a party so I made balloons in different shapes…
and cones for party hats …
and dimensional triangles for pennants!
YAYAYAY!!!
Want to know a trick for shapes with sharper edges?
It’s simple.
Wax paper!!!
Just lay a sheet on the counter and take a rolled cake ball and slide it against the surface. (You can also start the shape by hand first to make it go a little quicker.) The crumbled cake mixed with frosting will easily form a flattened bottom. Then you can rotate the shape, slide again and create a sharp edge. Or you can rock it back and forth for a rounded edge. For cones, you can roll the shape at an angle so it forms a point and then slide the wider end on the wax paper for a flattened bottom.
I know it’s hard to picture, but if you just start to play around you’ll pick it up super quick.
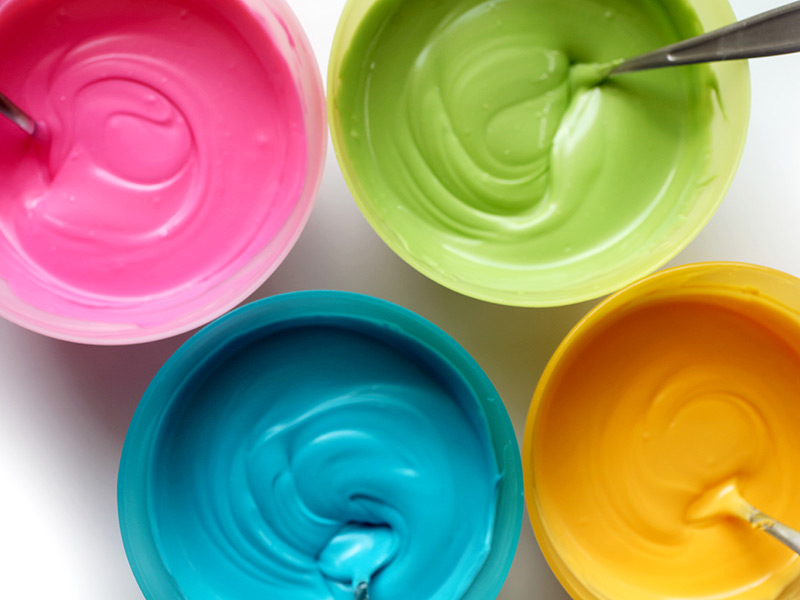
Happy colors!
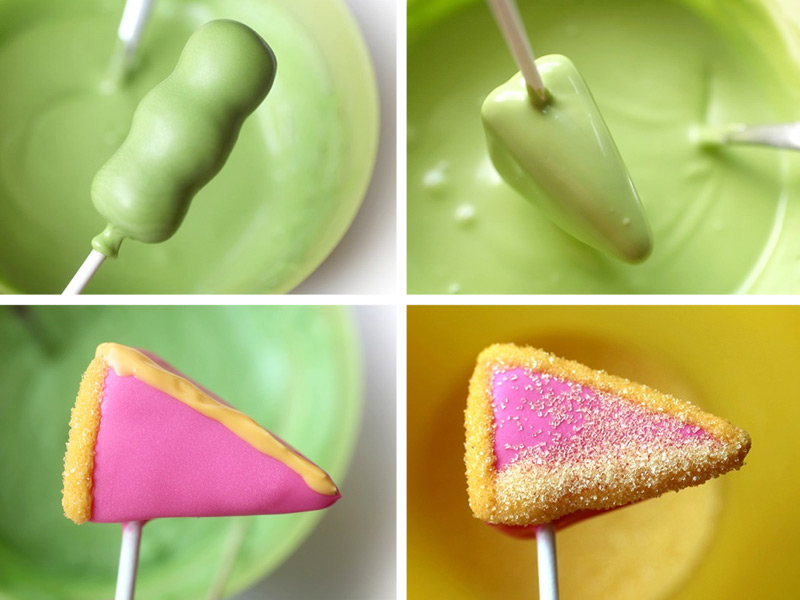
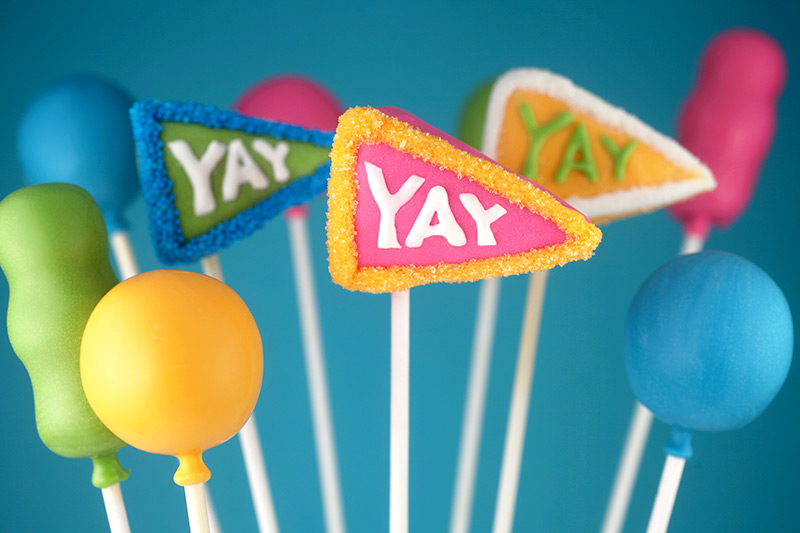
After you dip the balloon shapes and let them dry, you can use a toothpick dipped in coating to draw a tie around the lollipop stick. It’s the only detail you need to add to sell them as balloons.
For the pennants, use a toothpick to draw an outline on the front facing triangle and then sprinkle sanding sugar on top to decorate.
Then you can use a toothpick dipped in another color to draw on “YAY”. If it helps, you can etch the word on the candy surface first to use as a guide.
That’s it!
Just dip, draw, and decorate in different colors.
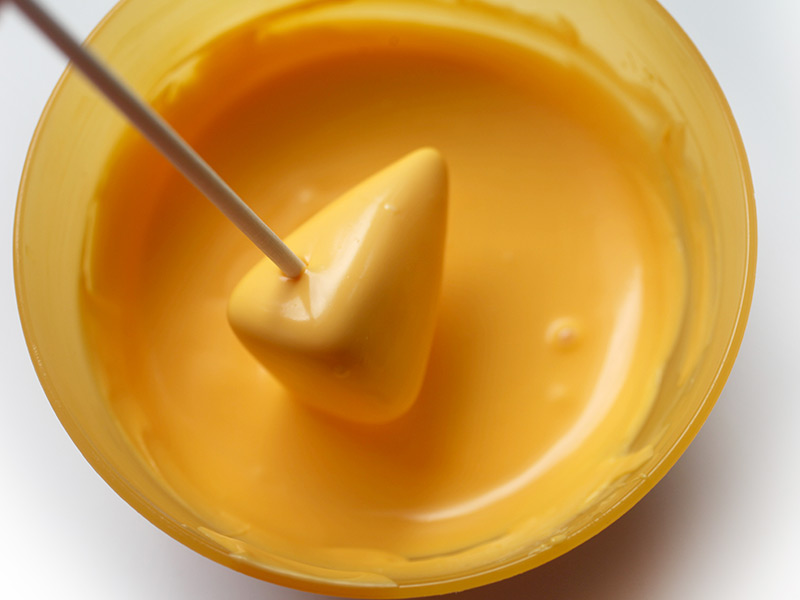
…like bright yellow … or like cheese … yes, that’s all I can see now.
It just needs a few little dimples which I could drake by pressing into the dough with the end of a lollipop stick for texture. And then I just need to make a mouse to go with it. That’s how my brain works.
Okay back to the party…

For the party hats, I attached a sixlet on top with melted candy coating and when dry covered it with more candy coating and sprinkled with sanding sugar to get a nice round shape at the pointed top. The base of the hats were heavily dotted with melted candy coating and then covered in sanding sugar, too.
Enjoy!


They are colourful and look yummy. It’s fantastic for kids´ birthday party. very good!
Those are absolutely adorable. What a fanastic idea and those colors just pop! Amazing!
I love pops too, such a great idea!:) Love it! Thanks for recipe!
I love cake pops and your website made me have the best idea ijust had a new baby brother and for he 1st birthday im making a despicable me cake pops thanks so much
Been thinking of doing some of these for the kids…Loving the colours that you used and shapes…Never seen triangle cake pops before :) well done love the post!
Ahhh so cute! The balloons sure make me happy.
http://itsjpei.wordpress.com/
These are adorable; and so festive! Feel free to check out my baking blog, For the Love of Baking, at http://www.forloveofbaking.com :)
Sydney
Delicious Party Time Pops! So Beautiful..
Thanks!
Hi,
I am developing a free baking app and would like to share a link to your blog. My app will include several baking blogs. Hope you don’t mind hopefully it will bring free traffic. Great Blog.
Wow this is so creative. I love the messages. I wish I can make some bigger and put different messages in them.
These are amazing! I love the shapes – how creative!
If I won this gorgeous mixer, I would give it to my sweet daughter who is THE BEST baker you will ever meet!!????????????
If I won the mixer, I’d make a Boston Cream Pie for Gloria.
If I won this mixer, I would make a Boston Cream Pie.
Oh, so when you say use a toothpick to create the tie at the bottom of the balloon, you mean to create the neck of the balloon? I was looking all over the pictures, looking for ties and couldn’t find any, lol!
These are amazing! Really want to give this a try but I’m really not that creative :) xx
http://www.daintybride1.blogspot.com
Perfect and simple, how you made cream? Eliza
These are perfect!! Love them :)
Extremely cute!! Thanks for sharing.I’ll try these for my B’day party :)
Nice!
So cute for a party!
You always make the cutest and most well done pops!
How cute are these?! The colours are really great
The first time I ever saw a “blog” was when you began the cake pop craze. Yours will always be my favorite..and after seeing these sweet and simple party pops, I still know why. Happy color party pops!
Cute!
Waaaaay TOO CUTE!!!
This is such an amazing original idea! They look so balloon-like! Also great tip for the sharper edges – so simple yet effective! Will be trying these out soon!
These are sooo cute. I am going to bake these for the bake sale at work. I hope they aren’t too tricky to make.
x
Jennifer Douglas – try Make n Mold brand. Heat slowly and on low temp in the microwave.
Carrie Cheng – i use inexpensive plastic cereal bowls.
Kristin, Arlene, Marm – I’m sorry I didn’t explain that better. It’s really easy. Make normal round or fun balloon shaped cake pops and dip them. When they are dry, use a toothpick dipped in candy coating to apply the coating around the base of the stick right under the cake ball. Then use the toothpick again to apply a thicker layer/line right across the bottom of the tie for dimension. Hope that helps.
Isn’t this perfect, you posted this on my birthday, and I’m doing a BIRTHDAY celebration Week on my blog all week, sharing everything about birthdays! I’m even doing a balloon round up this weekend, and I’m excited to share about these, too!! Check out my post about the weekly fun! http://www.kristendukephotography.com/birthday-celebration-week/
These are so cute. Love the shapes and the colours. The light and the shine actually let these cake pops look like airy balloons. Great idea!!
Soooooo cute!!!
So glad to see you cake popping again! These are adorable!!!!!!!!!
Love these! I hope you have time to answer #18″s question too. It totally makes it really look like a balloon.
YOU’RE AMAZING!!
These are adorable. I have the same question as #18 (Kristin) and was wondering how you make the bottom part of the balloon where you blow into. Thanks so much! YOU are awesome!
Not a fan of green but somehow this green really POP and I like it. And yes, I thought of cheese fondue for the yellow!
Soooo cute!!!! Love them!!!! Can wait to try to make them myself :)
These are stinkin adorable! I do have a question….how did you get the melts to stay and form the little rim at the bottom of the balloons? Like the part that you would put your mouth on to blow up the balloon? Looks like it would be an extra step, just wanted to ask before I give these a go myself. Just darling! Thanks for sharing!
These are so cute! They are definitely one of my favorite projects of yours. I love balloons!
You come up with cool and tasty ideas. Mmmmmm…….
Love it!! Also can I ask what bowls you use to melt the chocolate? I need some!! : ) thanks you! You inspire everyday!!
Yup, still cute.
These are my new favorite! Who doesn’t love balloons in bright fun colors.
Do you have a brand of colored candy melts you prefer to use? I typically buy the Wilton brand from my local craft store but I notice them to be a super thick consistency. I’ve even tried thinning it out with oil as you’ve suggested in your book. But unfortunately have not had much success with anything other than chocolate.
Love these so much, Angie!!
Love them. Everything you touch pretty much turns to gold, doesn’t it!? :)
I think the classic balloons are my favorite – so bright, bubbly and cute. Sharing!
Hi! I absolutely LOVE cake pops! I’ve never made anything other than plain round ones with stuff drawn on them with edible ink pens, but that’s only because I want to perfect the round ones before attempting anything CRAZY. I’m a huge fan!
My youngest granddaughter turns two today. She would love these! So cute.
Super cute birthday pops!!!
Like a reinbow! So beautiful!
OMG the cute :D sooo cheery
Beautifull…
Super cute Angie!
As usual, you have created joy on a stick…precious.
Oh my gosh these are so cute!
These are so cute!!! :D loving all the colours :)
OMG those must taste awesome! First for first
So adorable! I’ll definitely try these out