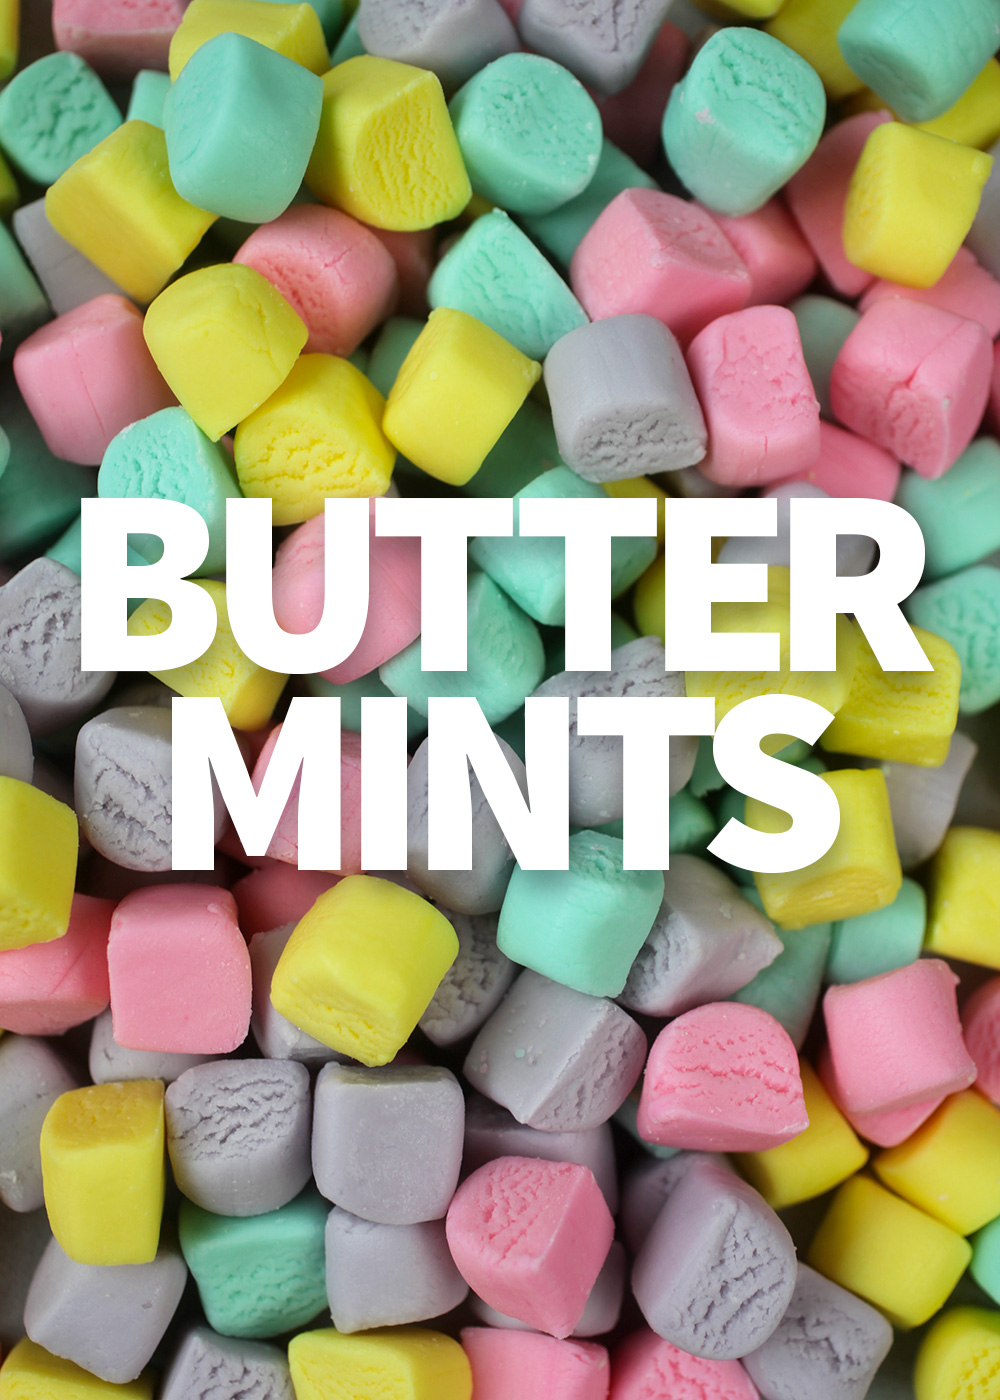
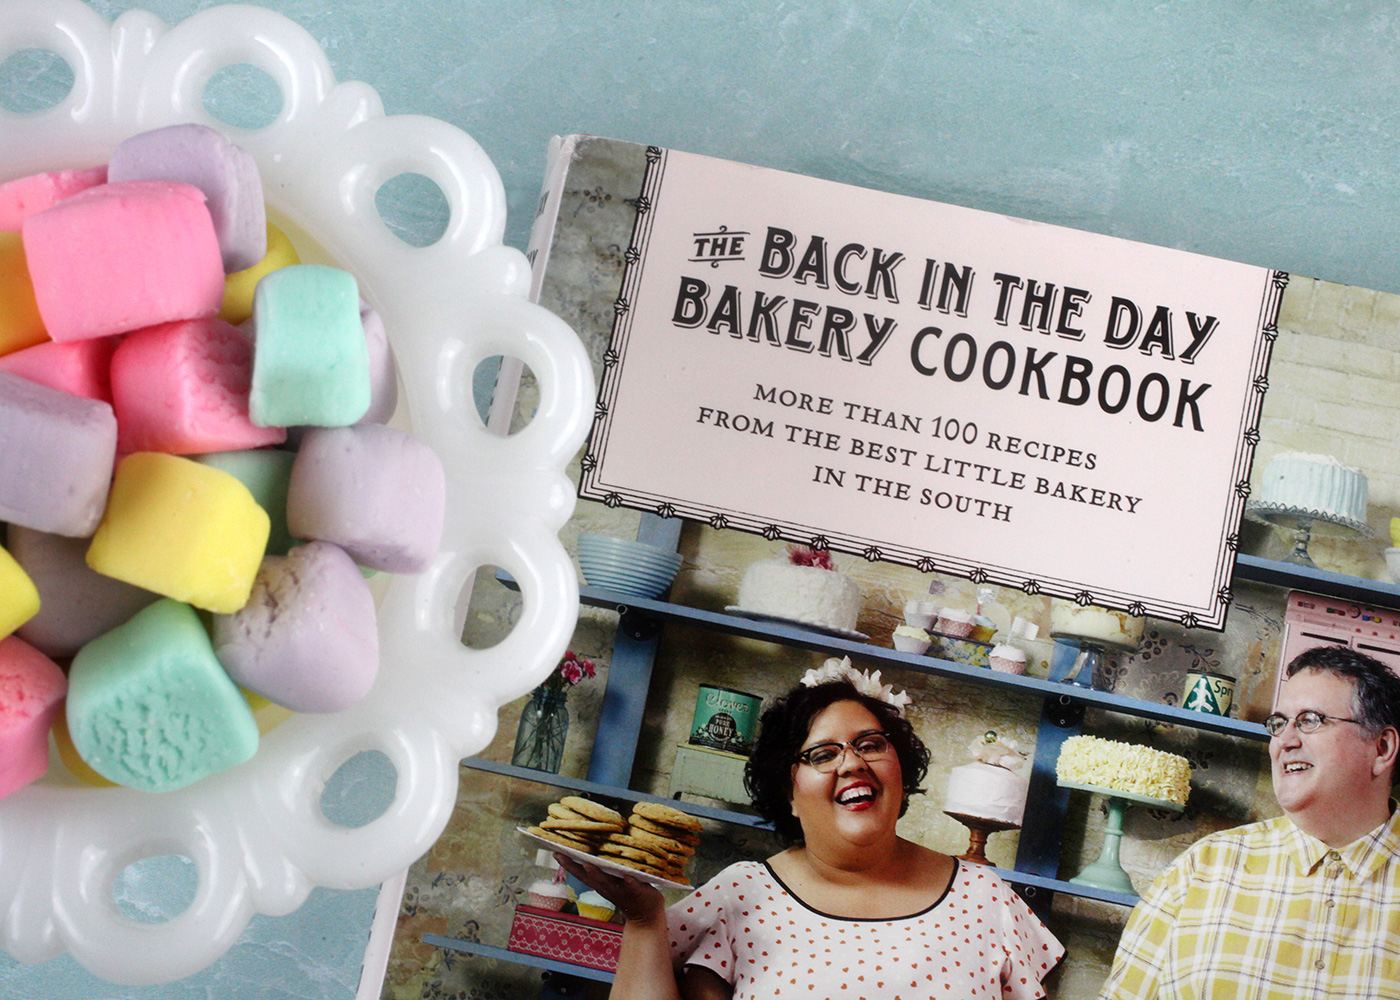
I’ve got a really easy springy treat to share with you guys today. I was flipping through one of my cookbooks by Back in the Day Bakery last weekend and landed on a recipe for Butter Mints. But it was the picture inside of cute little cubes of color that grabbed my attention. And I knew I had to make them right away.
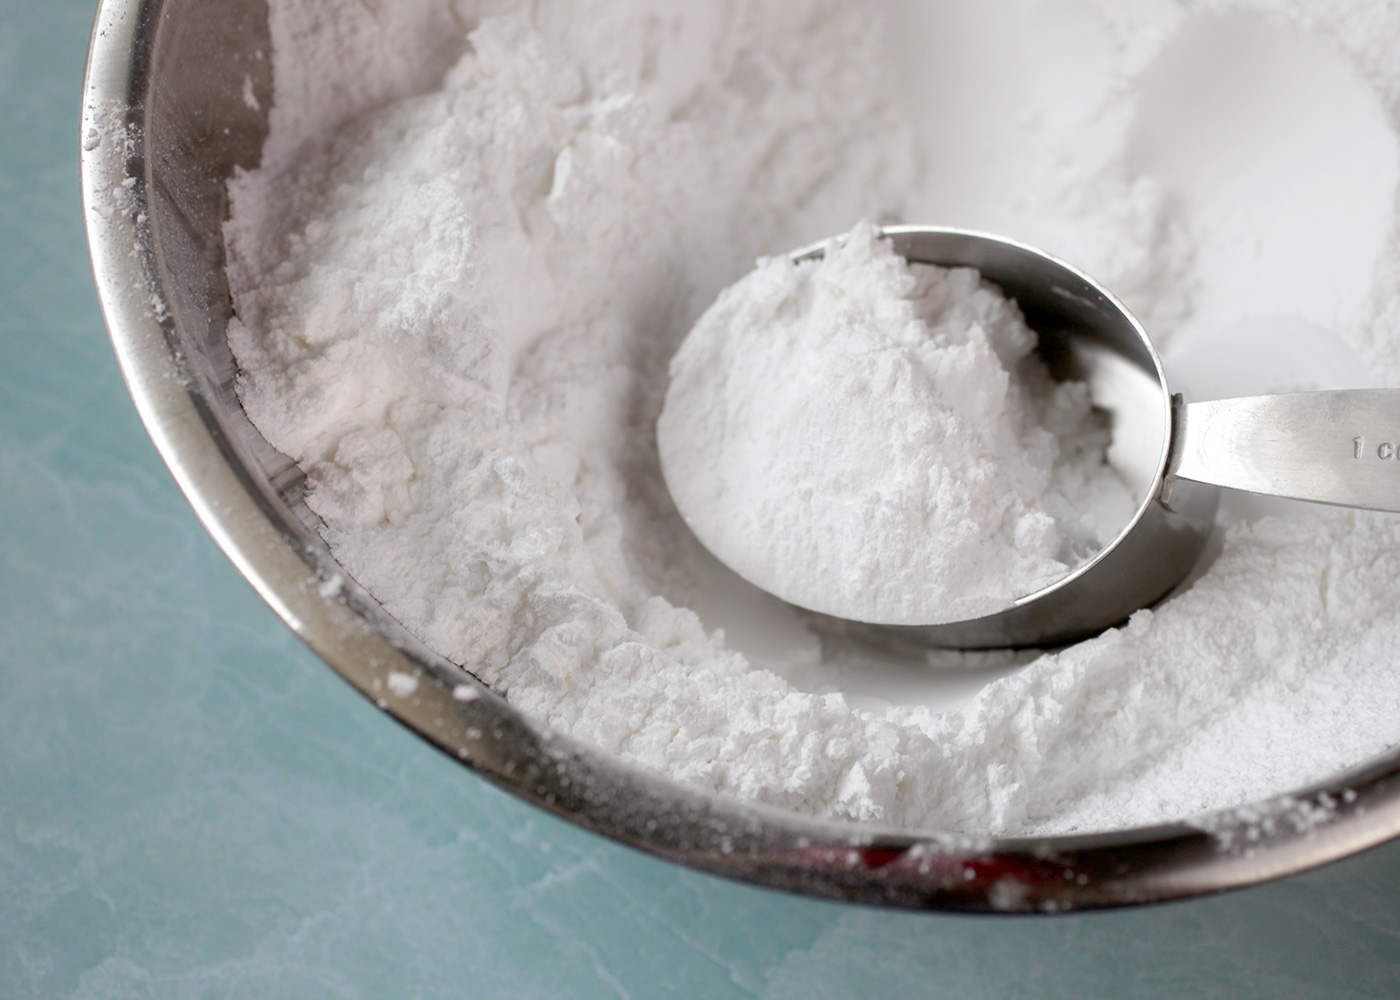
You only need a few ingredients. Confectioners’ sugar, butter, salt, sweetened condensed milk, peppermint extract and food coloring to jump all over these.
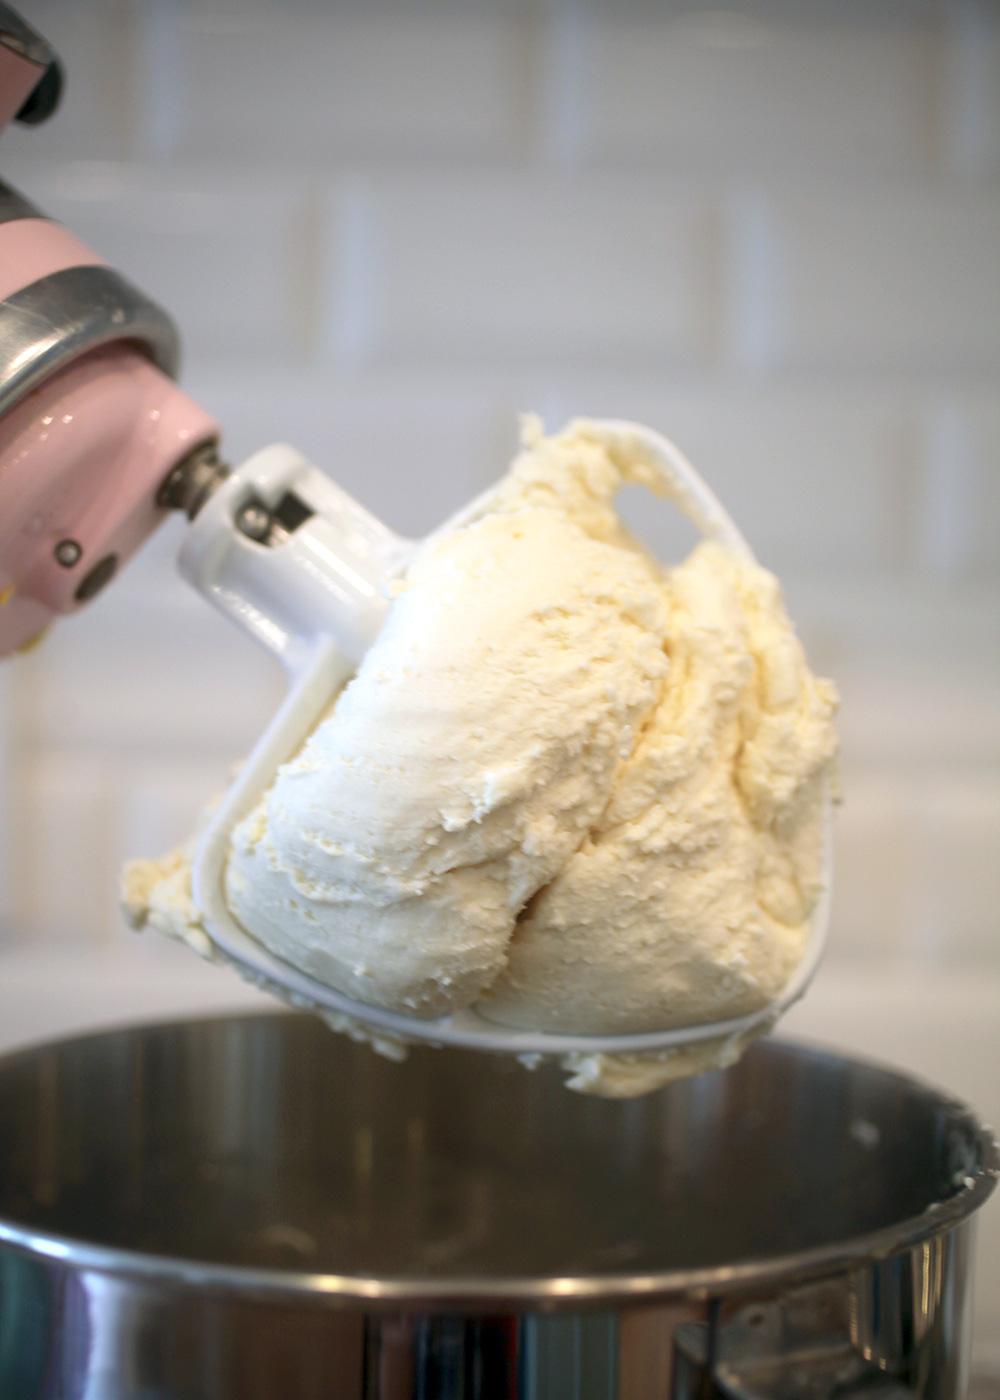
Once you mix all the ingredients together minus the coloring, the dough will form a ball shape in the mixer and pull away from the bowl.
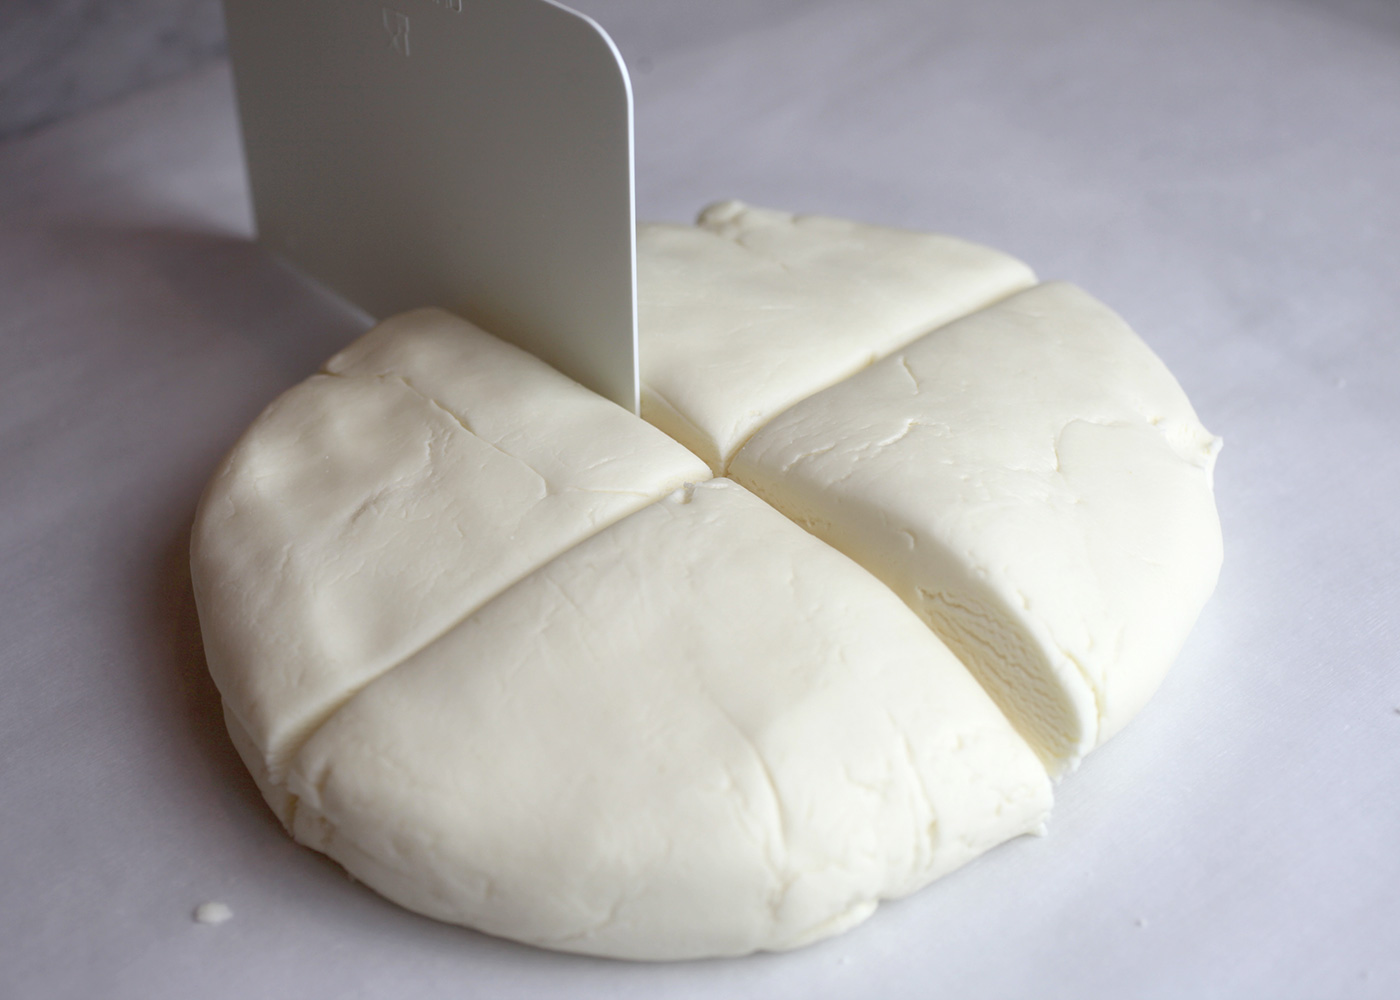
Turn the dough out onto some parchment paper lightly dusted with confectiones’ sugar and shape into a large disc that you can then divide into four equal portions. Or divide into however many colors of mints you want to make.
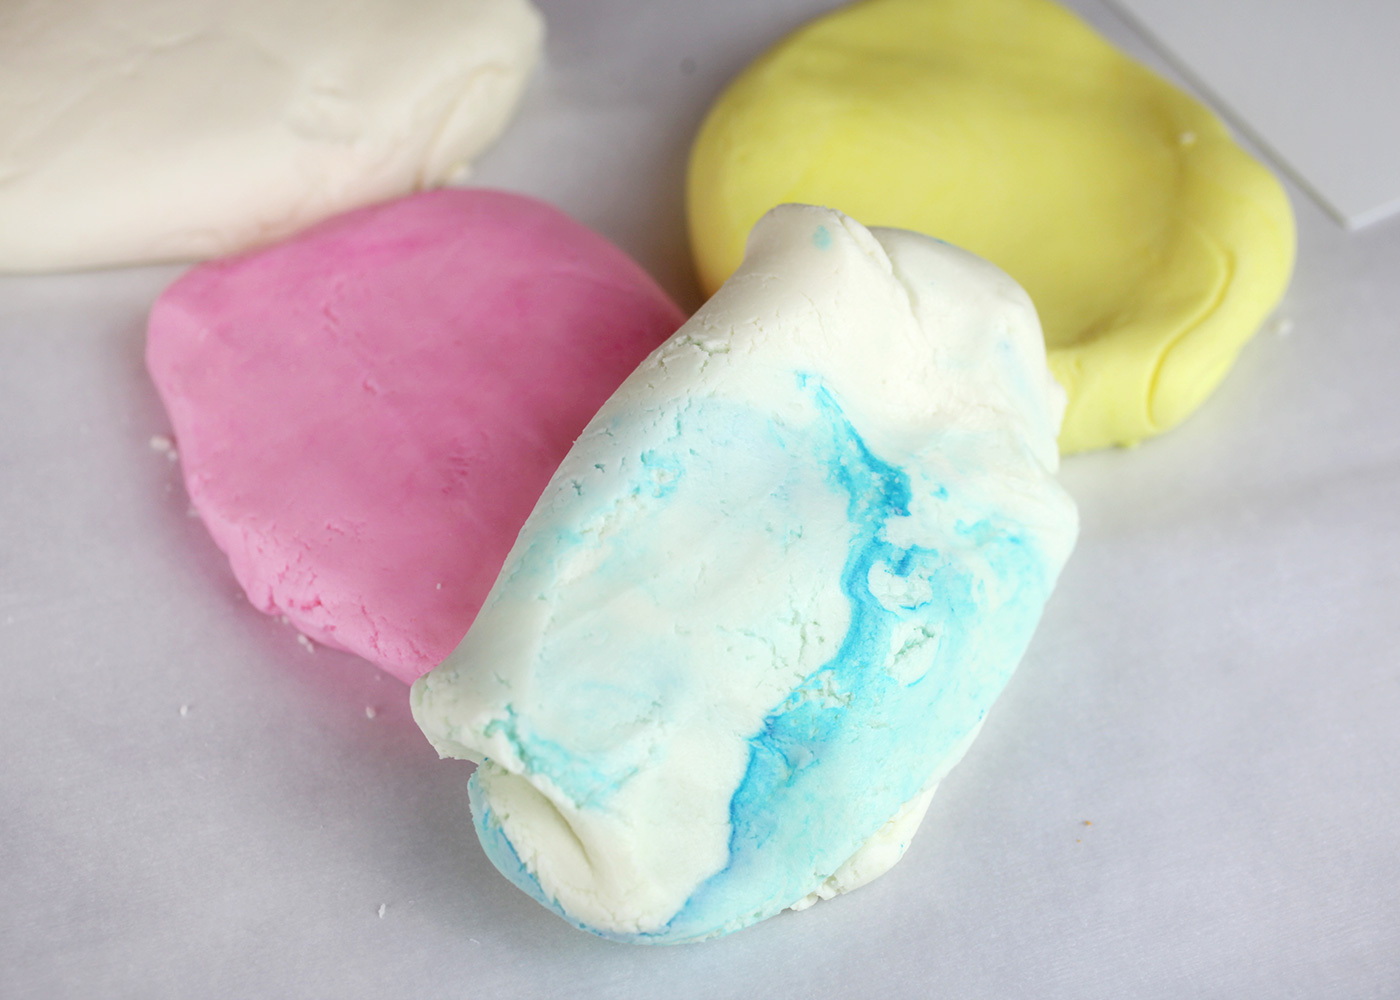
You just need 1-2 drops of gel food color to tint the dough a pretty pastel color.
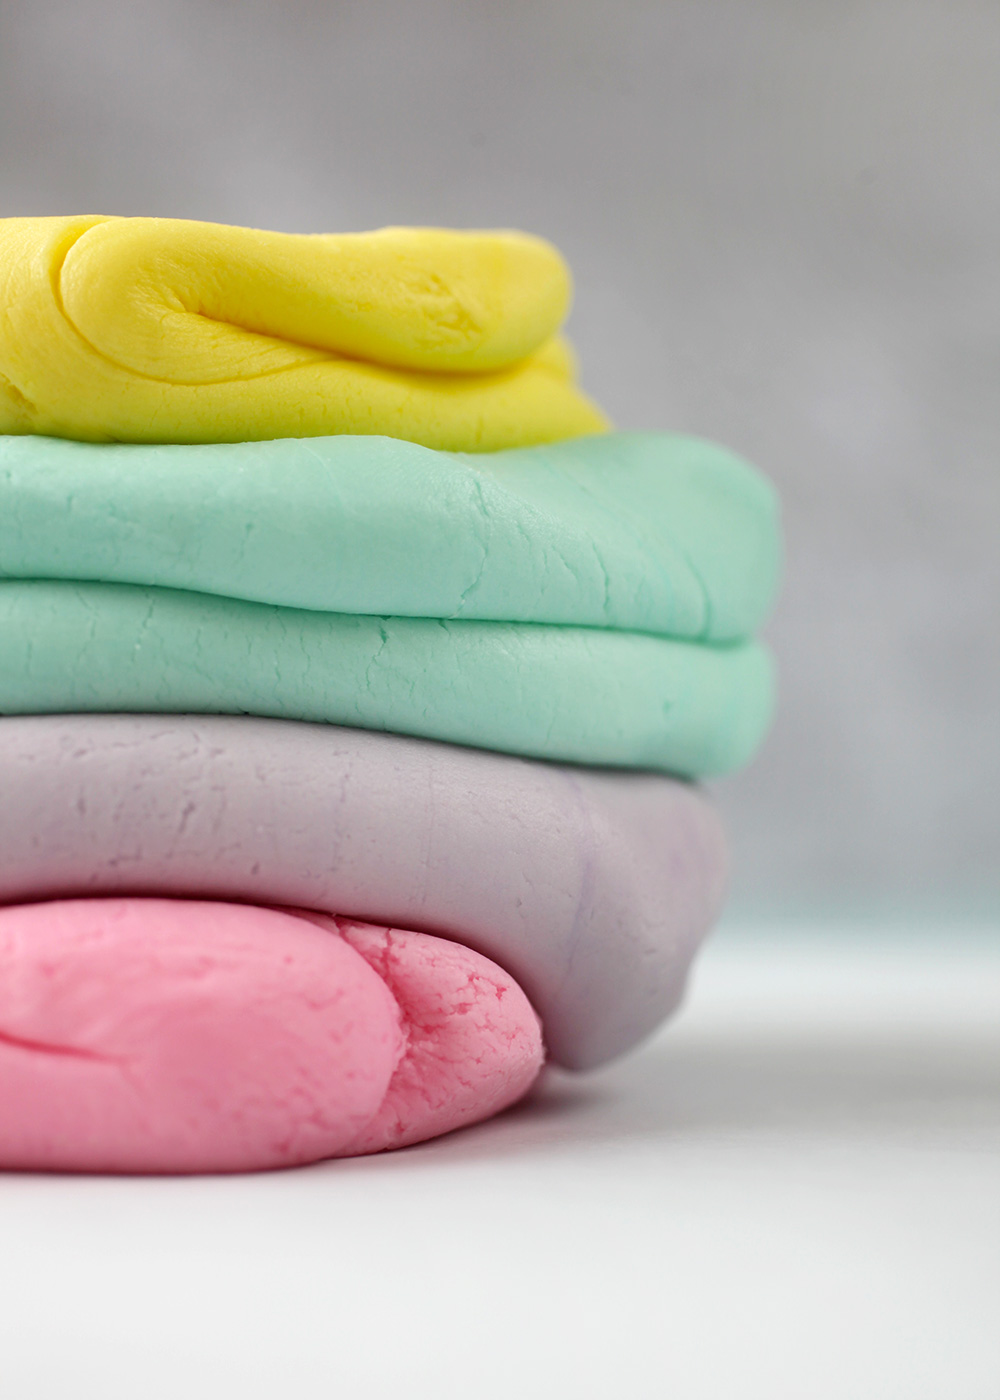
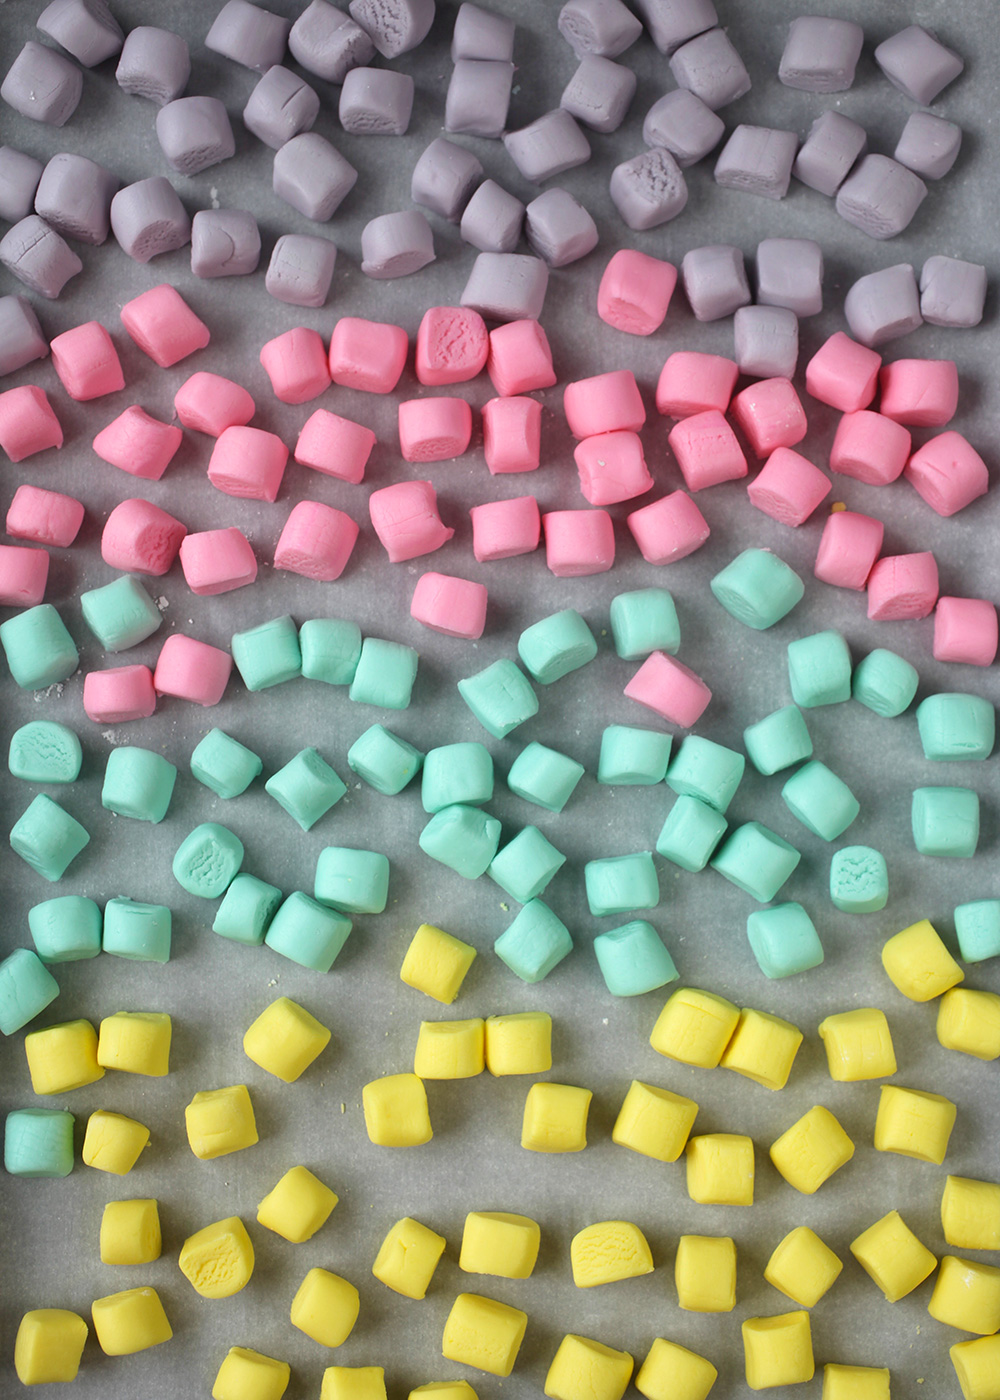
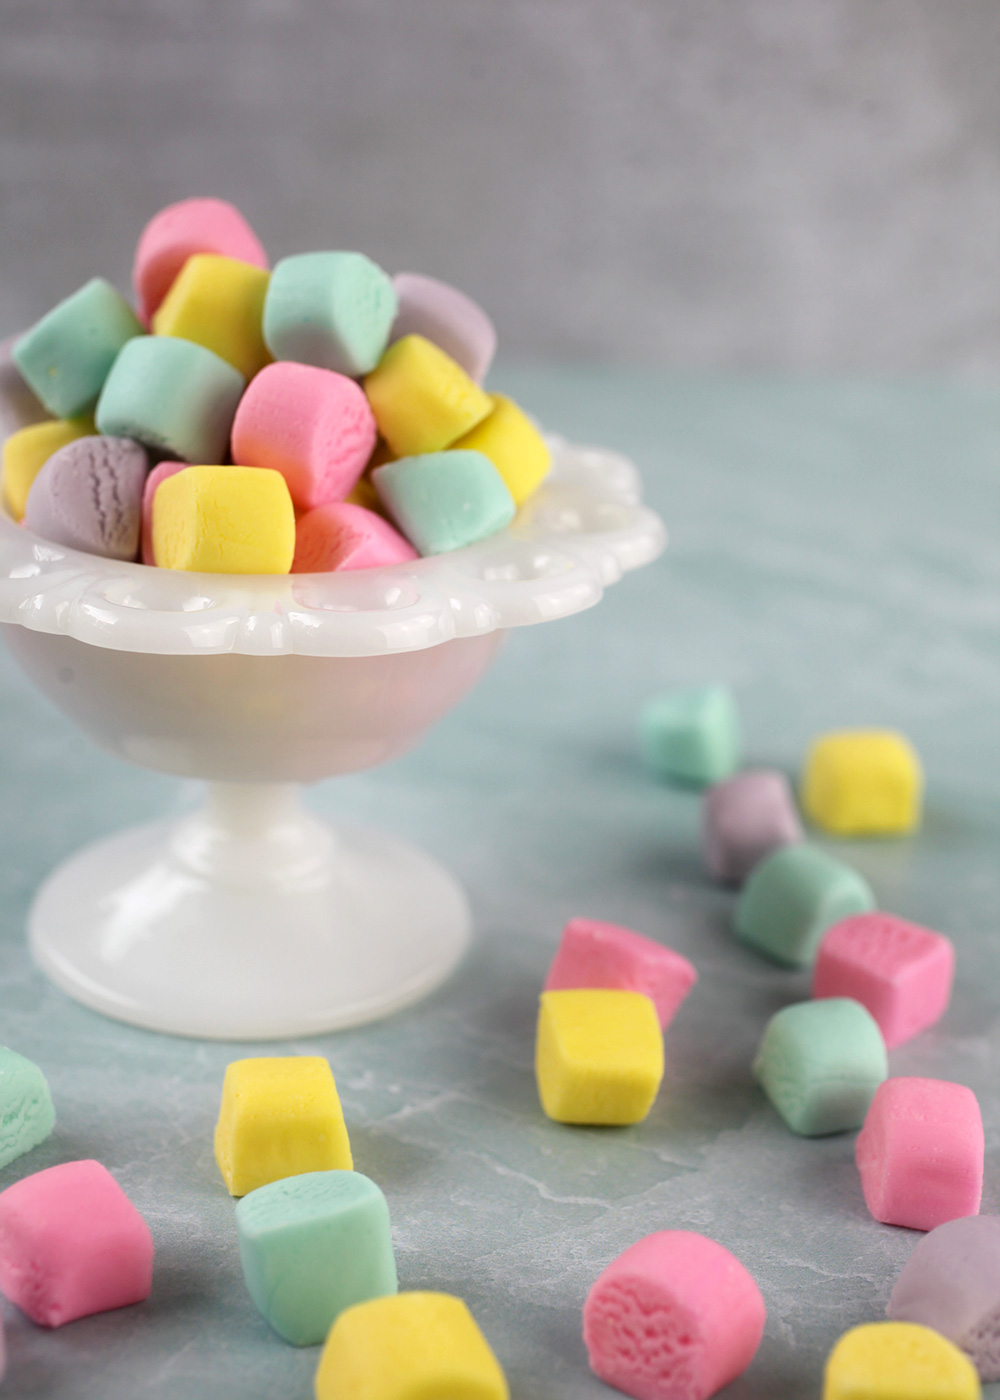
I went with yellow, blue, purple and pink. So pretty! And I’ve got to tell you … right about here I was really wishing I had some Play-doh toys in the house to try the dough out on. I think I could make some super cute shapes.
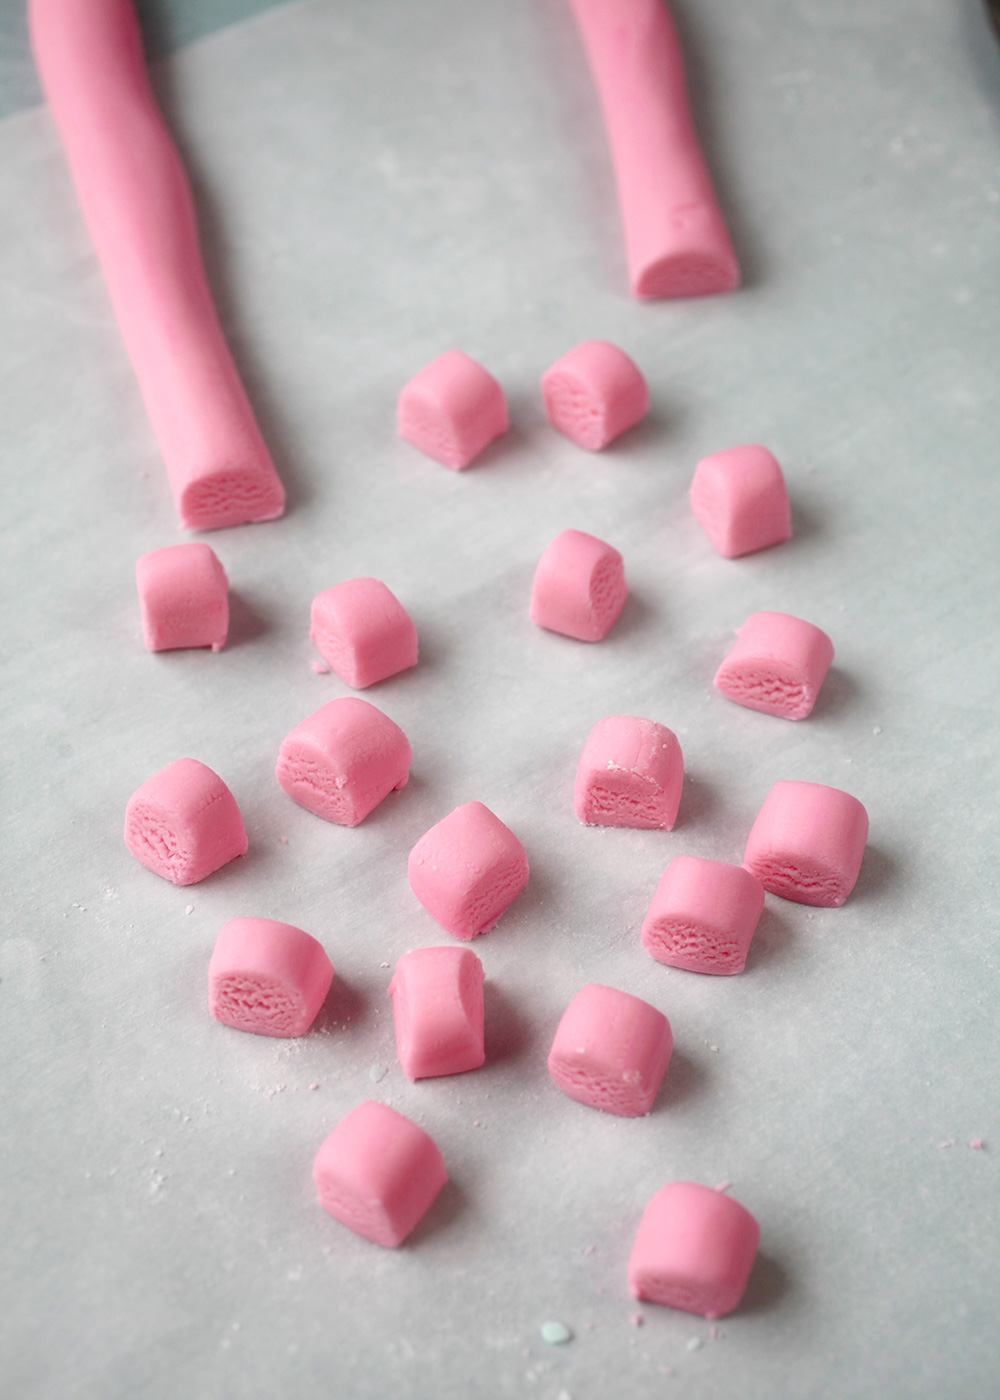
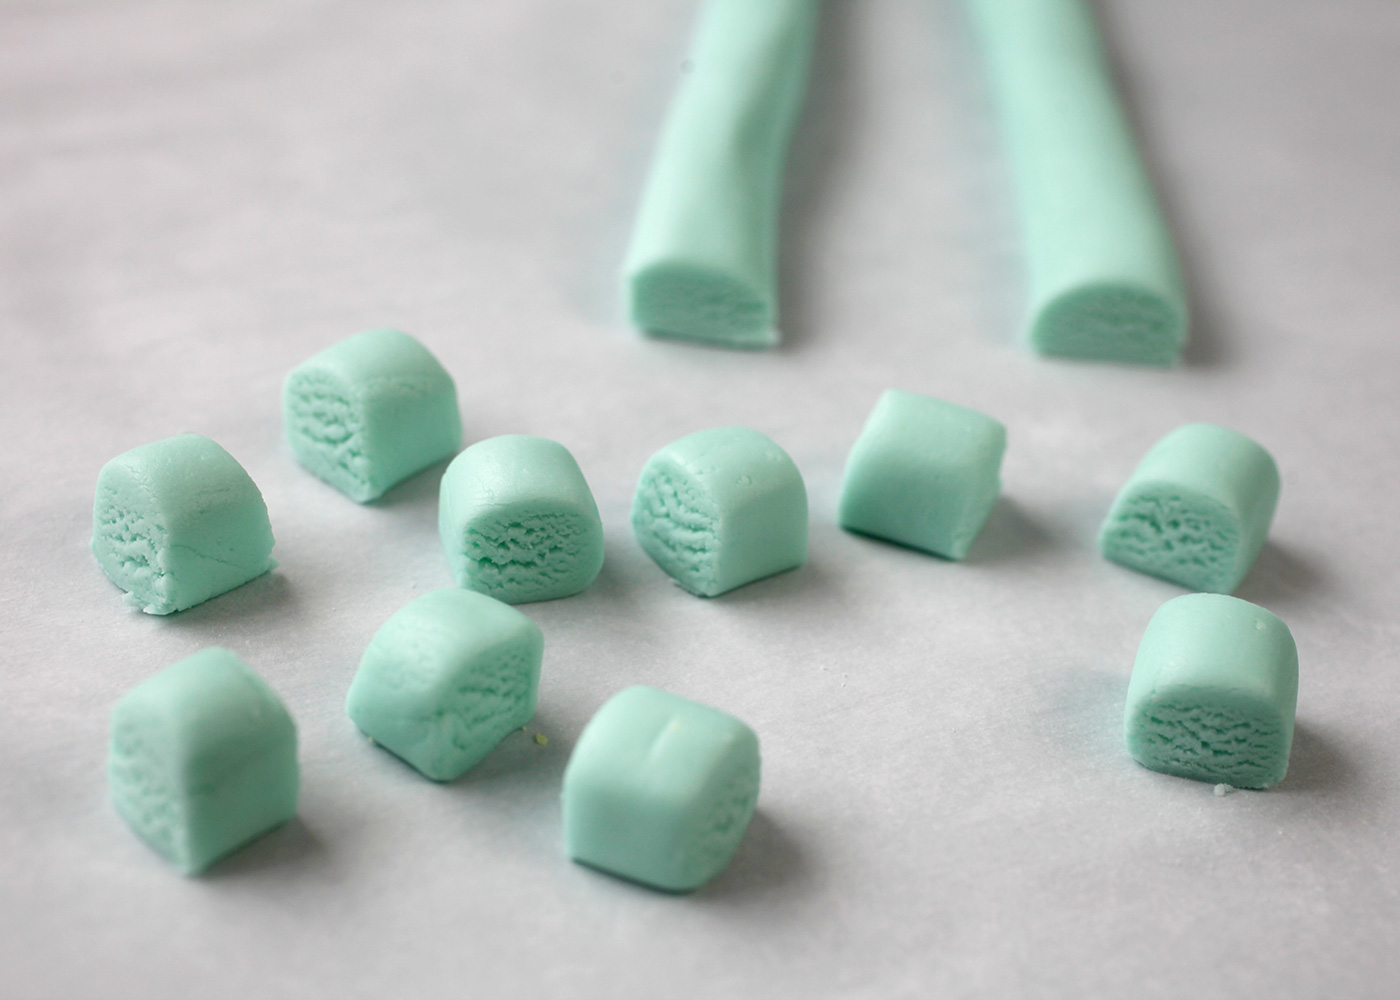
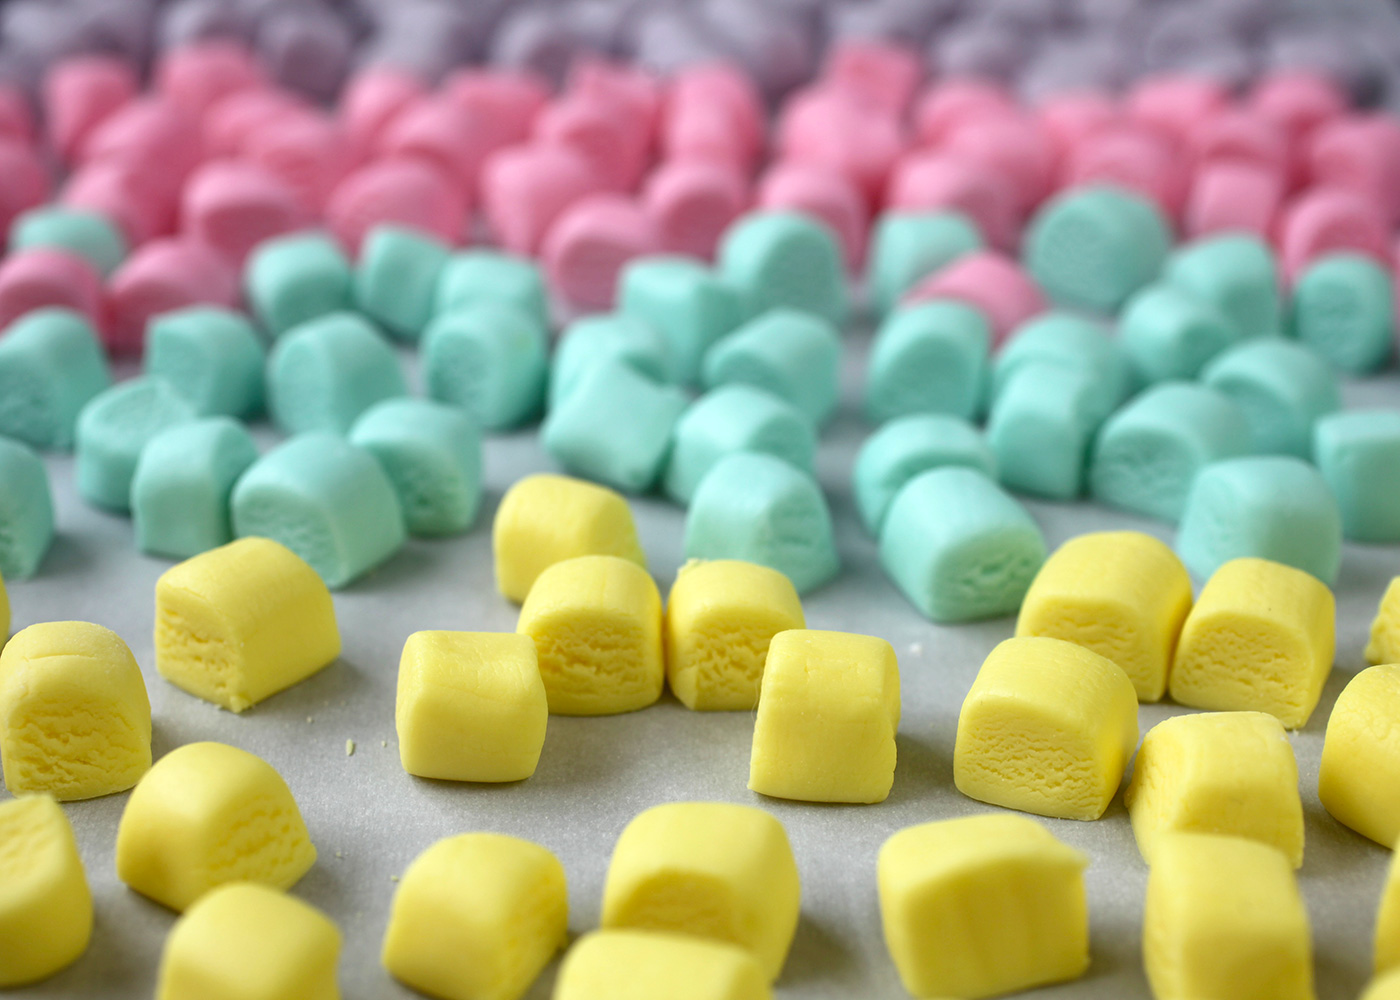
But alas, I just went with these charming little rounded cubes. All you have to do is roll the dough into a long rope shape about 1/2 inch to 3/4 inch in diameter and then cut the rope into 1/2 inch sections.

The dough is soft before it goes in the fridge to chill out, so the cylinder shape starts to flatten a little bit making them look like rounded cubes.
Repeat with all your colored dough and transfer the individual pieces onto a large cookie sheet lined with parchment paper.
Now just cover them in plastic wrap and chill in the fridge for about four hours to firm up nicely.
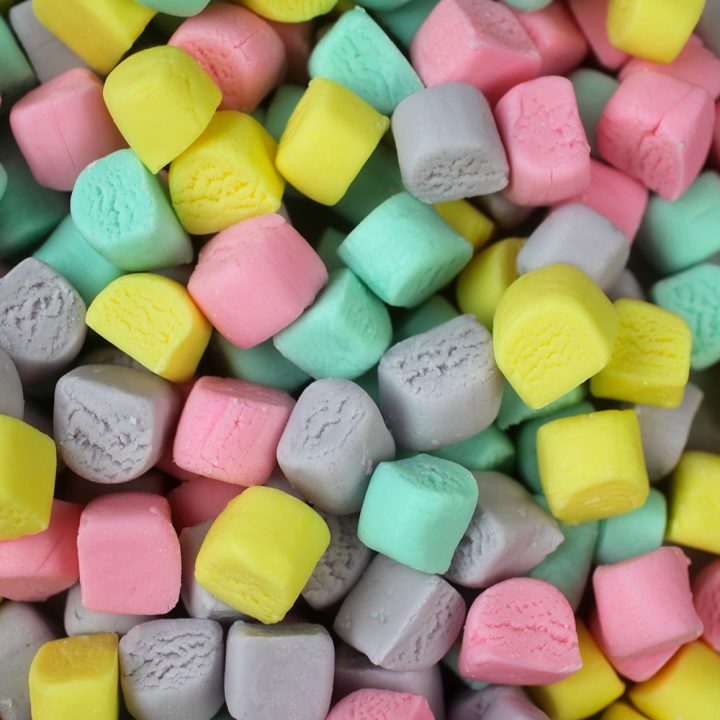
I definitely nibbled on a few right away. So soft and sweet. So perfect for Spring!
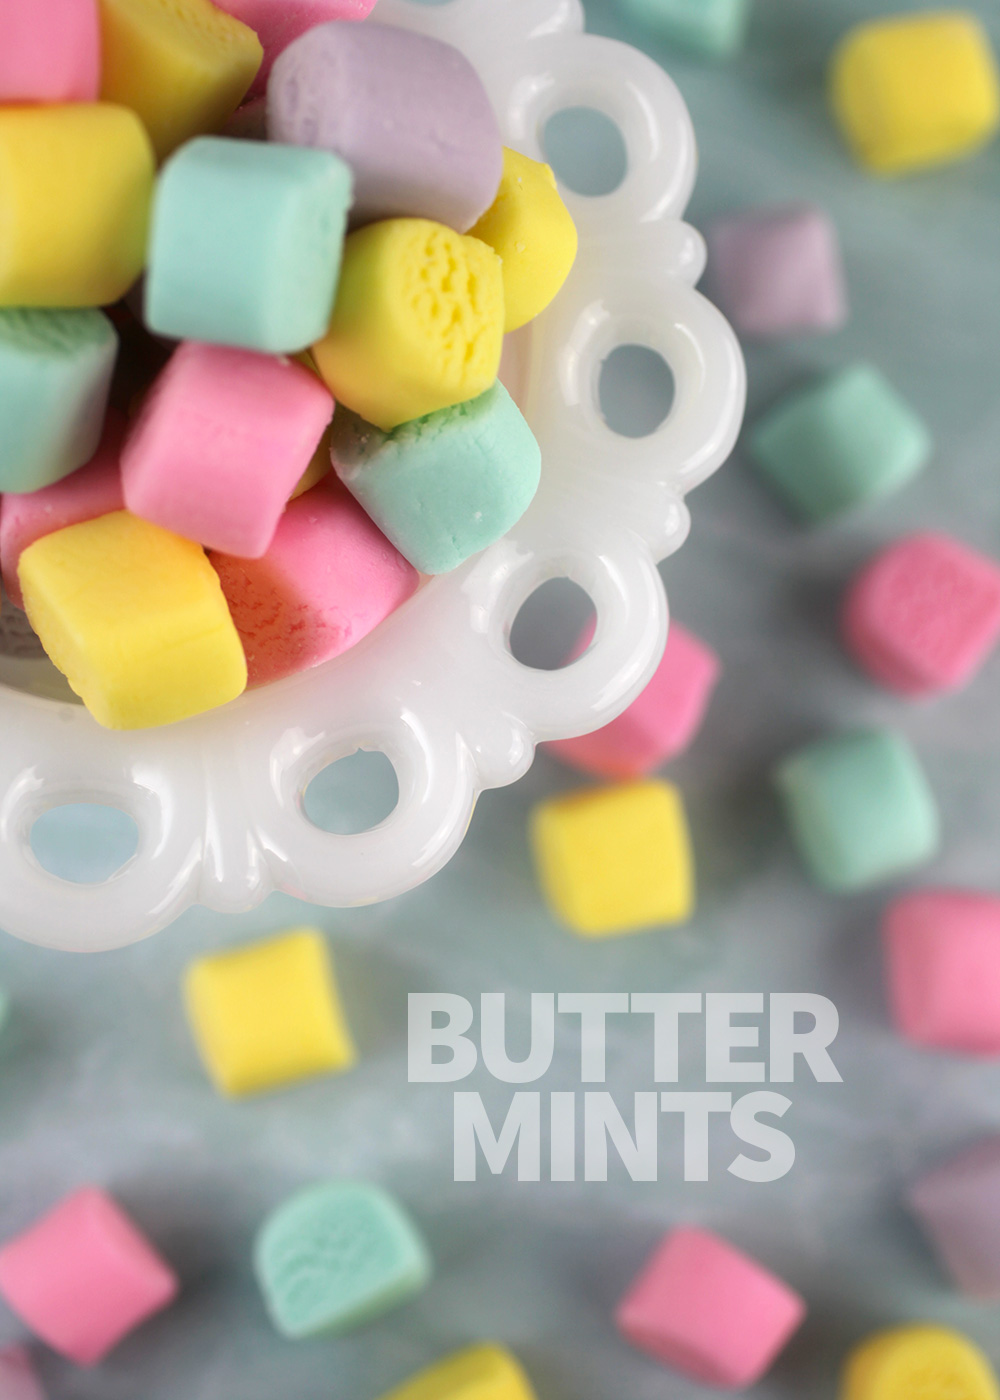
Back in the Day Bakery’s Butter Mints
Ingredients
Instructions
P.S. I love this cookbook. So many great recipes. Here’s a link on amazon to their book. Go grab a copy.
I’ve also made their Coca-Cola Sheet Cake (See it here) and it was delicious.
Or just make some butter mints to enjoy!


Thanks for sharing this on “Homemade Butter Mints – Bakerella”. I found the perspective useful.
Can you use any flavoring for these?
It is delicious and pretty. My little children do not like sugar so much, I will reduce the amount of sugar in this dish. Hope it will be perfect and my kids will like them.
Oh Boy, I’m drooling non-stop. Yummy!!
Hey Angie,
Is there any tips on how to stop them sweating ?
Wow these look amazing and so professional! xxx
A total 70s and 80s baby and wedding shower staple :) My mom would always use a mold to make them into a flower and always coated in granulated sugar. Very nostalgic :)
I have always loved butter mints and can only imagine how wonderful they are homemade! They sure are pretty! The play-doh tools is a great idea! :)
They are so pretty!
So pretty, colorful and Springy! Looks beautiful in the white dish.
Aww, like little drops of spring :D
You make everything look so easy.
Very beautiful, I loved the colors. :)