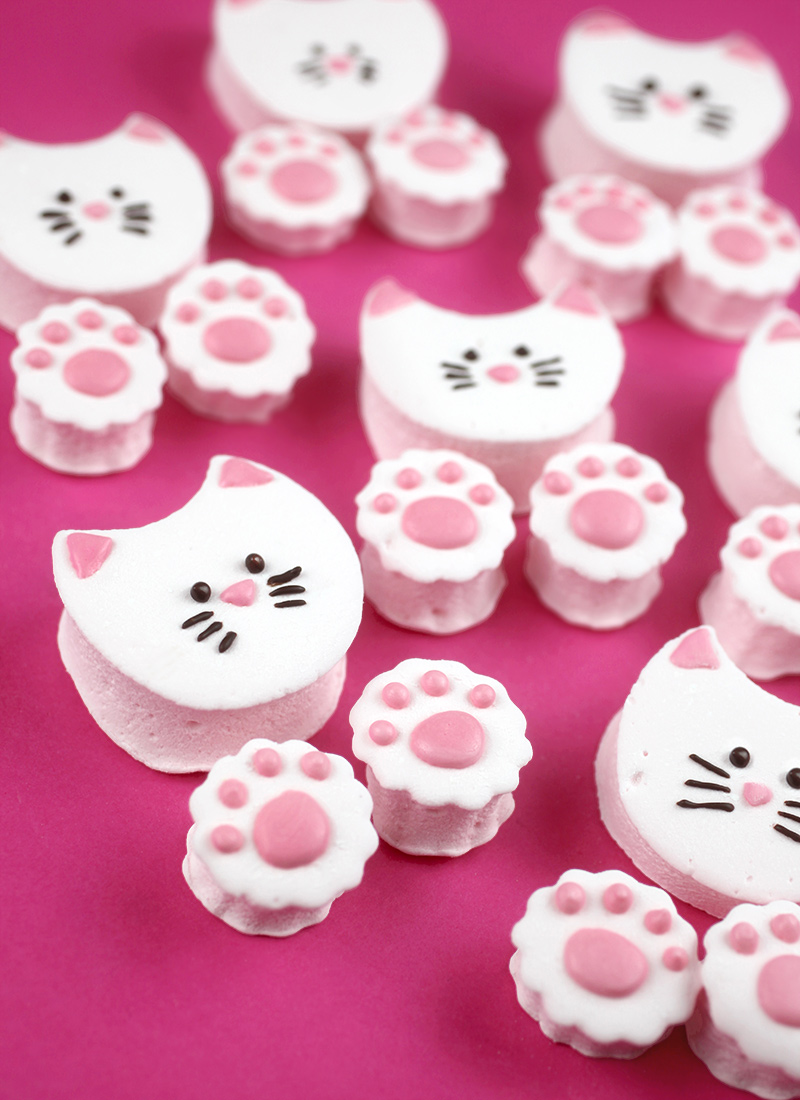
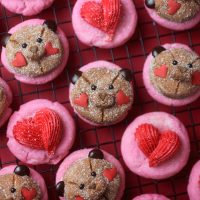
How cute are these cushy kitties! I had the urge to make marshmallows this past weekend and I intended to just dip or drizzle them in something chocoaltey. But, then… right before I cut them into squares, I changed my mind and made these little kitties and paws. Purrfect to cuddle inside your next cup of hot cocoa.
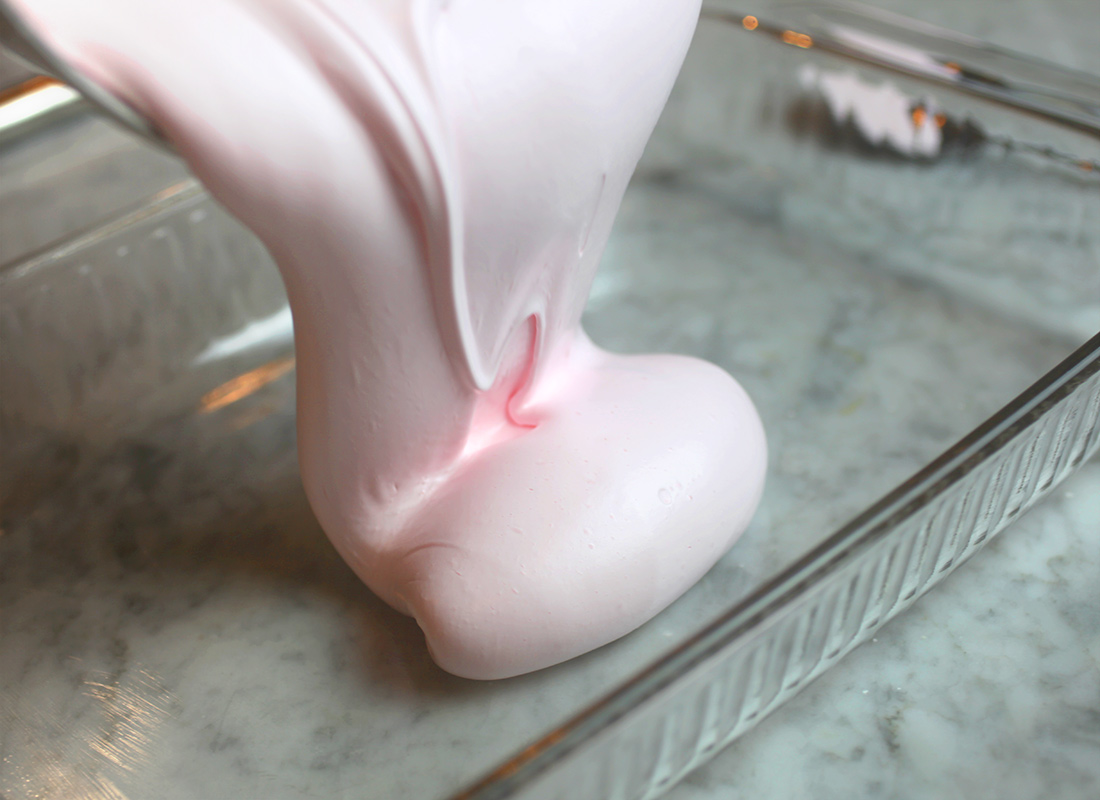
You know, I think marshmallows may be the most satisfying thing I’ve ever made. It’s beautiful to watch it come together from sugar and syrup to a soft and fluffy cloud-like confection.
Just look how luscious.
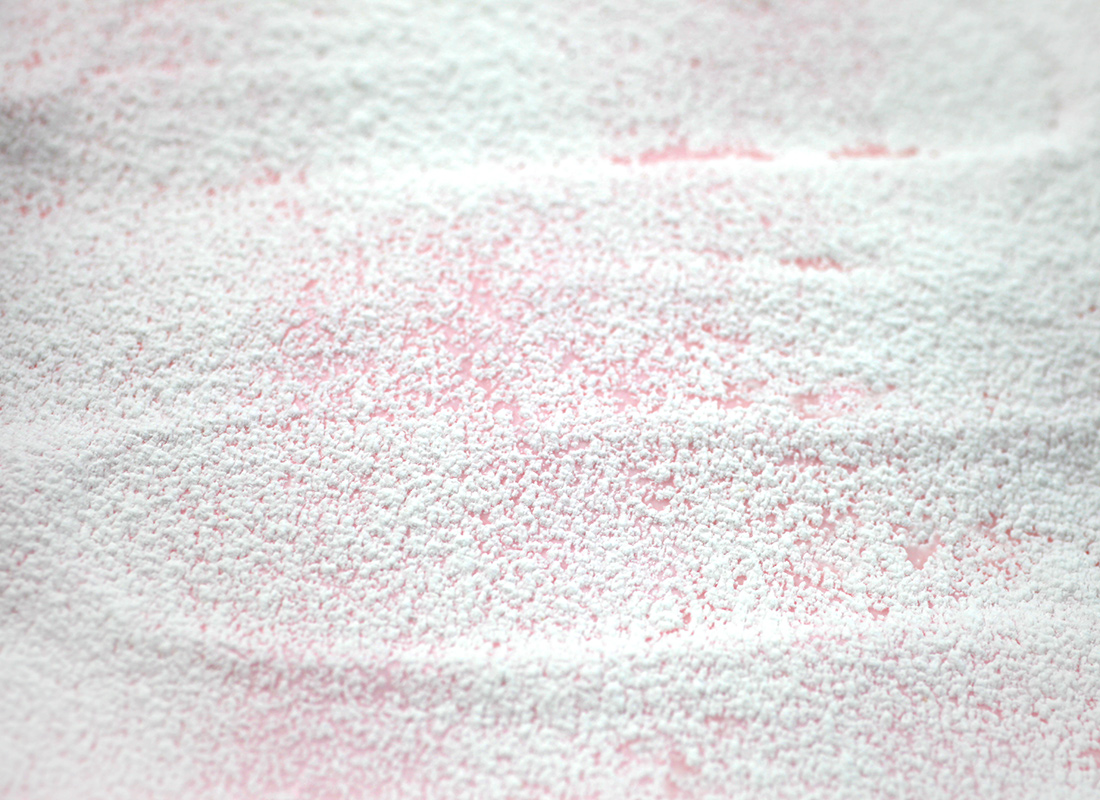
Once it’s poured in a pan, let it set for several hours coated in powdered sugar and corn starch to cure as it transforms from pillowy to puffy.
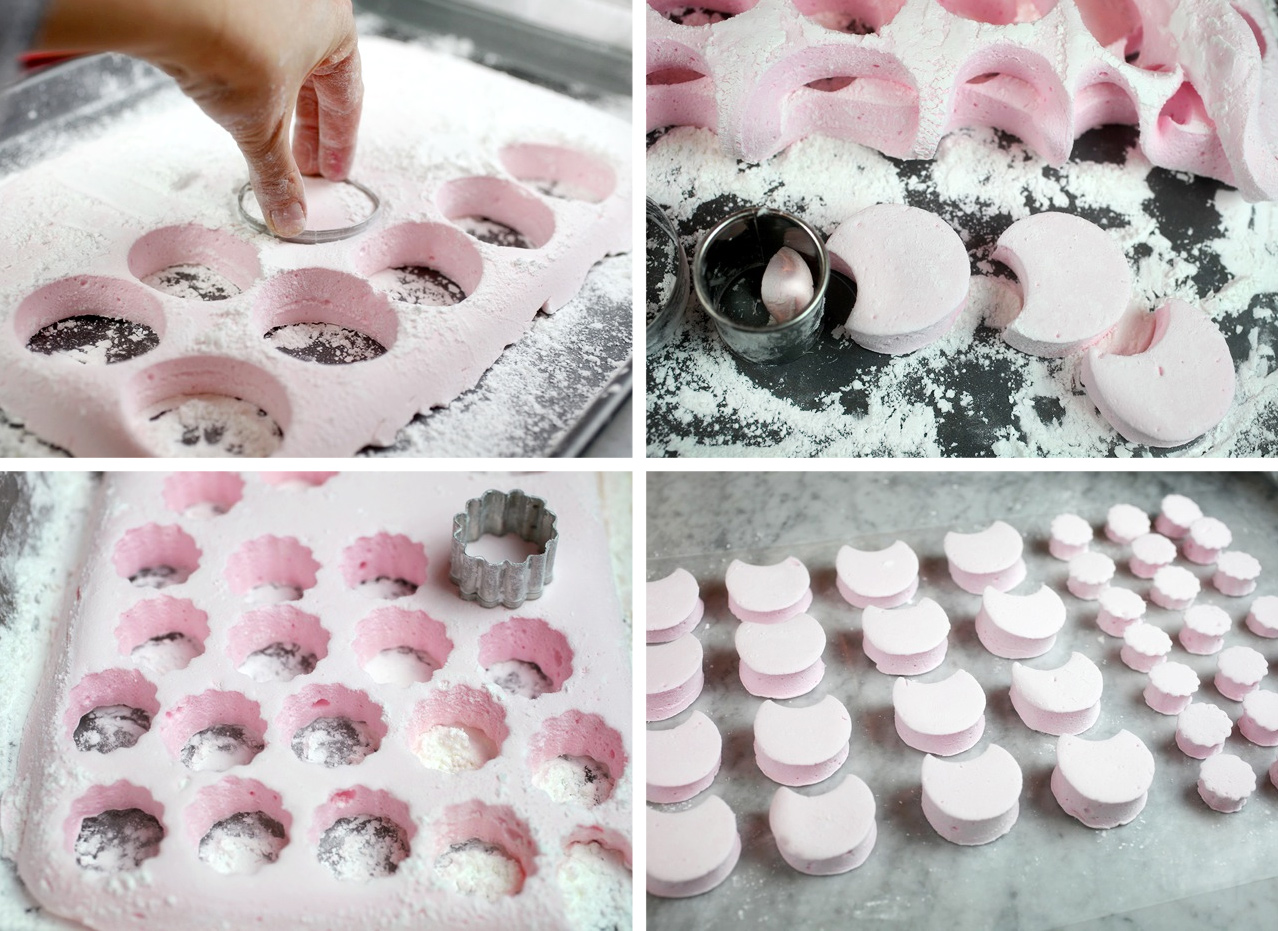
Ahhhh… satisfaction! Now you can certainly cut your marshmallow into squares, but using a cutter to make shapes is even more fulfilling. I really can’t describe it adequately. I just hope you’ll try it one day if you’ve never given them a go. I could cut out shapes all day.
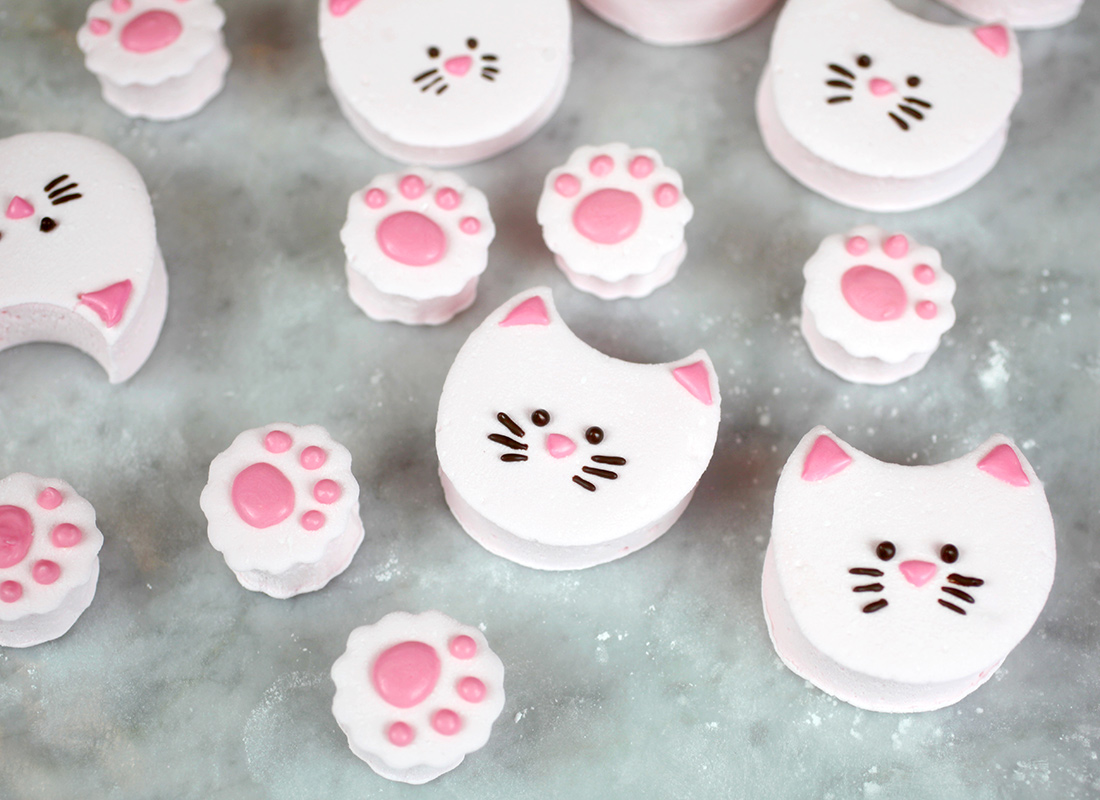
Okay… To make the kitties, use a circle cutter about 2 inches wide. I didn’t actually have one that size so I used an egg-shaped cookie cutter. Once the shapes are cut, use a smaller circle cutter about 1.5 inches wide to remove a curved piece from the larger circle. The remaining shape is the kitty head with pointed ears. For paws, use a small round cutter about 1.25 inches wide to cut them out. Make sure all the newly cut and exposed sides are also coated in powdered sugar.
Now you you’re ready to decorate.
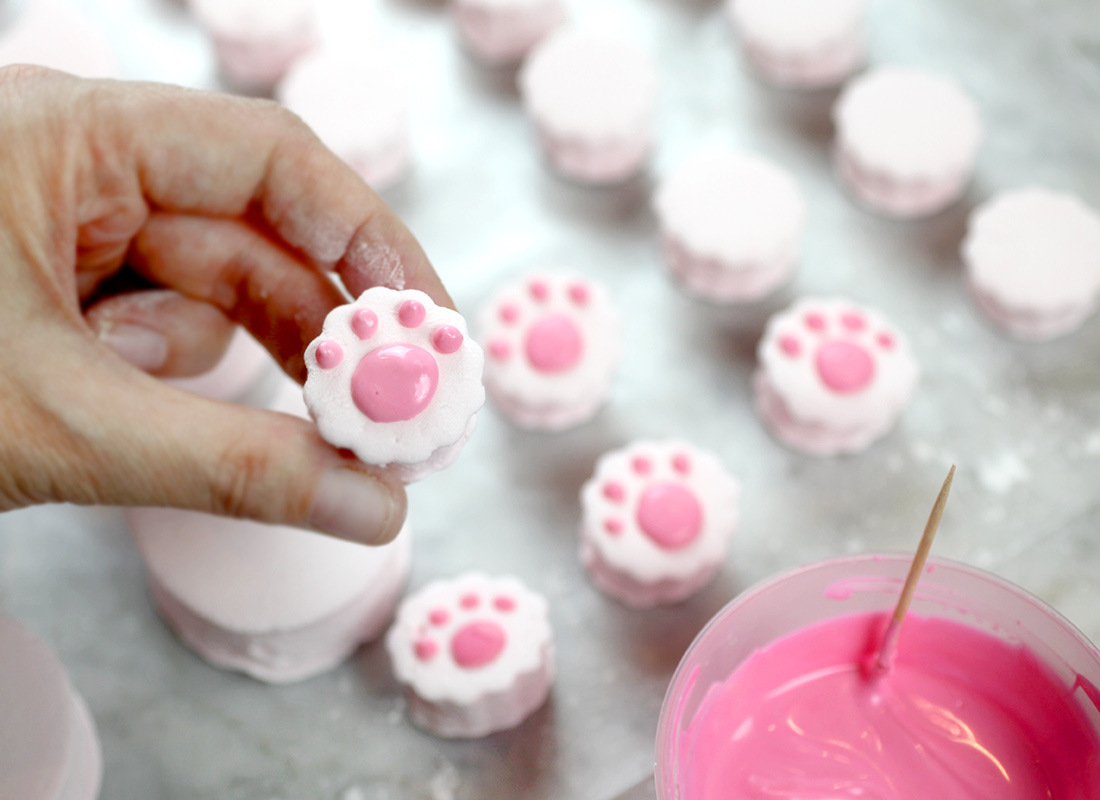
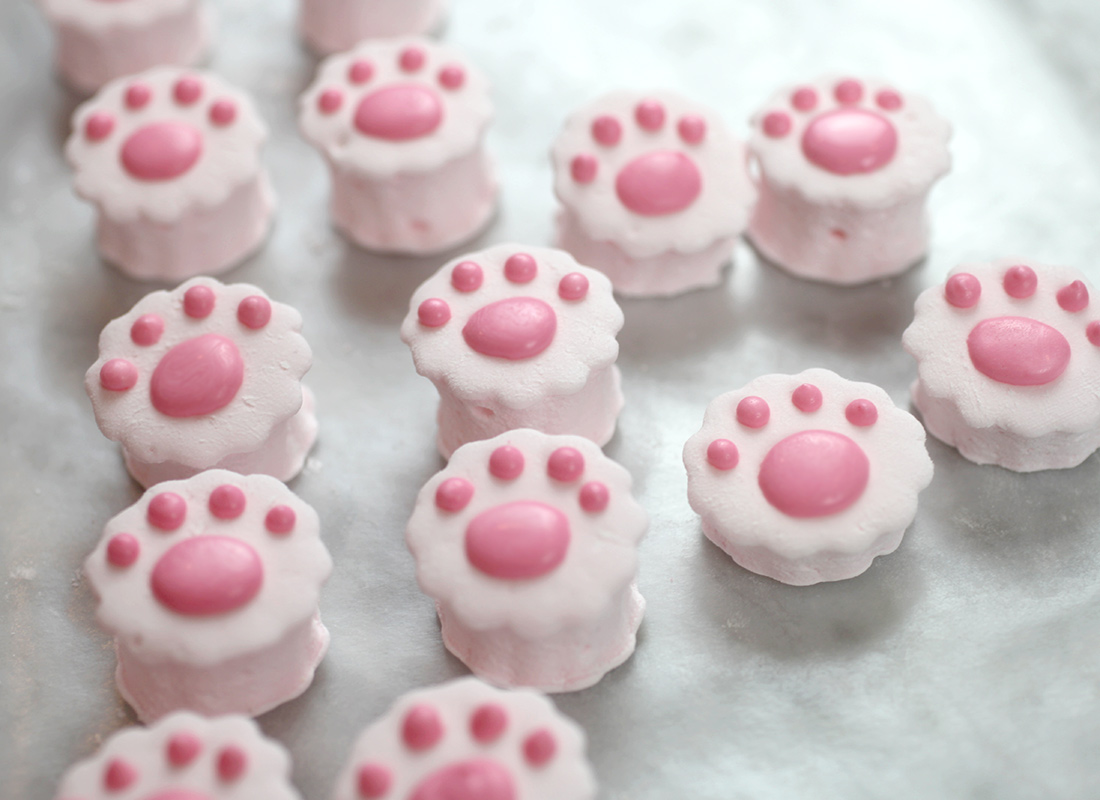
Dip a toothpick in melted smooth pink candy coating and draw one big circle and four toes on each small circle.
Puffy paws. Tell me you’re not smiling right now. : )
For the faces, draw on more pink melted coating for the ears and nose. And then draw on whiskers and eyes with melted chocolate candy coating.
Done and done.
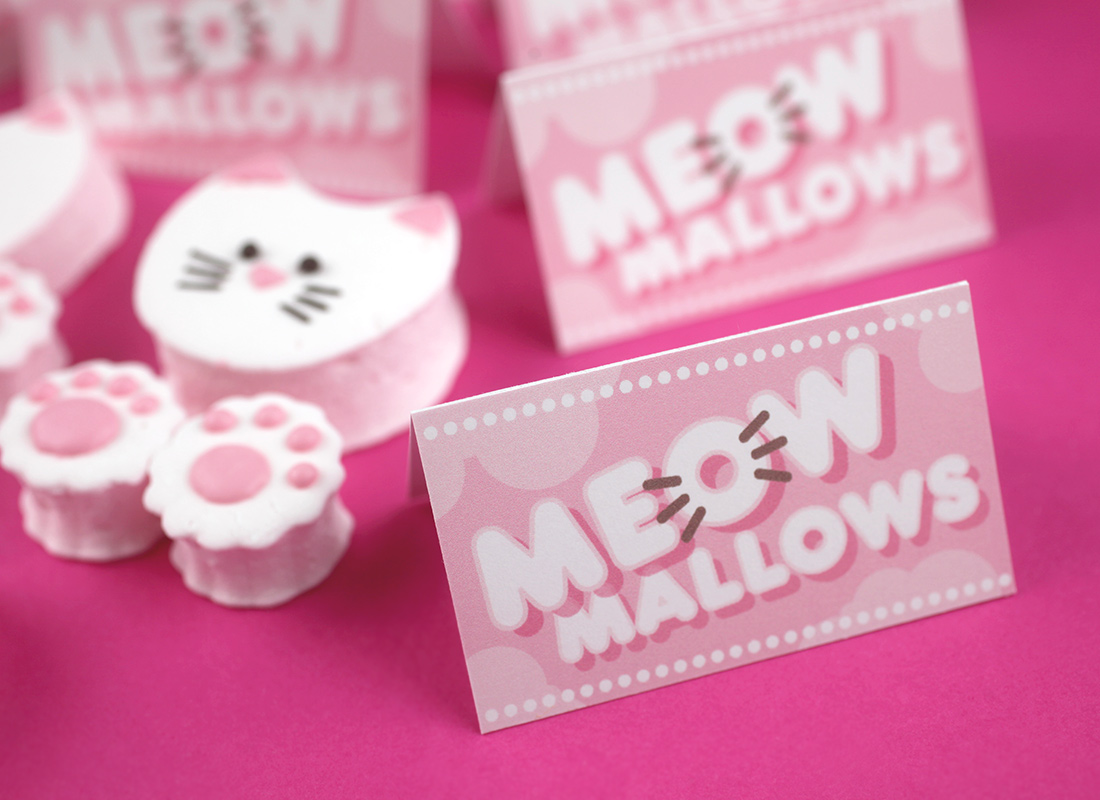
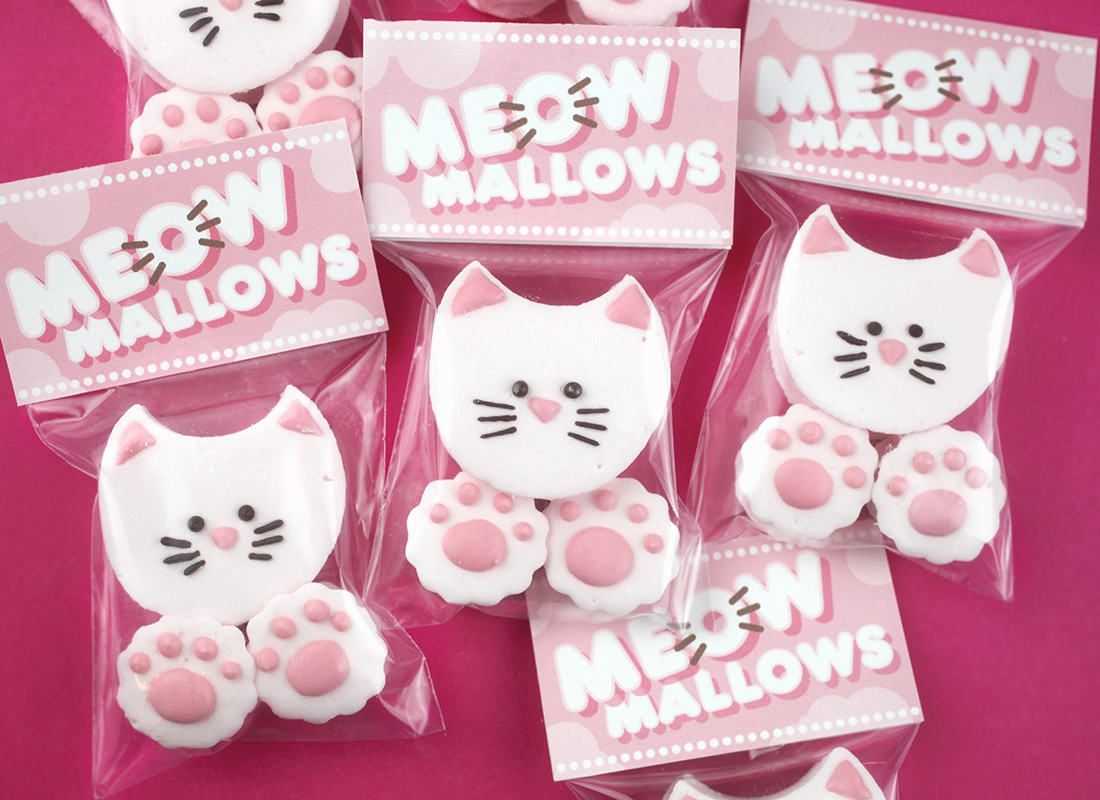
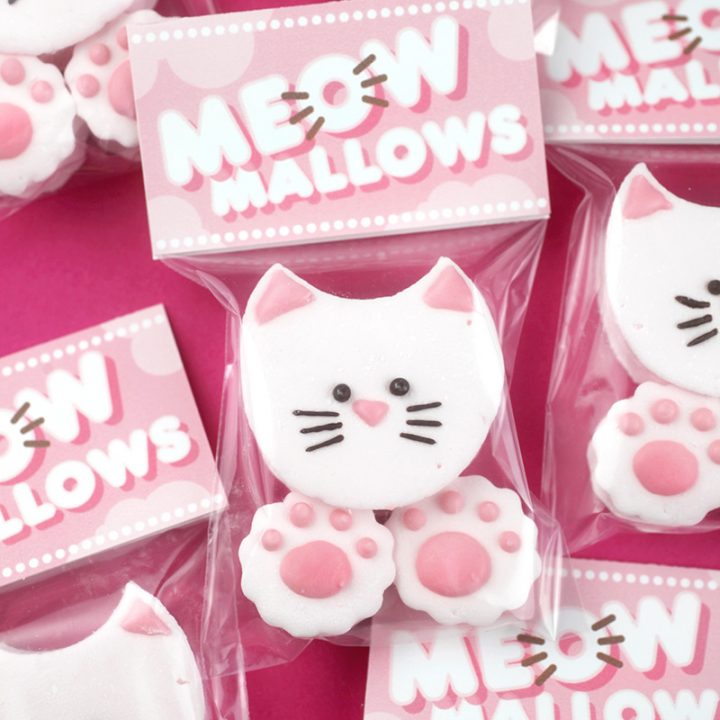
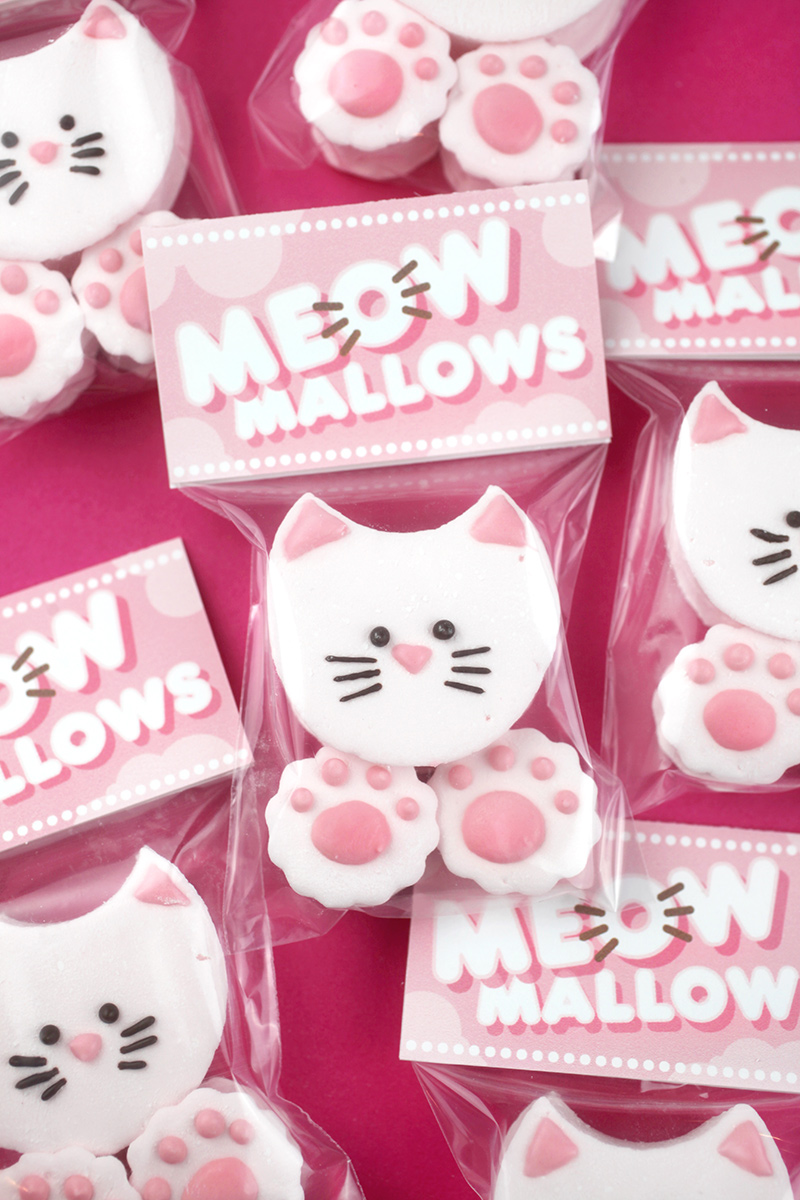
But if you’re not putting these in a cup of cocoa any time soon, then you can package them using these super cute meowmallow tags I made for you.
Dying!!! Definitely even cuter all squished in a tiny treat bag. You can staple the tags on 3 X 5 inch bags or use double-sided tape if you don’t want staples to show.
Here’s the recipe:
Yield: 18-20 Meowmallows
Meowmallows
Prep Time10 minutes
Cook Time30 minutes
Additional Time5 hours
Total Time5 hours40 minutes
Ingredients
3 tablespoons unflavored gelatin
3/4 cup water
…………….
2 cups granulated sugar
3/4 cup light corn syup
1/2 cup water
1/4 teaspoon salt
2 teaspoons vanilla extract
pink gel food coloring (optional)
………………...
1-1/2 cups powdered sugar
3/4 cup corn starch
Instructions
Whisk gelatin and cold water together in a small bowl and set aside to soften for about 10 minutes.
Lightly spray a 9 X 13 inch glass or metal baking pan with nonstick cooking spray. Wipe off any excess with a paper towel, making sure the bottom and sides are completely coated. (Note: For the paws, I used a second smaller glass pan to divide the marshmallow mixture into and yield thinner/more marshmallows. If you use the entire mixture in one 9 X 13 inch pan, they will result in thicker heads and paws.)
In a small saucepan, combine sugar, corn syrup, remaining water and salt over medium high heat. Clip a candy thermometer to the side of the pan and cook, stirring occasionally until the mixture reaches 240 degrees fahrenheit. Before the temperature reaches 240 degrees, place the gelatin mixture in the microwave for about 20 seconds on high and then pour into the metal bowl of a stand mixer with the whisk attachment in place. Turn the mixer on the lowest speed.
Once the sugar syrup reaches 240 degrees F, immediately remove from heat and carefully pour the sugar syrup into the mixing bowl containing the gelatin mixture. Increase mixer speed to medium and beat for about 5 minutes. Increase speed to medium high and beat for another 5 minutes. Add the vanilla and any food coloring and beat on high for one more minute.
Immediately pour the marshmallow mixture (messy) into prepared pan or pans. Spread evenly with a lightly oiled offset spatula.
Sift powdered sugar and cornstarch together and coat the top of the marshmallow. Reserve remaining mixture. Let the coated marshmallow sit uncovered for 5 hours or overnight before cutting.
When ready to cut, gently lift marshmallow out of pan and place coated side down on a baking pan with the bottom of pan also lightly coated with the powdered sugar mixture. Now coat the exposed marshmallow with more of the mixture and you’re ready to cut into squares (or kitten shapes.) Use reserved powdered sugar to also coat the sides exposed after cutting. When all sides are completely coated, brush off any excess.
Decorate paws and faces with a toothpick dipped in melted pink and chocolate candy coating. Package in treat bags with Meowmallow tags.
These cuties would be a super sweet treat for Valentine’s Day in a few weeks, too.
I love this recipe and all.. but I have a small concern with the name. I’ve been using the username Meowmallows for five years on pretty much everything I own. I’m not posting this to cause problems or anything like that, again, love the recipe.
I love the way you bring such personality to your baking and cooking! How can one not smile when we look at these kitties! So adorable! I’ve never made marshmallows and would love to try, your recipe makes it look so easy! Thank you!
Thank you for this recipe. I have never tried marshmallows before. What do you mean when you say the remaining water? i mean how much do we use for the gelatin to bloom?
Now this is a happy coincidence! I recently watched a couple of cooking shows that made marshmallows and I must say yours is the simplest method. Thanks so much!! ?
This site focuses on fun and easy baking. You’ll find ideas for cake pops (a Bakerella creation), cakes, cupcakes, cookies, and more. You may even find yourself smiling from all the sweetness.


I seriously want to buy these from you! Would you make them for me and if so, how much?? They are so darn cute!!!!!
5342 Sunnyside Dr
These are so cute! I’d love if you’d check out my blog!
bitemebaker.blogspot.com Thanks!
Agree with Floofmom … you should sell these!!!
You need to sell these–rightnowrightnowrightnow!!! You’d never have to work again. Soooo cute!
Love these… they’re super cute!
I love this recipe and all.. but I have a small concern with the name. I’ve been using the username Meowmallows for five years on pretty much everything I own. I’m not posting this to cause problems or anything like that, again, love the recipe.
so cute!!???
I think I’d like to eat the paws. They look like the purrrfect bite.
You are weird
My kind of weird! ; )
Did you have to make two batches in order to get the 18 to 20 treats. I want to make for my granddaughters class.
All I can say is you always surprise with each post. Always!
Thank you so much Cecila
You are utterly amazing. I am ALWAYS impressed with your creative ideas. One cute idea after the next. Thanks for sharing.
OMG fluffy, edible kitteh :D
AAh so CUTE!
Rachael xx.
theteacozykitchen.blogspot.co.uk
I can’t even. That is so cute.
TOO FRICKEN CUUUUUUUTE….I can’t even process how adorable this all is…. gahhh!! so creative!!
I love the way you bring such personality to your baking and cooking! How can one not smile when we look at these kitties! So adorable! I’ve never made marshmallows and would love to try, your recipe makes it look so easy! Thank you!
Soooooo cute!
Adorable, I love them , Angie!
These are the cutest marshmallows ever. Never made them but these want me to.
Oh sorry… I got it now. It’s really so clear and that was a silly question from my part. Sorry
Oh don’t worry. No silly questions.
Thank you for this recipe. I have never tried marshmallows before. What do you mean when you say the remaining water? i mean how much do we use for the gelatin to bloom?
Thank you for your time.
Now this is a happy coincidence! I recently watched a couple of cooking shows that made marshmallows and I must say yours is the simplest method. Thanks so much!! ?