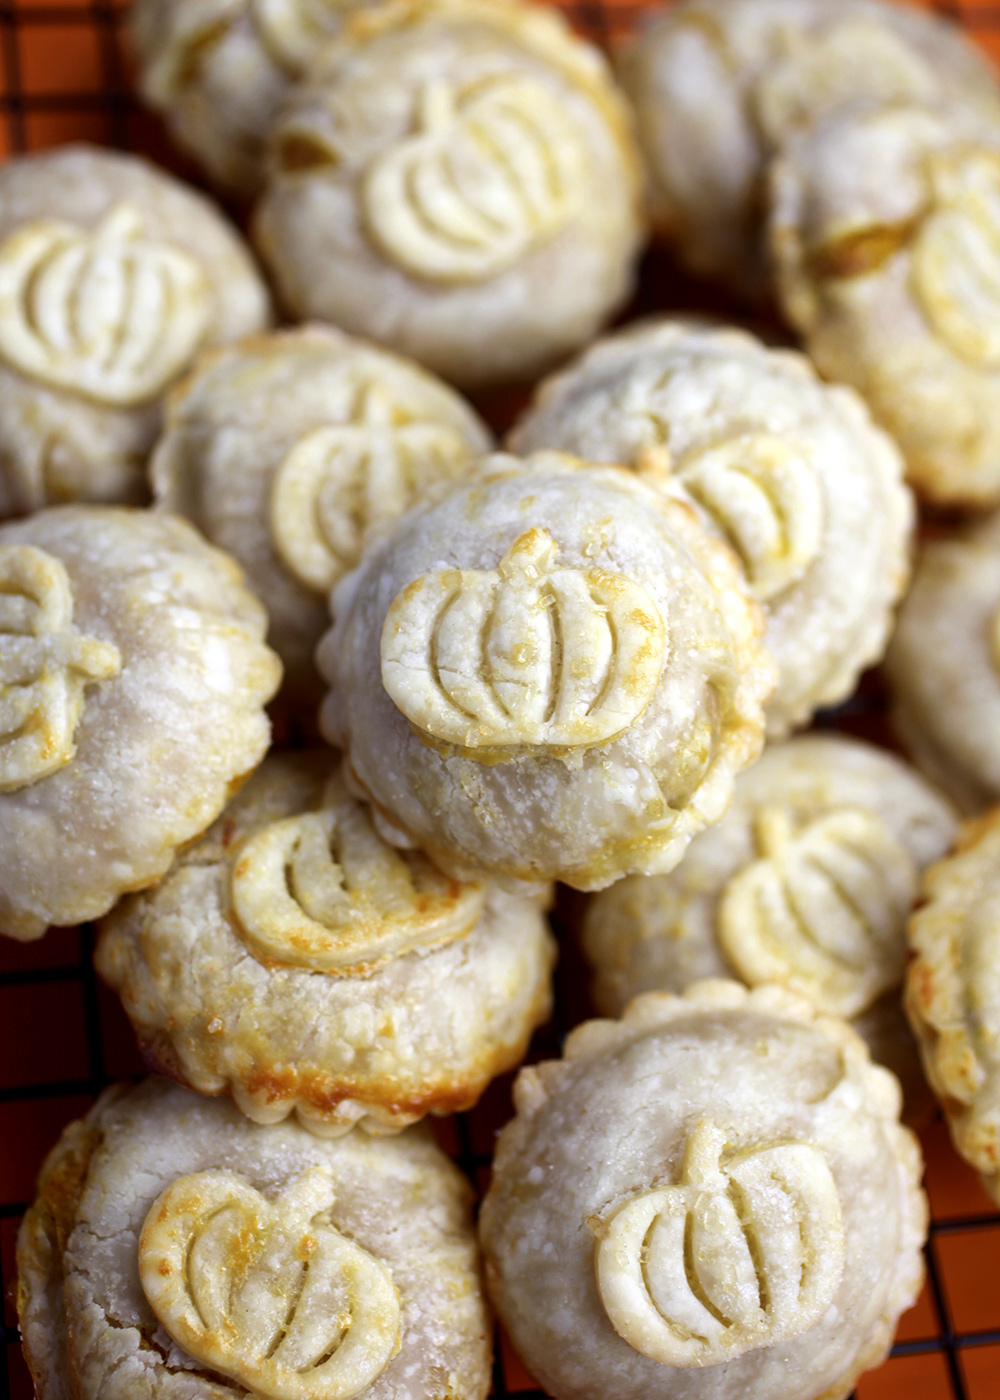
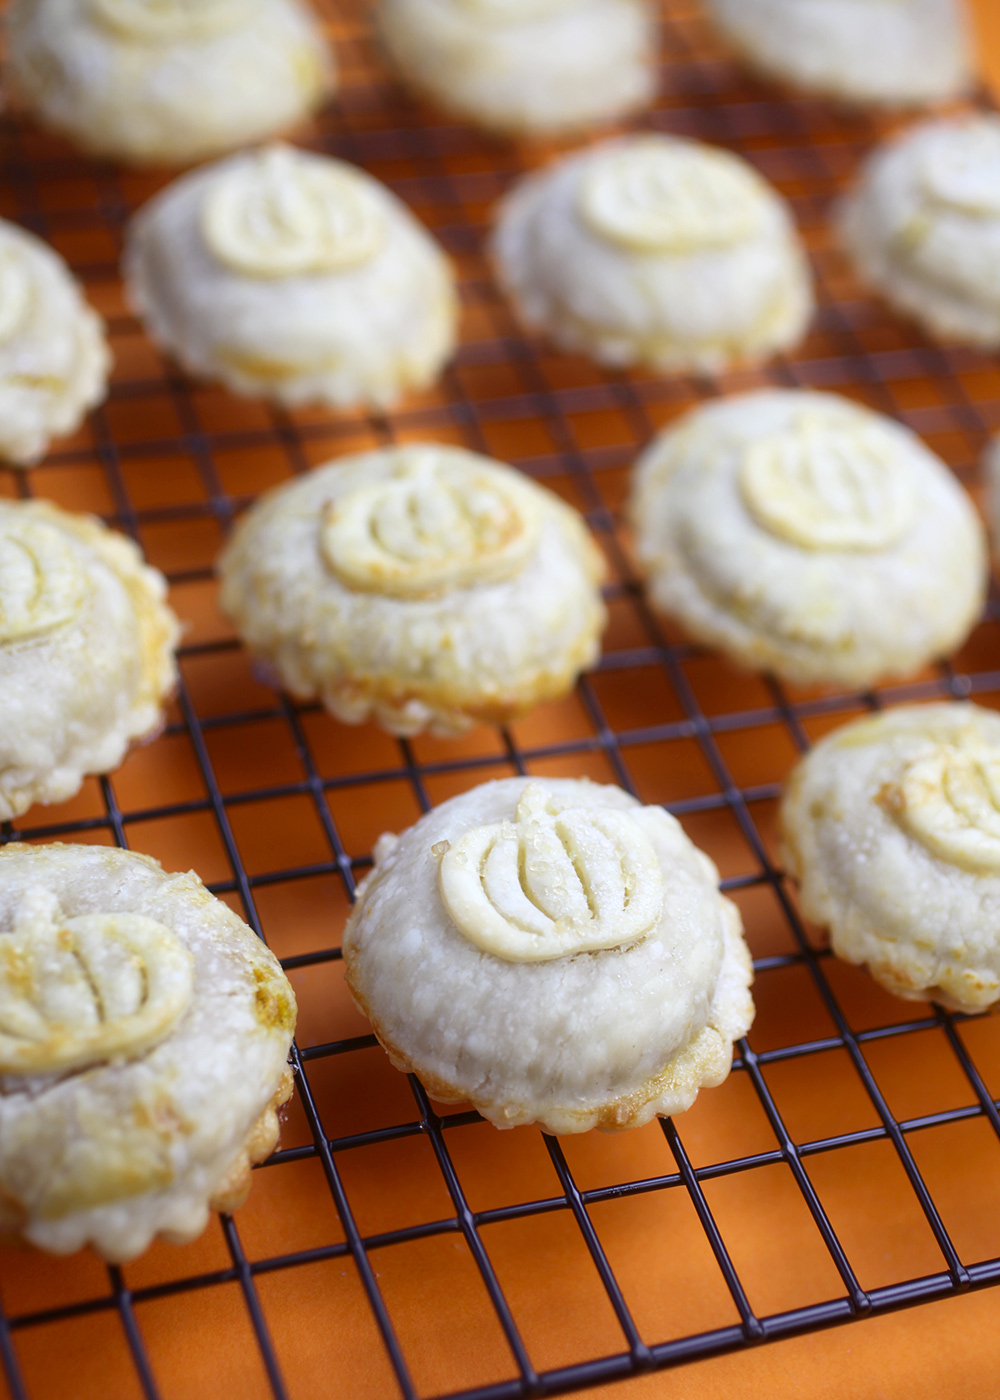
So these little pies are really good! They’re puffy, packed with pumpkin, and the perfect two-bite size to pop in your mouth.
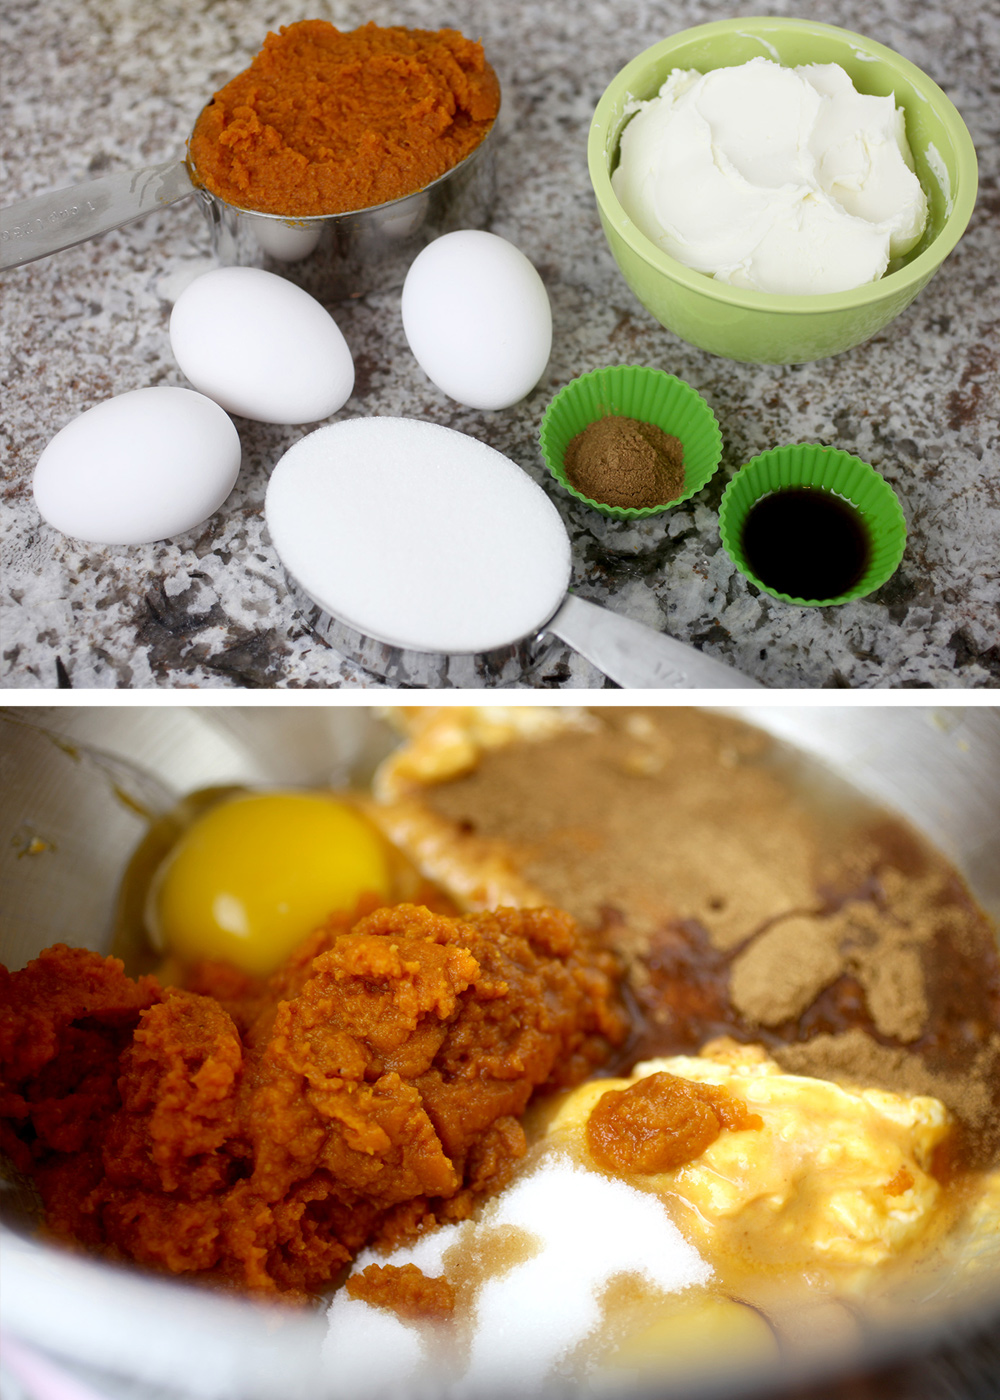
The ingredients are simple, too. Just mix everything together in one bowl and you are ready to go.
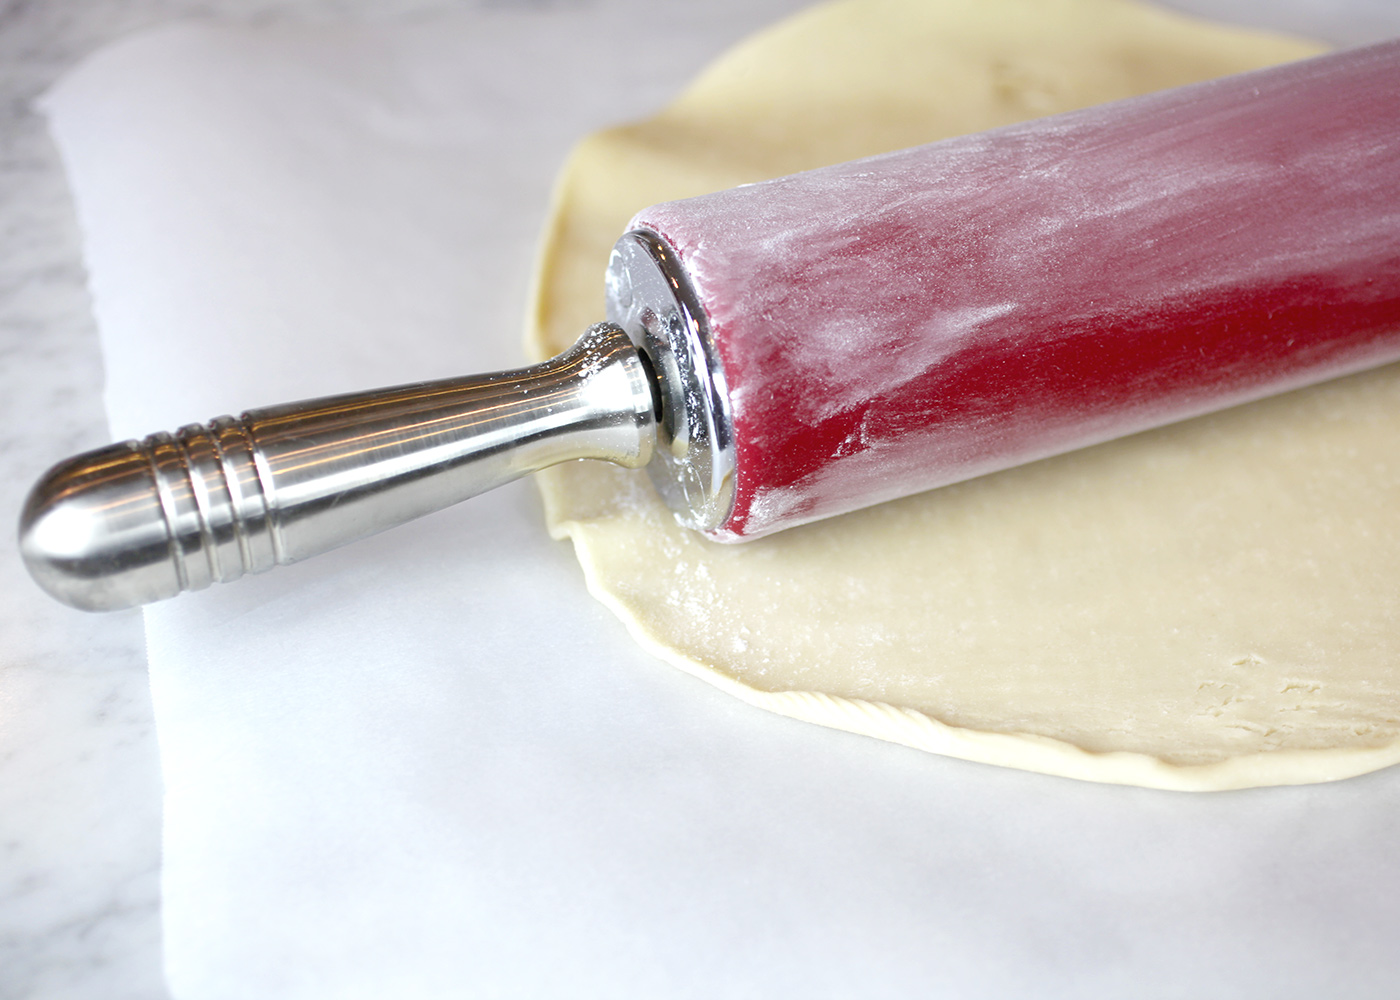
To keep the pies on the simple side, I used refrigerated ready to roll pie dough. And then just rolled it a bit thinner before starting.
To prepare the pies, you’ll need some kind of mold to form them and a couple of round cutters.
I used this candy mold because it created the perfect size without the pies getting too big after baking. I also thought it would be easier to remove the pies from a flexible plastic mold than a metal pan. The mold cavities are 1-1/2 inches wide and slightly smaller than a mini cupcake baking pan for reference.
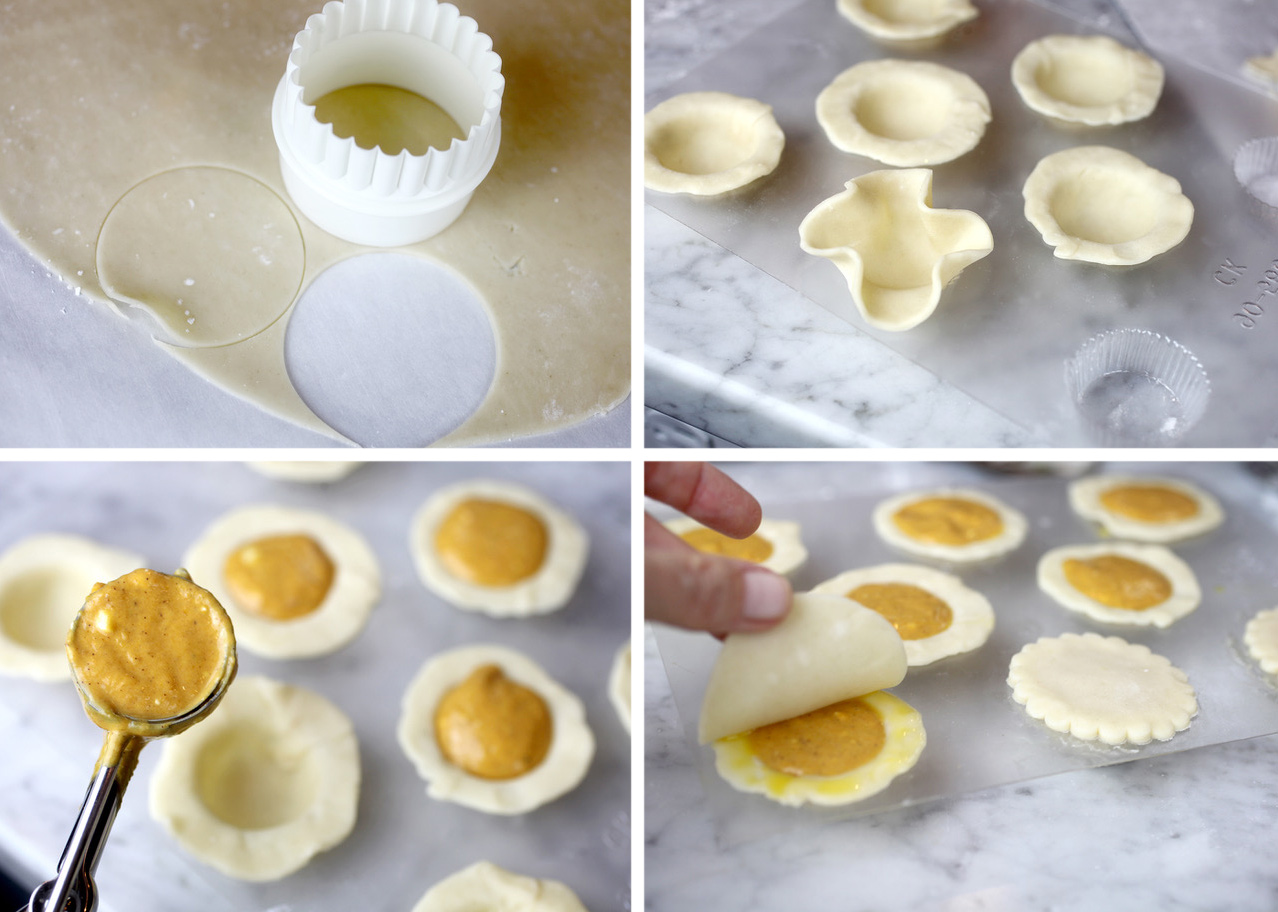
Cut out circles of dough with a round cutter about 2 1/2 inches wide. You want it to be big enough so you can press the dough into the mold cavity while still having some of the dough overlap the top of the mold. Gently stretch the pie dough circles if needed.
Fill each cavity with the pumpkin mixture using a 1-1/2 inch cookie scoop and then brush the rim of the overlapped dough with an egg wash and lay another pie circle cut out on top. (again, stretch the dough gently if needed to cover the dough on the candy mold and then press the edges together to seal.
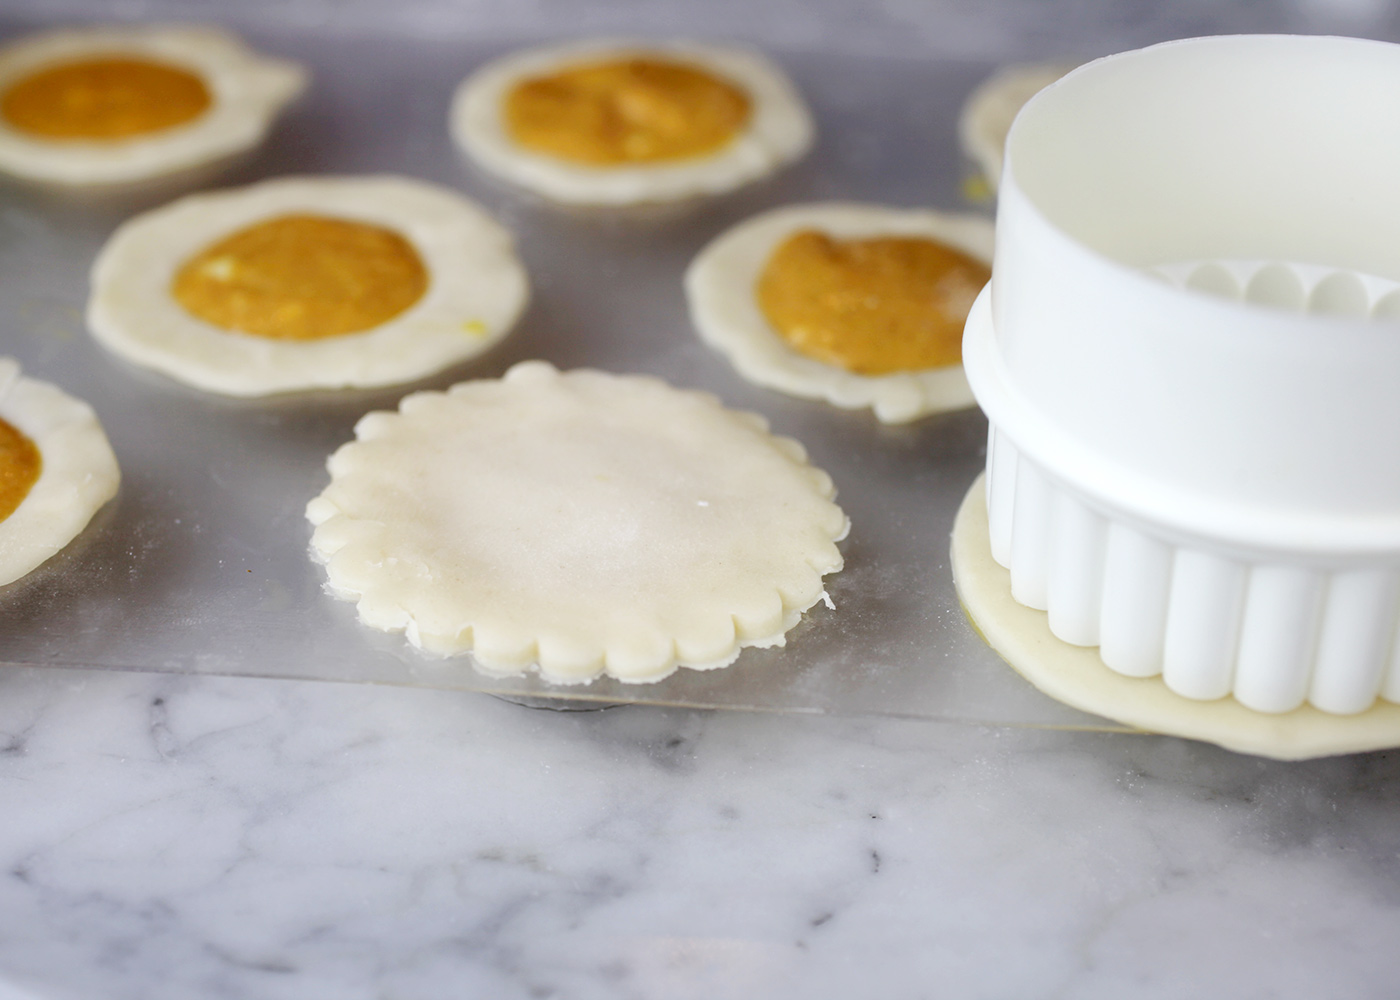
Finish the look using a scalloped cutter and just trim off any excess pie dough. I used one that was slightly smaller than the circle cutter … about 2 inches in diameter.
Here are the double-sided cutters I used. Here’s another one as an alternative and another.
Very, very gently remove the pies from the mold and place, flat side down on a parchment-lined baking sheet. Press the edges together again if necessary to seal them.
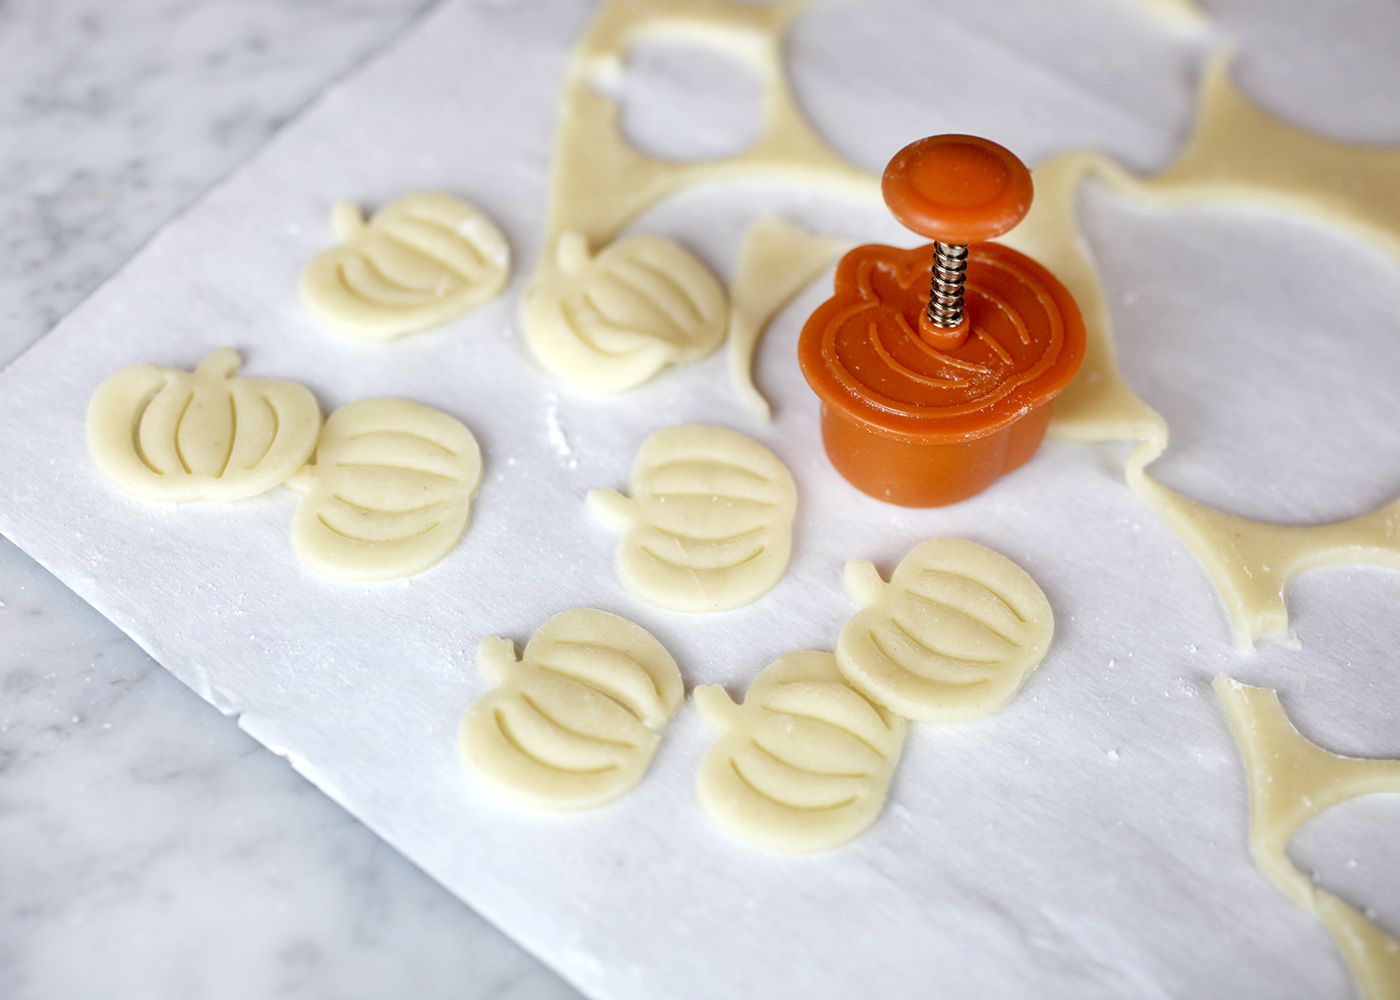
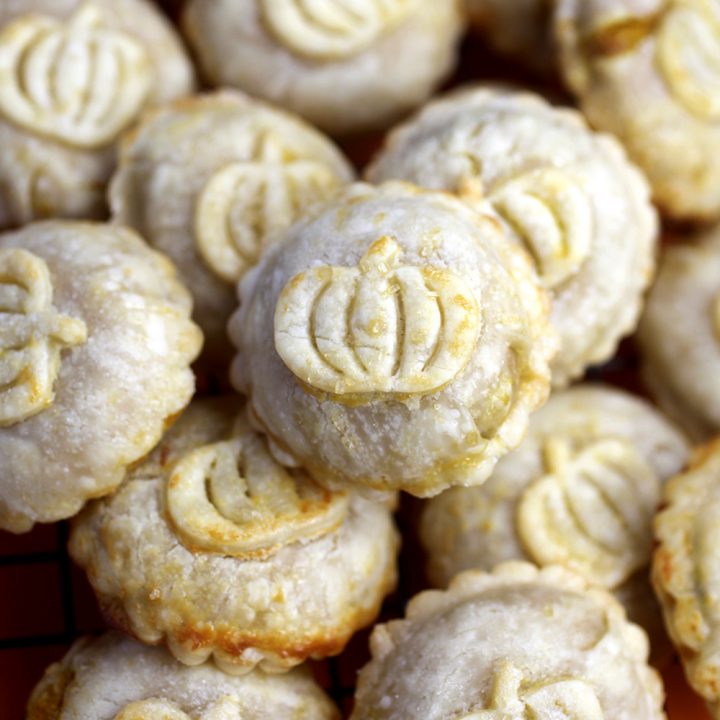
I also had this little pie cutter press, so I used the excess pie dough to cut out some tiny little pumpkins to place on top of the pies. I bought mine a long time ago from Williams-Sonoma, but here is one similar.
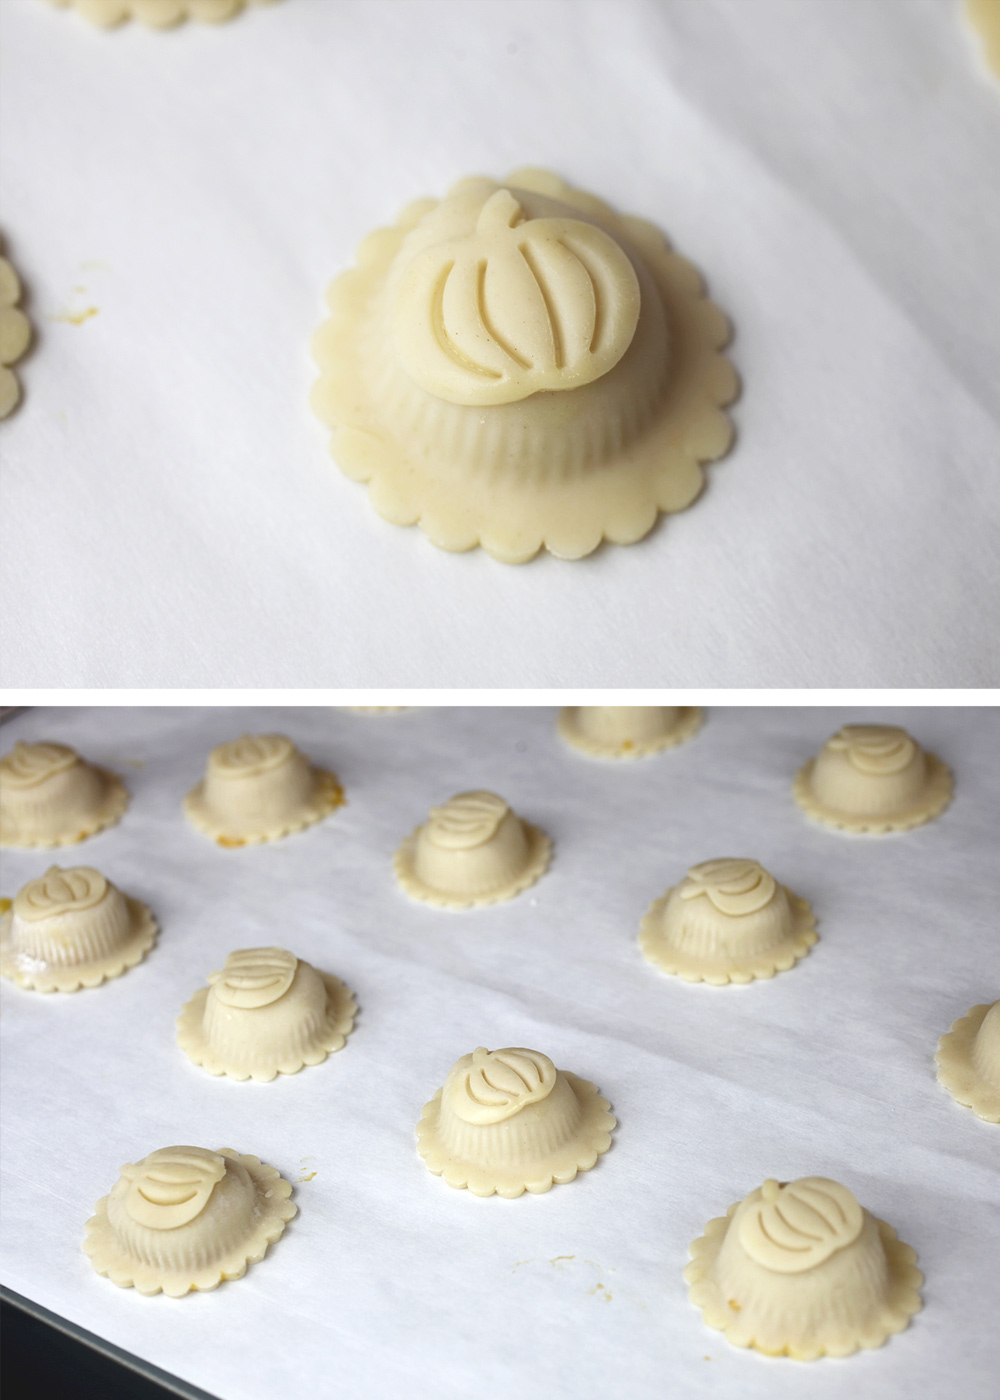
So cute. Use an egg wash again to attach the pumpkin cutout to the pie underneath. Then, brush the entire pie with an egg wash, sprinkle the tops with sugar and they’re ready to bake.
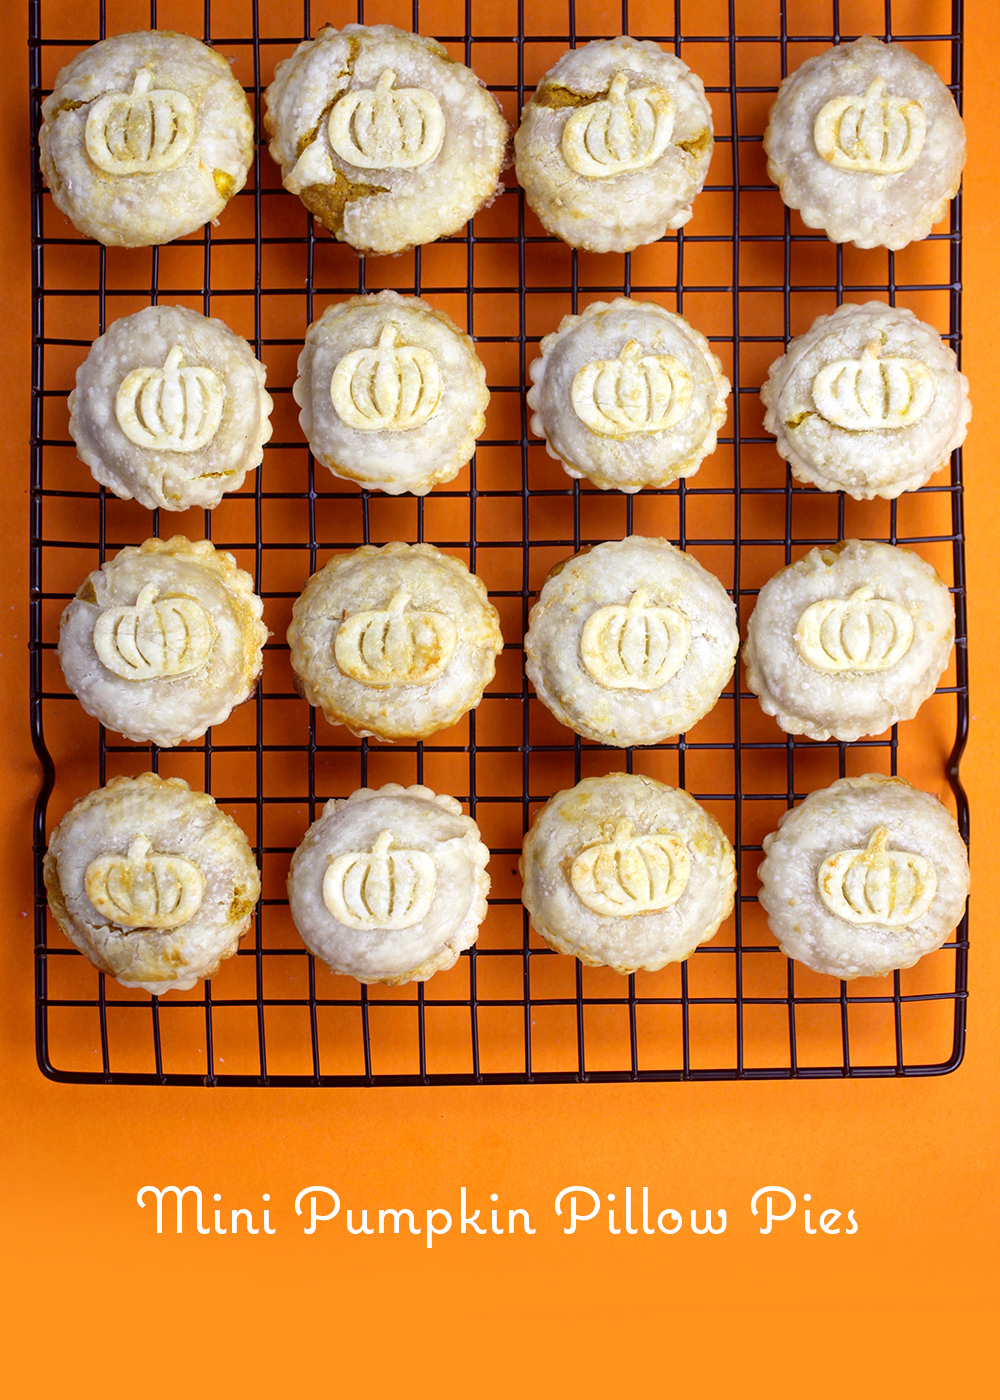
Mini Pumpkin Pillow Pies
Ingredients
Instructions
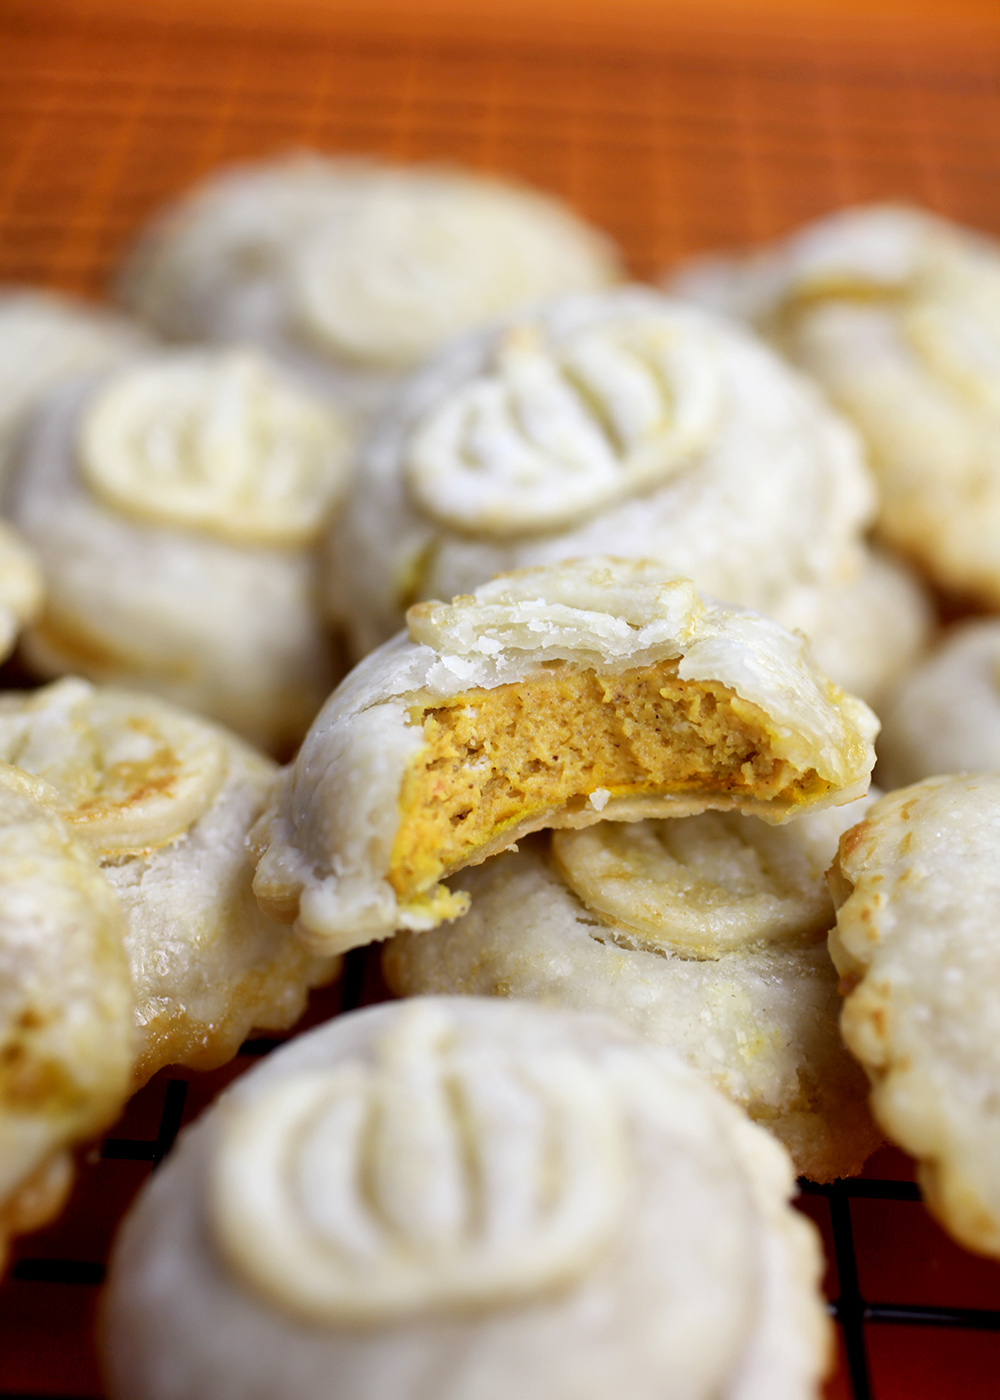
Sink your teeth in and enjoy!


WOW! BEAUTIFUL! And I just know they are absolutely dreamy delicious!
Thanksgiving and about the right size pie we should be eating.
These look incredible! I love the pumpkin ontop!
Rebecca | http://www.peppermintdolly.com
I love the size of these and the pumpkin detail too
Absolutely perfect for Thanksgiving and about the right size pie we should be eating.
What an adorable alternative to a traditional pumpkin pie. :D
These mini pies look so delicious! I love the unique design – so creative!